
Why Cheap Expanding Foam Might Be Your Smartest DIY Fix
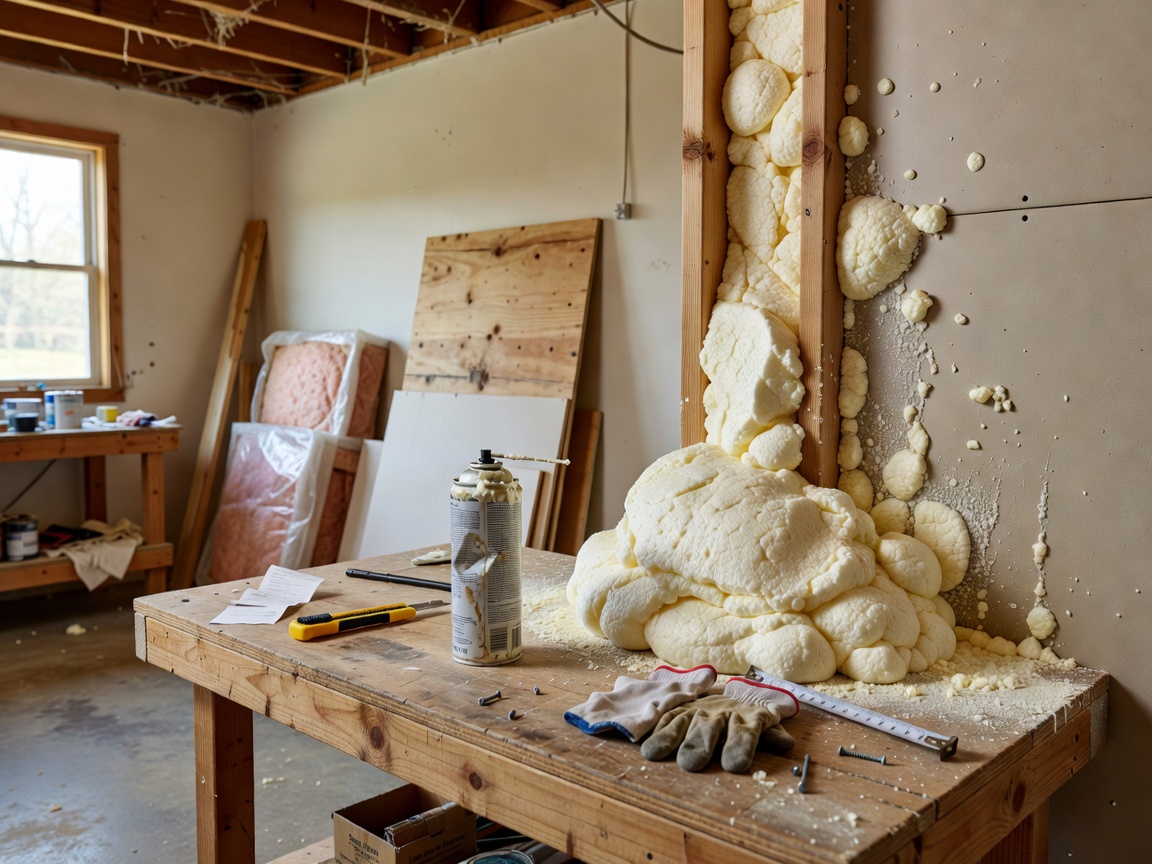
Finding the Best Cheap Expanding Foam for Common DIY Projects
When you are tackling minor household drafts, a basic polyurethane sealant from your local home improvement store or online retailer is often all you need. You do not have to spend a fortune to stop a winter draft from sneaking past a plumbing penetration or baseboard gap.
Many high-performing aerosol cans range from just under $5 to around $9 per can. For instance, classic 12-ounce cans like Great Stuff Gaps & Cracks frequently retail around $8.18 (about $0.68 per ounce), while Loctite Tite Foam Gaps & Cracks sits around $6.96. For international or specialty alternatives, options like No Nonsense Expanding Foam Hand-Held 750ml offer similar economical solutions for direct straw application. If you have multiple drafty corners across several rooms, grabbing an insulating spray foam kit or multi-can bundle helps drop the price per ounce significantly while providing enough yield to seal dozens of linear feet.
Budget-friendly polyurethane foams provide an effective air barrier and thermal resistance (often offering an R-value between 3.5 and 5 per inch of cured thickness). They expand to bridge uneven voids across diverse construction materials, including wood, drywall, concrete, masonry, PVC, and metal.
Small Gaps vs. Large Gaps Formulation Differences
A common misstep when shopping on a budget is assuming that all expanding foams behave identically. Polyurethane expanding foams are primarily divided into two main categories for general maintenance:
- Standard Gaps & Cracks Formulations: Designed to fill openings up to 1 inch (25 mm) wide. These products feature a controlled, moderate expansion rate. They are ideal for precision sealing around electrical outlets, drywall seams, interior baseboards, and window or door trim where high expansion pressures could bow delicate frames.
- Big Gaps Formulations: Engineered with a much higher expansion ratio to fill voids up to 3 inches wide. Options such as Loctite Tite Foam Big Gaps (around $7.98 for 12 fl oz) expand aggressively to occupy large, hollow voids around main water lines, dryer vents, and foundation rim penetrations.
Choosing a high-expansion foam for a narrow 1/4-inch gap will likely push sticky foam onto your trim and flooring. Conversely, trying to fill a 3-inch pipe penetration with a standard formulation forces you to layer multiple beads, wasting product and money. Matching the formulation to the gap width ensures you get the full yield promised on the label.
When Cheap Expanding Foam Outperforms Other Budget Sealants
Traditional acrylic or silicone caulk is great for smooth, hairline joints, but it shrinks and cracks when asked to span wide voids. Fiberglass batting, on the other hand, allows air to filter directly through its fibers unless paired with a separate air barrier.
When comparing traditional vs spray foam insulation, polyurethane foam provides an airtight, continuous seal that caulk and batts simply cannot replicate across irregular openings. Cheap expanding foam expands outward, gripping the substrate, filling uneven crevices, blocking unconditioned air, and acting as a physical deterrent against insects and mice looking for entry points into your living space.
Key Factors That Determine Real Value Beyond Price Per Can
A $5 can is only a bargain if it actually accomplishes the task without making a mess or running out halfway through the job. Assessing the true value of budget foam requires evaluating board-foot yield, cure dynamics, and chemical density.
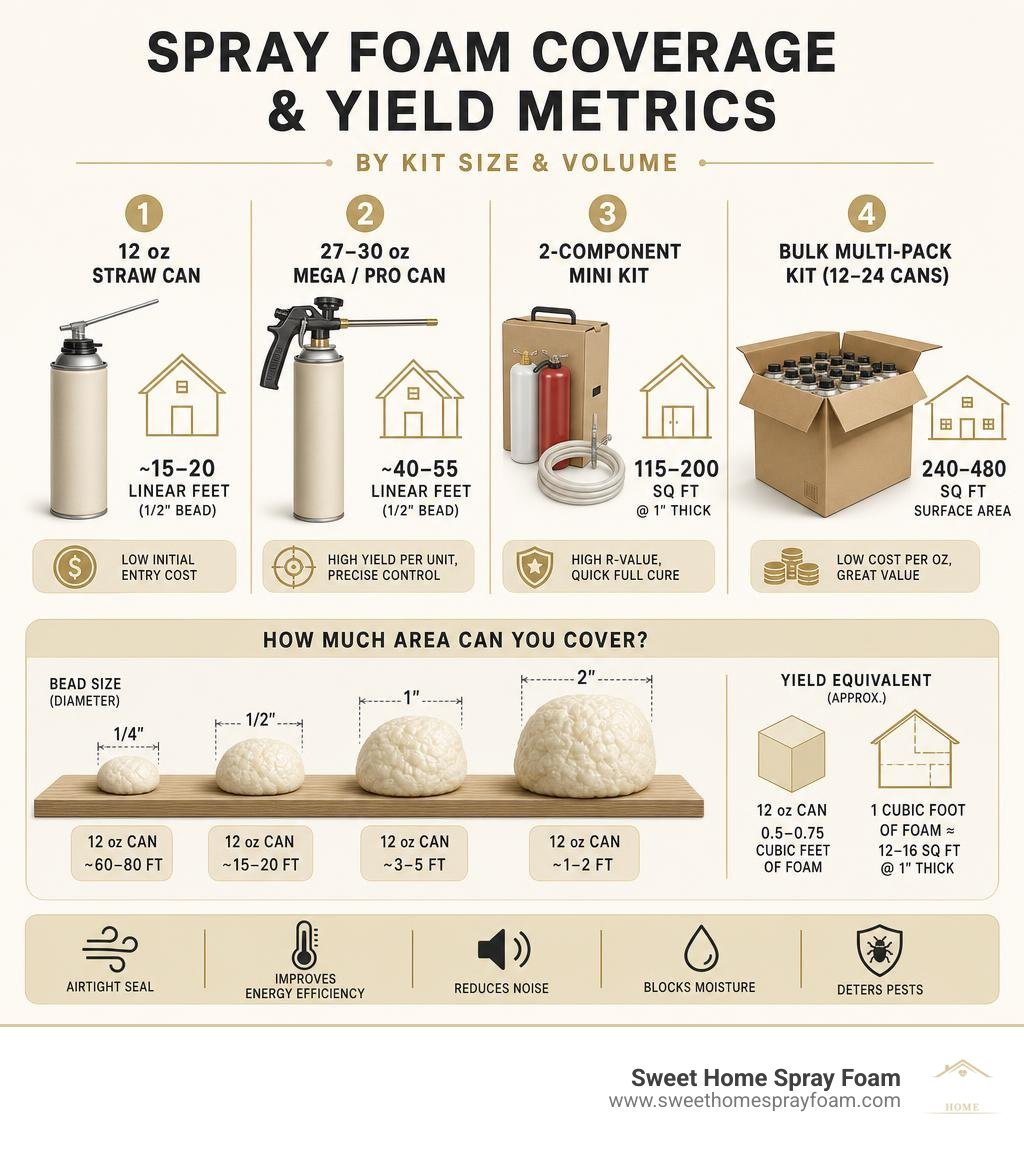
| Foam Type / Container Size | Typical Price Range | Approximate Yield / Coverage | Primary Benefit | Best Use Case |
|---|---|---|---|---|
| Standard Straw Can (12 oz) | $5.00 – $8.50 | ~15–20 linear feet (1/2" bead) | Low initial entry cost | Single-room gap sealing, plumbing penetrations |
| Mega/Pro Aerosol Can (27–30 oz) | $12.00 – $18.00 | ~40–55 linear feet (1/2" bead) | High yield per unit, precise gun control | Multi-room air sealing, framing joints |
| 2-Component Mini Kit (115–200 bd ft) | $300.00 – $430.00 | 115–200 sq ft @ 1" thick | High R-value, quick full cure | Small rim joist runs, shed walls |
| Bulk Multi-Pack Kit (12–24 Pro Cans) | $180.00 – $320.00 | 240–480 sq ft surface area | Included accessories, low cost/oz | Whole-house DIY air sealing |
Assessing Coverage and Yield in Cheap Expanding Foam Kits
If you are planning to seal more than a single window, purchasing individual 12-ounce cans can quickly add up. A single 12-ounce can yields approximately 0.5 to 0.75 cubic feet of cured foam, which is perfect for spot repairs.
When your project spans an entire basement, garage, or shed, transitioning to bulk packages makes financial sense. Commercial multi-packs, such as multi-pack spray foam canisters or 12-packs of 27.1 oz to 30 oz cans, significantly lower the cost per ounce. These larger packages often come with an applicator gun and cleaner, delivering upwards of 240 to 500 board feet of aggregate coverage at a fraction of the per-ounce retail store price.
Open-Cell vs. Closed-Cell Polyurethane Cost-Effectiveness
Understanding the density and structure of expanding foam ensures you do not waste money using the wrong product for the surrounding environment:
- Open-Cell Foam: With a lighter density (typically 0.5 to 1.64 lb/ft³), open-cell polyurethane expands substantially to fill framing cavities. It is cost-effective for sound dampening and interior thermal padding. However, because its cell structure is sponge-like, it can absorb water and should not be used below grade or where moisture is present.
- Closed-Cell Foam: Ranging from 2.0 to over 3.0 lb/ft³ in density, closed-cell foam cures into a rigid, rock-solid plastic matrix. It resists water absorption, acts as an air and vapor barrier, and adds racking strength to assemblies. For damp-prone areas like crawl space spray foam insulation or exterior foundation work, closed-cell is essential for long-term durability.
DIY Application Tips and Hidden Costs to Avoid
A bargain can of foam can quickly turn expensive if you accidentally ruin a carpet, ruin a pair of clothes, or clog a reusable applicator nozzle. Factoring in equipment and preparation will save both time and money.
Essential Safety Gear and Proper Surface Preparation
Polyurethane foam sticks tenaciously to everything—including human skin, hair, and clothing. Once cured, it cannot be dissolved by household cleaners and must wear off through natural skin shedding or mechanical abrasion with a pumice stone.
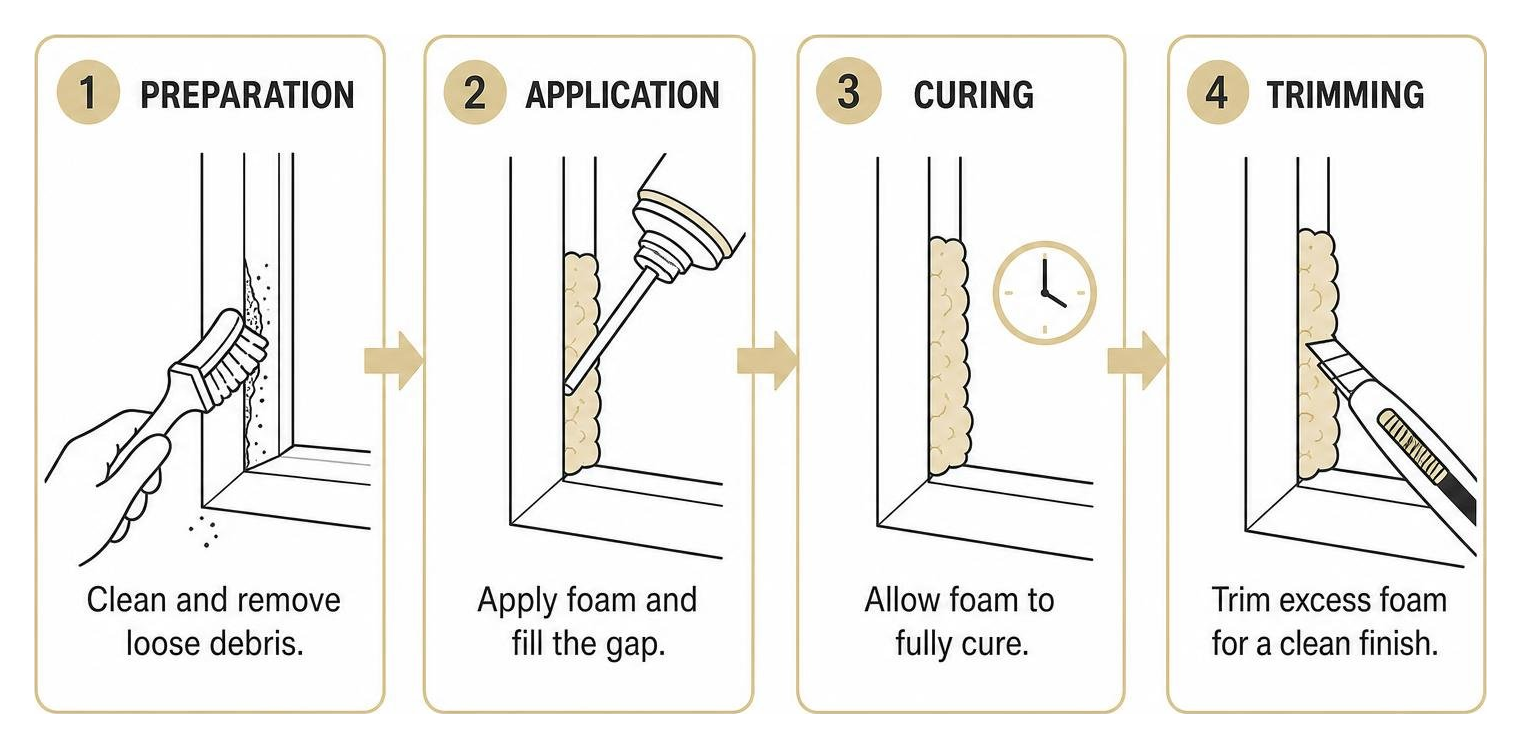
Before beginning:
- Wear Protective Equipment: Always wear nitrile or work gloves, safety glasses, long sleeves, and clothes you don't mind discarding. Ensure adequate ventilation to avoid inhaling vapors.
- Clean the Substrate: Remove dust, loose mortar, and grease from the application zone. Foam bonds poorly to dusty or oily substrates.
- Lightly Mist the Area: One-component aerosol foams cure through a chemical reaction with moisture in the air. Misting concrete, wood, or brick lightly with a spray bottle of water speeds up cure times, improves cell density, and helps prevent internal voids. For more technical background on building envelopes and thermal performance, review our comprehensive insulation education resources.
Avoiding Applicator Gun and Dispenser Clog Expenses
One hidden cost of cheap straw-dispenser foam cans is their single-use nature. If you only use half a standard can, the residual chemical inside the straw hardens within an hour, rendering the rest of the can unusable.
To overcome this, modern products feature reusable solutions like a multipurpose black sealant with smart dispenser, which incorporates a spring-loaded no-drip tip that can be reused up to 30 days after initial activation.
If you upgrade to professional-style foam cans that require an applicator gun:
- Always keep a can screwed onto the gun basket under pressure to keep air out of the barrel.
- Keep a $7 can of dedicated acetone polyurethane foam cleaner on hand to flush the adapter valve and nozzle whenever swapping canisters.
- Store partial cans upright in a temperature-controlled environment between 60°F and 80°F. Storing them in a freezing shed or hot vehicle trunk will ruin the propellant and make the foam dispense unevenly.
When DIY Foam Falls Short: Knowing When to Call a Professional
While cheap aerosol expanding foam is an outstanding DIY option for small cracks and spot air-sealing, it is not practical for large residential assemblies.
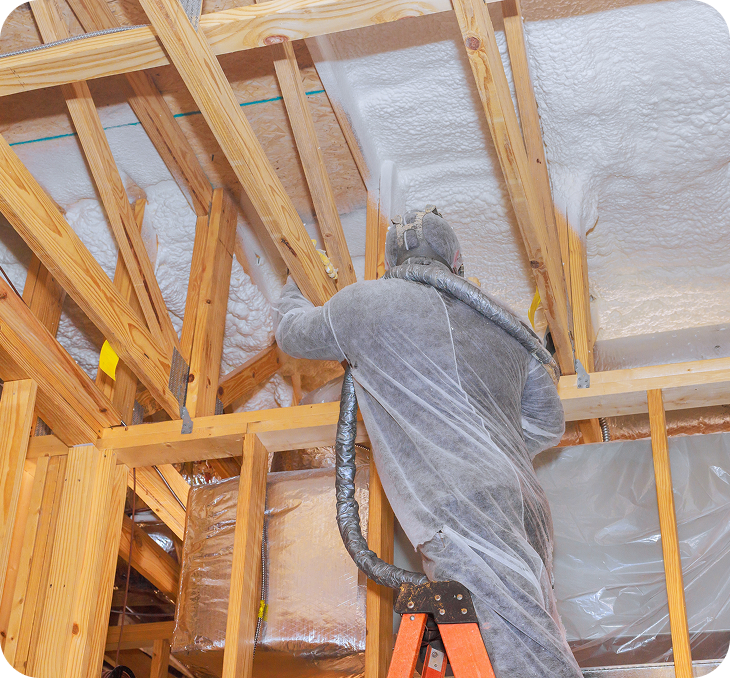
Attempting to insulate large surface areas—such as complete attic spray foam insulation, whole-home wall spray foam insulation, or extensive metal building spray foam insulation—using small DIY cans or disposable kits quickly leads to uneven thickness, thermal bridging, off-ratio curing, and skyrocketing costs per square foot.
For complete build-outs and new construction spray foam insulation, working with qualified spray foam contractors delivers commercial-grade, high-yield closed-cell or open-cell insulation applied at the correct temperature and pressure, backed by clear warranties and regional rebate eligibility.
Frequently Asked Questions About Budget Spray Foam
What is the average curing time for low-cost expanding foam?
Most one-component budget aerosol foams become tack-free (dry to the touch on the surface) in 10 to 20 minutes under normal room conditions (70°F and 50% relative humidity). They can generally be trimmed with a utility knife or serrated blade within 1 hour, with a full structural cure taking between 8 and 24 hours. Cold temperatures and very dry air will slow down the curing process.
Can cheap spray foam be used outdoors in direct sunlight?
Polyurethane expanding foam degrades under direct ultraviolet (UV) sunlight. If left unprotected, sun exposure causes cured foam to discolor, become brittle, and crumble into powder within a few seasons. If you use standard foam outside for masonry cracks, RV undercarriages, or window penetrations, trim it flush after it fully cures and cover it with an exterior-grade acrylic or latex paint, elastomeric coating, or silicone sealant.
How do multi-pack kits compare to single aerosol cans in price?
Buying a single 12-ounce can typically costs between $7 and $9 (roughly $0.60 to $0.75 per ounce). Purchasing a contractor multi-pack containing 12 to 24 larger 30-ounce canisters brings the price down to roughly $0.35 to $0.45 per ounce. If you have an extensive project involving dozens of window frames, crawl space rim joists, and attic penetrations, a multi-pack or bulk kit will yield substantial savings over buying single cans at retail.
Conclusion
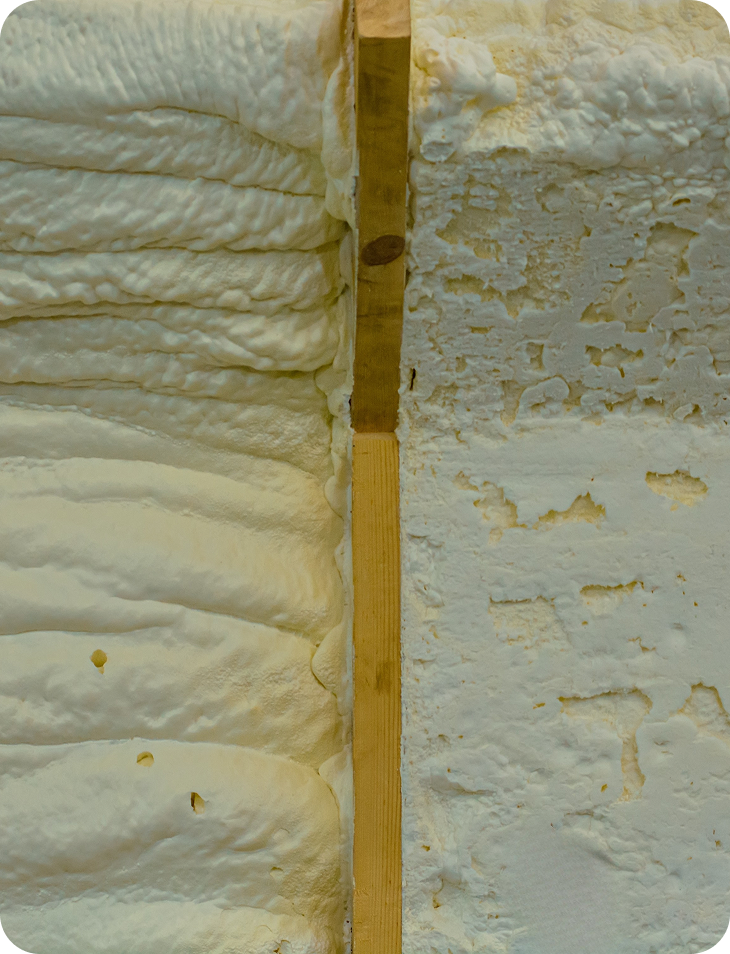
Cheap expanding foam is one of the most effective and accessible tools available for DIY home maintenance. Whether you are keeping winter drafts from entering your living room, sealing pipe penetrations, or closing off pest entry points, a budget-friendly can of polyurethane foam delivers an airtight seal that standard caulk simply cannot match.
By matching the right gap formulation to your project, wearing proper safety gear, and misting surfaces to ensure a fast cure, you can complete draft-sealing projects for just a few dollars. And when your home improvement plans grow beyond small DIY fixes to full-scale attic, crawl space, or commercial insulation upgrades, our team at Sweet Home Spray Foam is always ready to deliver reliable, expert spray foam insulation services with clear upfront pricing across Virginia.