A Comprehensive Guide to Basement Insulation
Why Basement Insulation Matters for Comfort, Cost, and Moisture Control
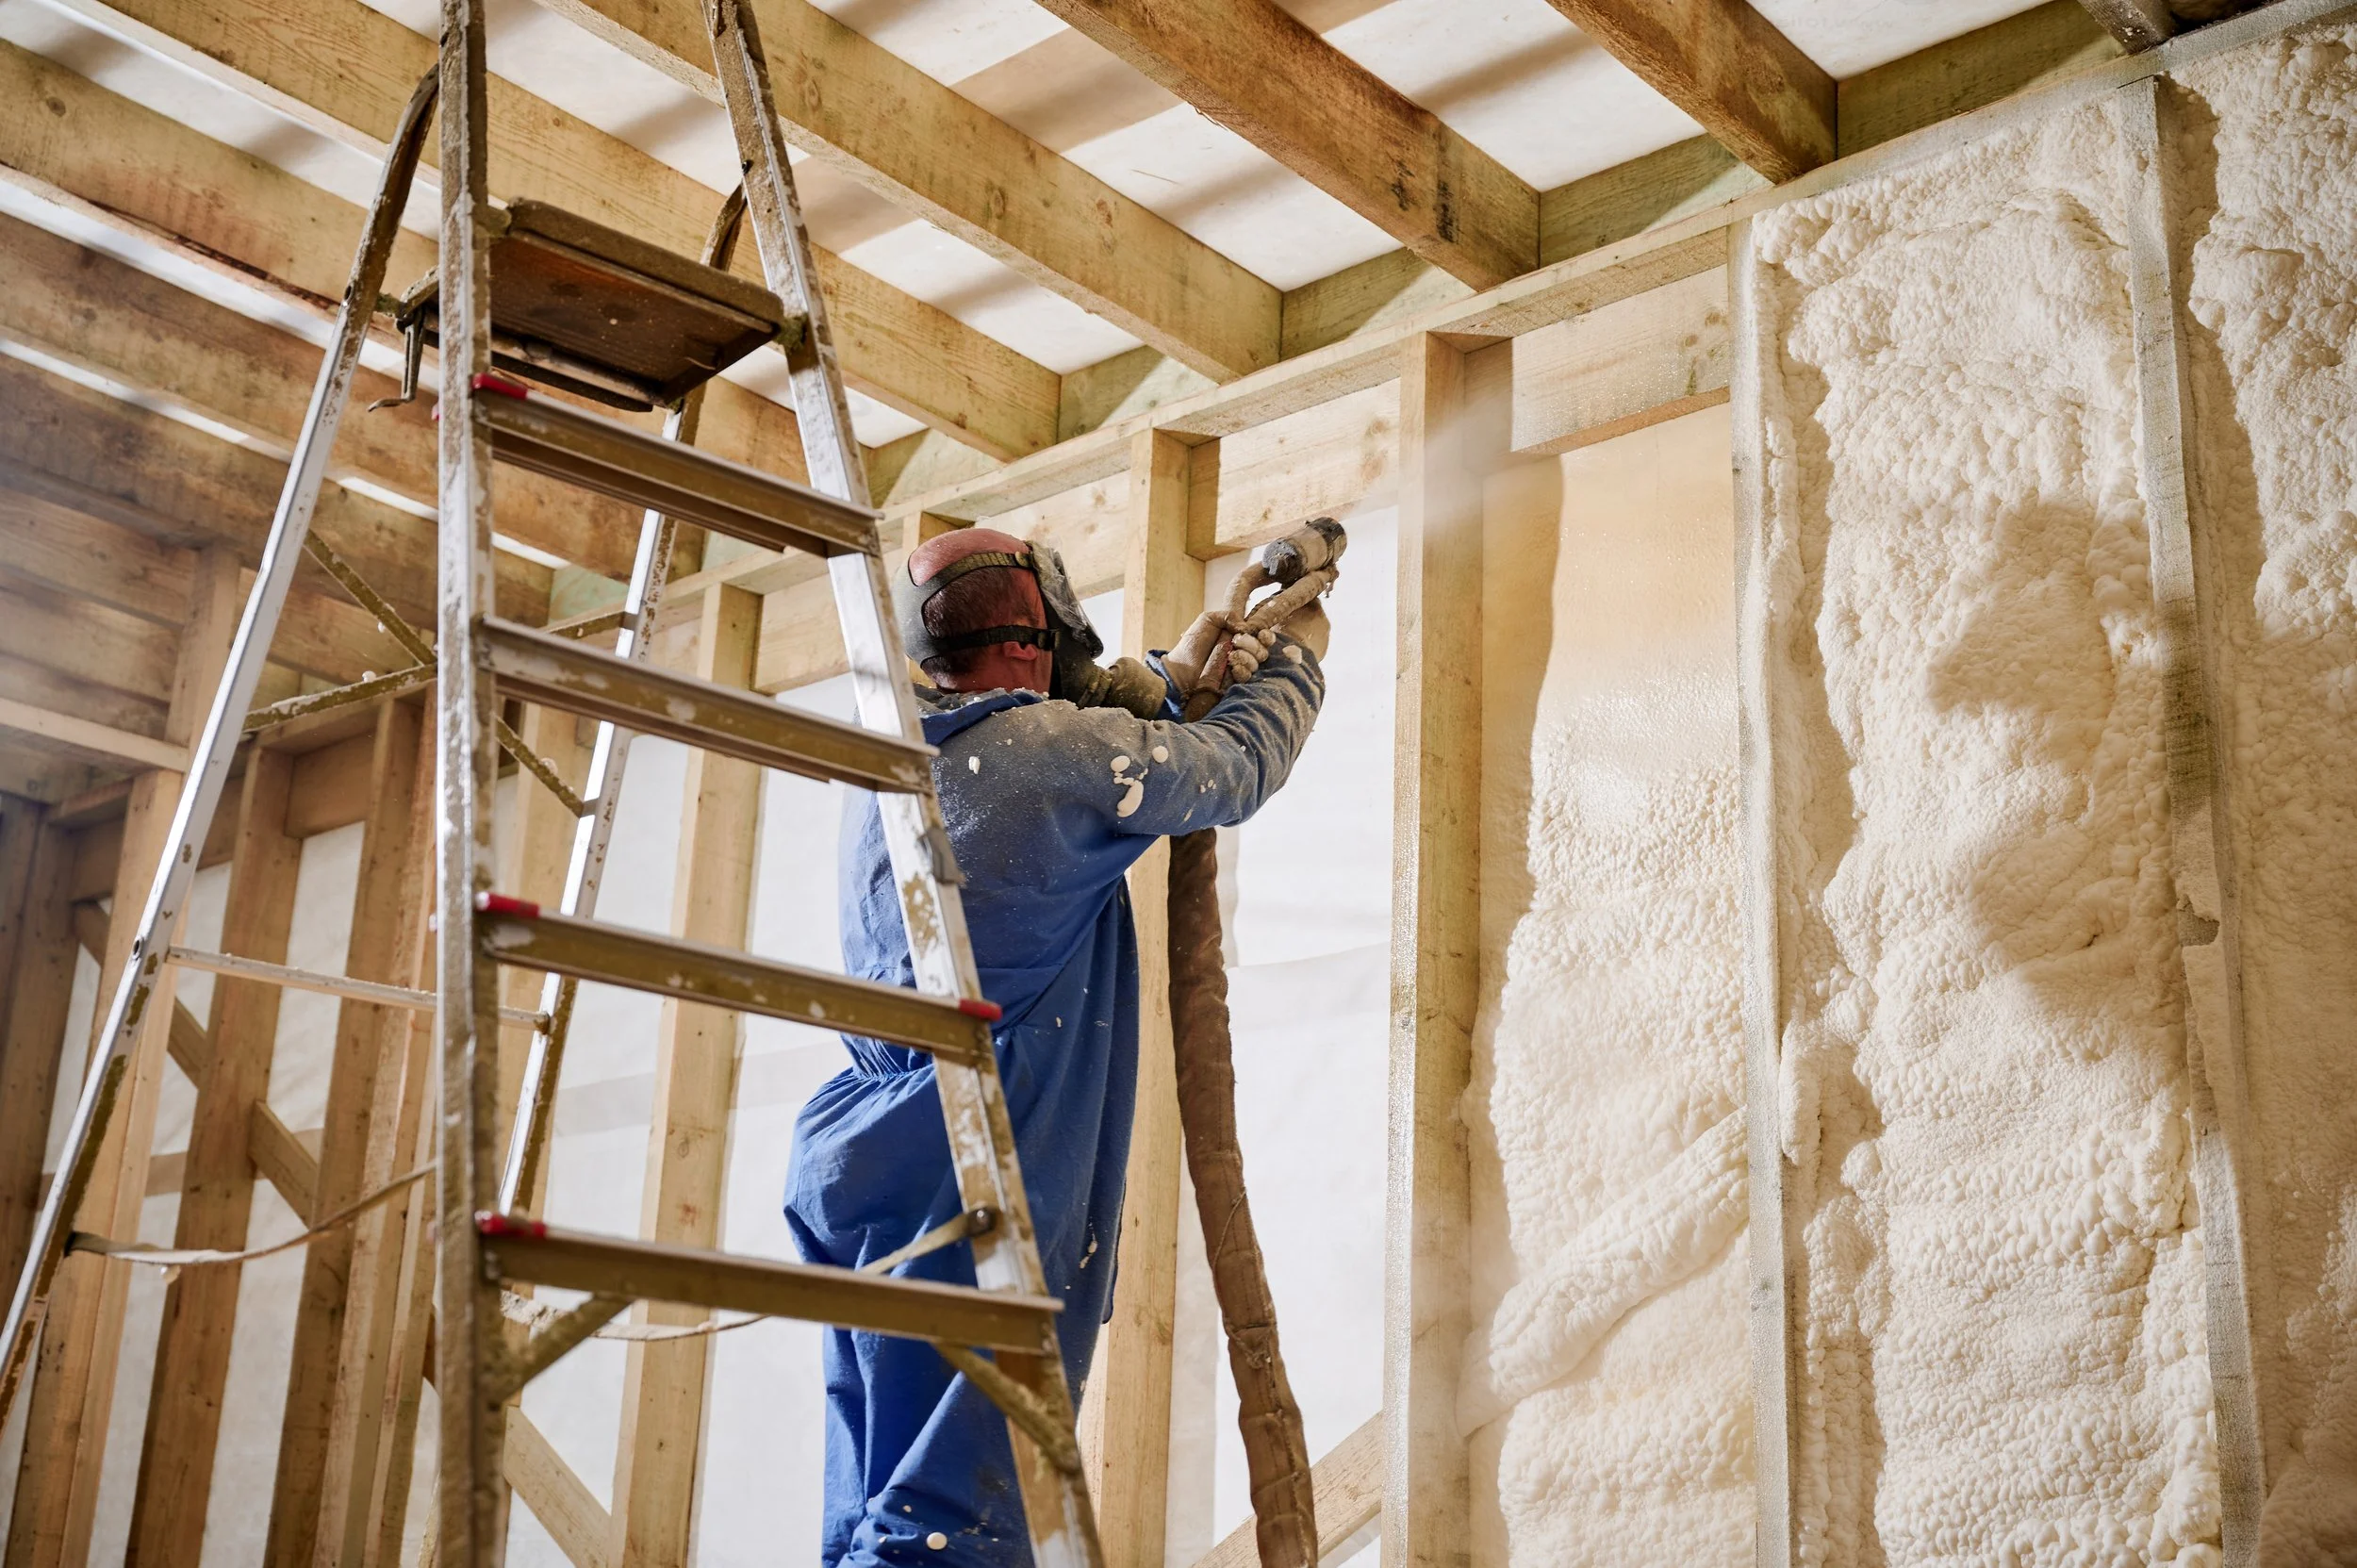
The best basement insulation plan starts by fixing water problems, air-sealing the rim joist and foundation gaps, then adding continuous moisture-resistant insulation to the basement walls. For many Virginia homes, closed-cell spray foam at the rim joist and against suitable foundation walls is an effective way to reduce drafts, improve first-floor comfort, and limit condensation risk.
Concrete provides very little insulation on its own - an 8-inch foundation wall is roughly R-0.6. That means an uninsulated basement can pull heat from the home in winter and add unwanted heat and humidity in summer. Properly sealing and insulating basement walls, rim joists, and slab edges can reduce heating costs by an estimated 10% to 20% in an average home.
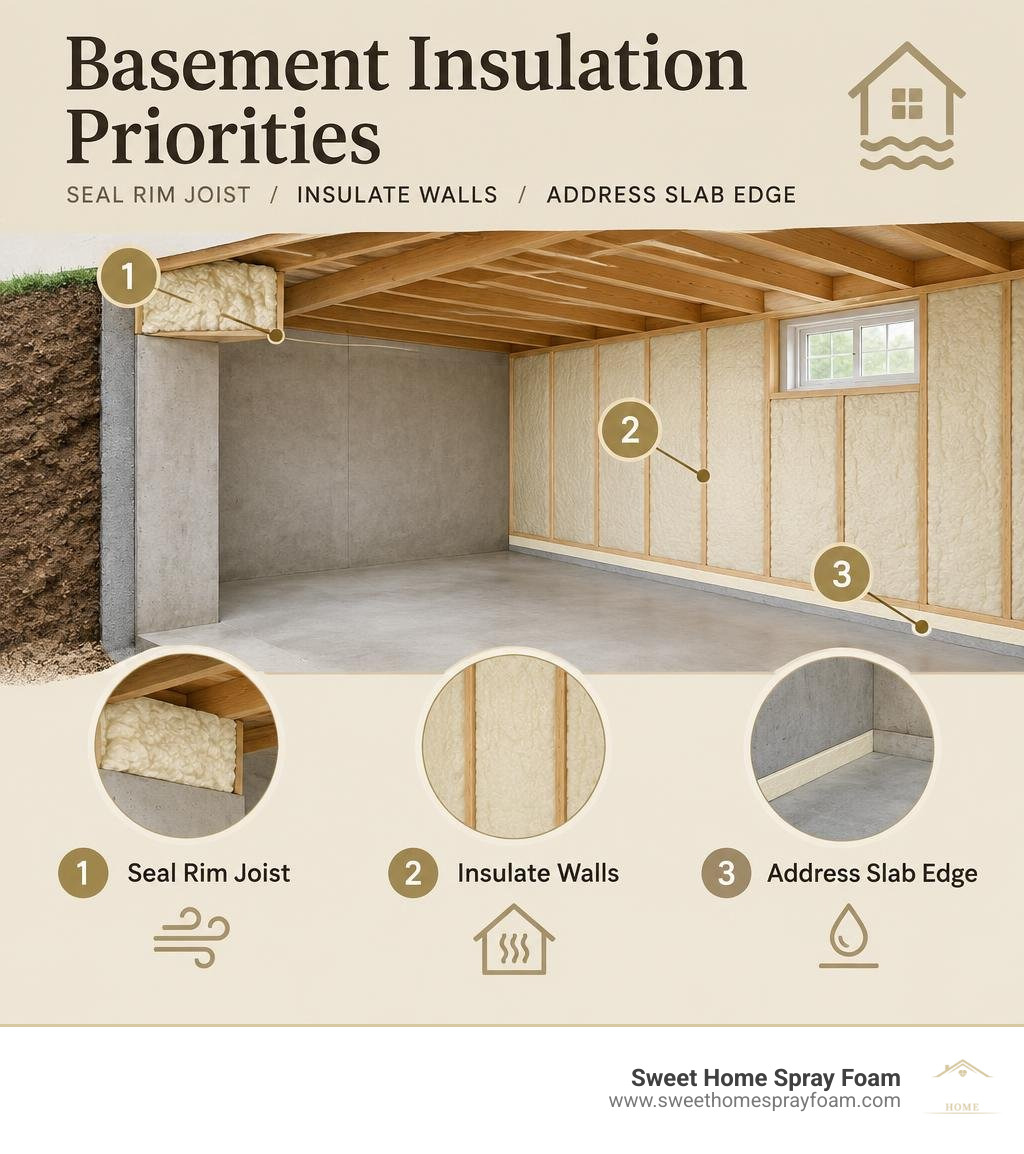
The rim joist deserves early attention because it is often a major air-leak point. In fact, a leaky band joist can allow more air leakage than all basement windows combined. A continuous insulation layer on the foundation wall then helps create a warmer, drier surface behind finished walls.
For a durable result, do not insulate over active leaks, damp walls, pest damage, or untested combustion equipment. Start with drainage and moisture control, test for radon when appropriate, and ensure foam insulation receives the required code-approved thermal or ignition barrier.
Understanding Heat Loss Paths and Critical Thermal Boundaries
When thinking about home energy loss, most homeowners look straight up to the roof. While hot air naturally rises, the bottom of your home acts like an open thermal gateway. An uninsulated foundation can be responsible for up to 20% of an entire home's total heating load.
Heat moves in three ways: conduction, convection, and radiation. In a basement, conduction and convection do the heavy lifting:
- Conduction through solid concrete: A standard 8-inch poured concrete or masonry block wall delivers a meager thermal resistance of roughly R-0.6. Concrete acts like a giant thermal sponge, steadily absorbing warmth from your living spaces and conducting it directly into the surrounding soil, which stays around 50°F year-round.
- Convection via the stack effect: Warm air escaping through upper levels creates negative pressure at the base of your home. Cold outdoor air gets pulled inward through rim joists, mudsills, and foundation joints.
- Above-grade exposure: The top portion of the foundation wall exposed above the dirt line faces freezing winter winds and scorching summer sun, losing far more heat per square foot than the deeply buried sections.
Managing these lower thermal boundaries requires the same building-science discipline we use when installing crawl space spray foam insulation. Wrapping the foundation into the conditioned building envelope stabilizes indoor temperatures, lowers humidity, and protects your mechanical equipment from harsh environmental swings.
Rim Joists, Foundation Walls, and Slab Transitions
The intersection where the wood-framed house meets the masonry foundation wall is notoriously leaky. The rim joist (or band joist) and the mudsill sit directly on top of porous concrete. Without a dedicated capillary break and continuous air seal, outside air pours through these joints, chilling the floorboards directly above.
Targeting the rim joist with closed-cell spray foam provides an airtight, moisture-impermeable seal that neutralizes air leakage immediately. Moving downward, the foundation walls require continuous insulation to prevent indoor humidity from contacting cold concrete. Finally, at the base of the wall, sub-slab perimeter transitions must be detailed properly to prevent thermal bridging between the concrete slab and the footings.
The primary resource Air Sealed, Insulated Basements highlights how treating these three transition zones as a single continuous envelope prevents condensation and prevents sub-floor drafts throughout the winter months.
Essential Types and Materials for Basement Insulation
Basements present unique challenges because moisture constantly migrates through foundation walls via vapor diffusion and capillary action. The materials you select must handle moisture without rotting, losing R-value, or promoting microbial growth.
When choosing between rigid foam boards, spray-applied foam, and fibrous batts, you must evaluate thermal performance, moisture tolerance, and safety codes. Applying wall spray foam insulation directly to the concrete seals imperfections that rigid boards might bridge over.
| Insulation Material | Typical R-Value per Inch | Moisture Resistance | Vapor Permeability | Relative Cost | Primary Use Case |
|---|---|---|---|---|---|
| Closed-Cell Spray Foam | R-6.0 to R-6.5 | Superior (waterproof barrier) | Class II Vapor Retarder (<1.0 perm at 2") | Moderate to High | Rim joists, uneven stone, concrete walls |
| Extruded Polystyrene (XPS) | R-5.0 | High (water-resistant) | Semi-permeable (approx. 1.0 perm at 1") | Moderate | Smooth concrete walls, sub-slab |
| Expanded Polystyrene (EPS) | R-3.8 to R-4.2 | Moderate (dries out well) | Permeable (2.0 to 5.0 perms) | Low to Moderate | Interior foundation walls |
| Polyisocyanurate (Polyiso) | R-6.0 to R-6.5 | Moderate (foil faced) | Impermeable (with foil facing) | Moderate | Interior framed cavity or continuous wall |
| Mineral Wool Batts | R-3.8 to R-4.2 | High (hydrophobic, non-rotting) | Highly Permeable | Low to Moderate | Stud cavities over continuous foam |
| Fiberglass Batts | R-3.1 to R-3.7 | Poor (absorbs moisture/sags) | Highly Permeable | Low | Interior framing only (NEVER on bare concrete) |
Interior vs. Exterior Foundation Strategies
Deciding whether to insulate the inside or outside of a foundation wall comes down to project scope:
- Exterior Insulation: Ideal for new construction. Placing insulation against the exterior surface keeps the entire concrete mass within the conditioned envelope of the home. However, it requires protective coatings above grade, termite inspection view strips, and dedicated drainage planes. For existing homes, exterior excavation is cost-prohibitive and disrupts landscaping, patios, and driveways.
- Interior Retrofits: The standard approach for existing homes. Installing insulation on the interior allows homeowners to complete projects year-round without massive site disruption. It demands careful moisture management to ensure that moisture migrating through the concrete does not get trapped against wood framing.
The technical manual Basement Insulation Basics outlines how interior retrofits provide the highest return on investment for existing structures when installed with continuous air and moisture barriers.
Comparing Rigid Foam, Spray Foam, and Mineral Fiber
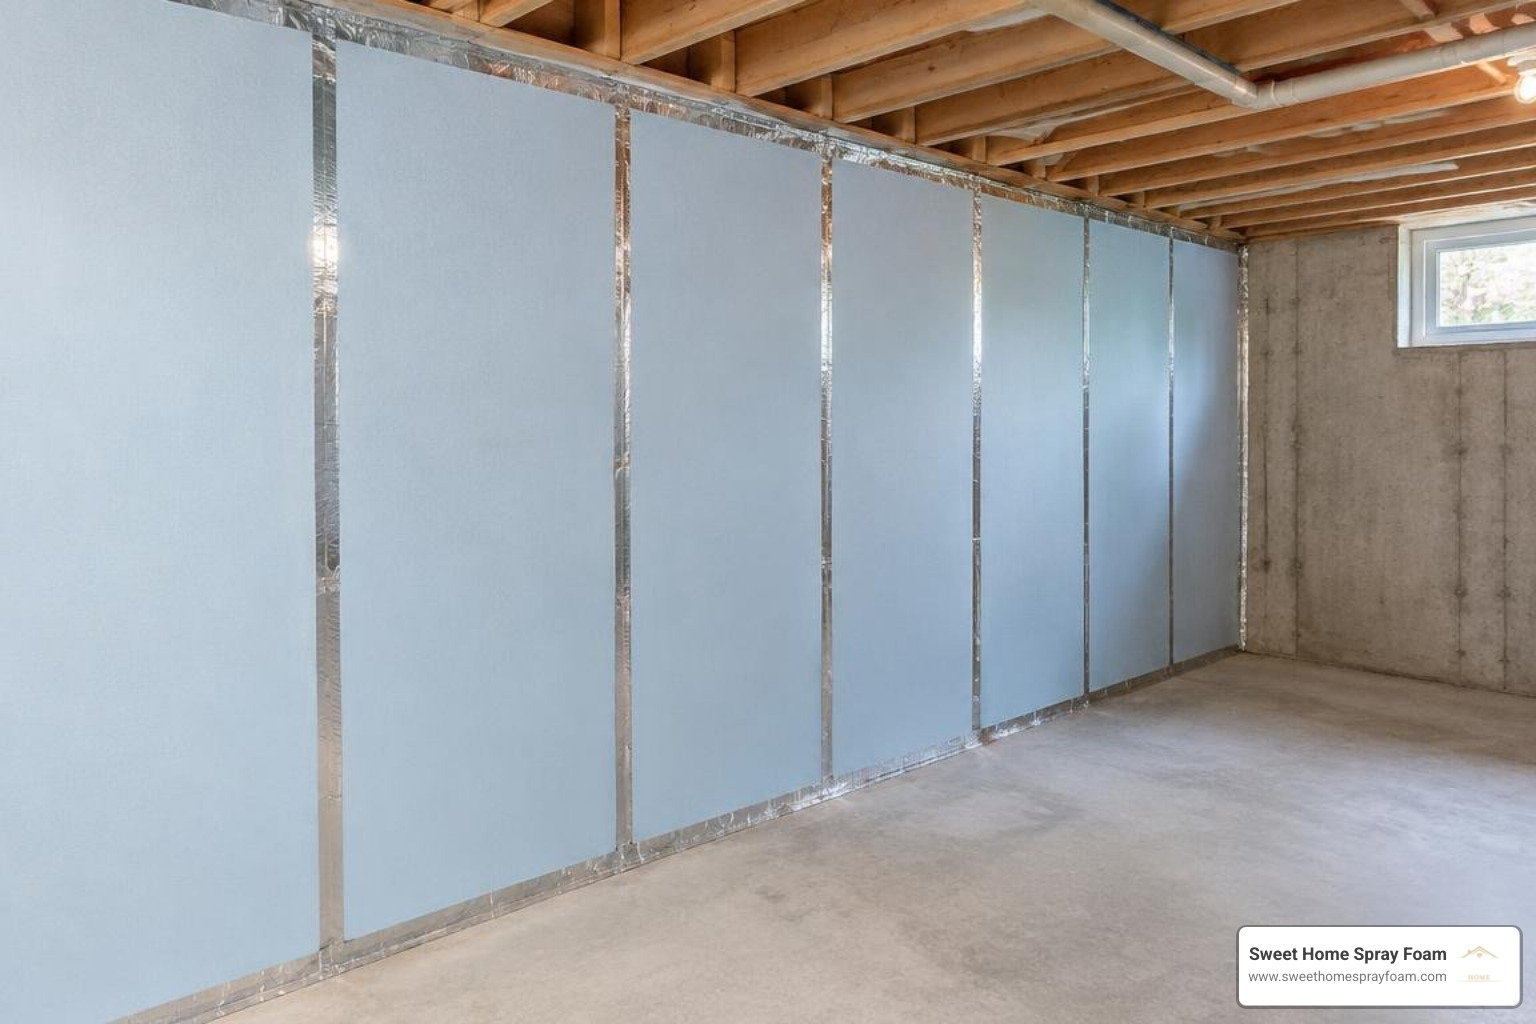
When working on interior walls, picking the right insulation system determines how well the assembly manages moisture:
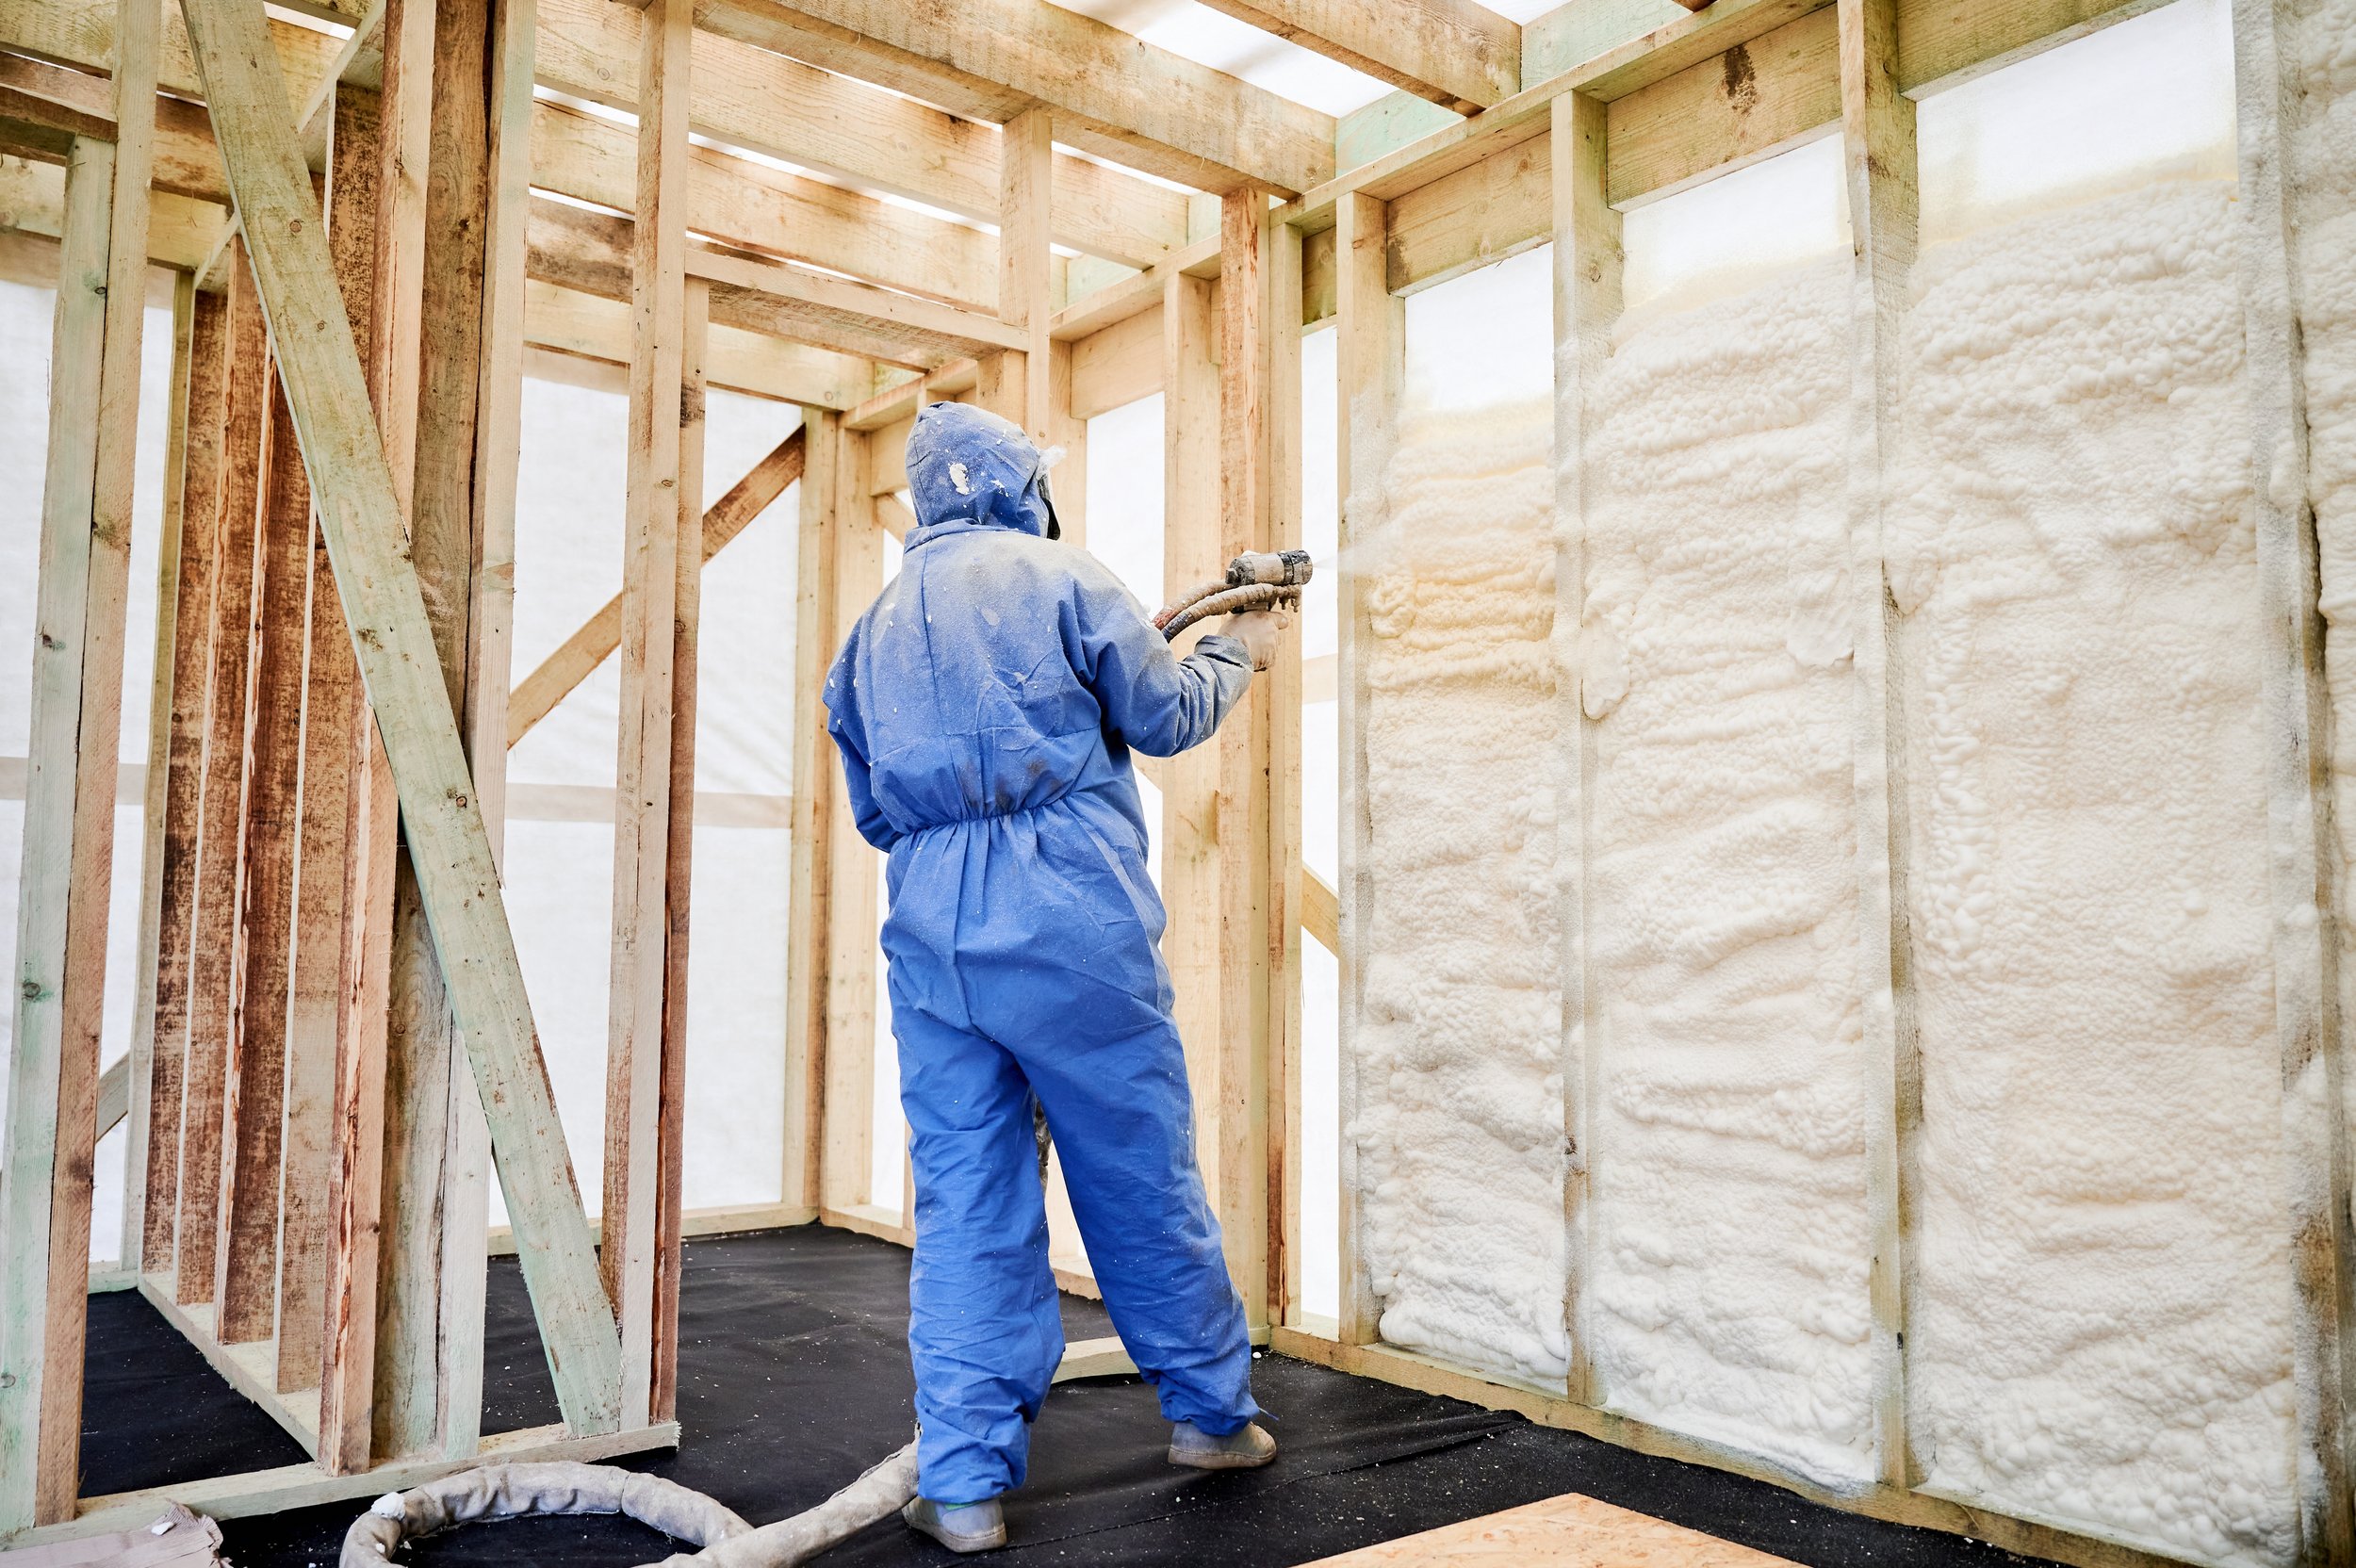
- Closed-Cell Spray Foam: This is the gold standard for basement assemblies. It expands into every crack, bonds directly to smooth or uneven masonry (including rough stone foundations), and serves as an air barrier, vapor retarder, and high-performance insulator in a single step.
- Rigid Foam Boards (XPS/EPS/Polyiso): Rigid boards offer continuous thermal protection over smooth concrete. XPS provides steady R-5 per inch performance, while foil-faced Polyiso delivers up to R-6.5 per inch. All board joints must be taped and sealed to avoid convective air loops behind the panels.
- Mineral Wool Batts: Unlike fiberglass, rock wool is naturally hydrophobic and fire-resistant. While it cannot serve as an air or vapor barrier on bare concrete, it is an exceptional cavity fill when placed inside 2x4 stud walls built in front of a continuous rigid foam layer.
- Fiberglass Batts: Traditional pink fiberglass should never touch bare concrete. It easily absorbs moisture from masonry, loses its loft, and can foster mold growth behind finished drywall.
Pre-Installation Safety, Moisture Control, and Execution Sequence
Insulation restricts heat flow, which lowers the drying potential of a foundation wall. That makes addressing bulk water issues vital before installing any insulation materials.
Just as we emphasize with comprehensive attic and crawl space insulation upgrades, your basement needs a thorough diagnostic assessment before work begins. Ensure gutters are clean, downspouts discharge at least six feet away from the structure, and exterior ground slopes away from your foundation by at least six inches over the first ten feet.
Pre-Retrofit Safety: Radon, Combustion, and Moisture Audits
Before sealing up your basement, run through this critical safety checklist:
- Radon Testing: Basements pull soil gases through floor cracks and porous block walls. Tightening your basement with air seals can alter indoor radon concentrations. Conduct a 48-hour passive radon test prior to work; if levels exceed 4.0 pCi/L, install an active radon mitigation system before applying floor or wall insulation.
- Combustion Safety Zone (CAZ) Testing: If your basement houses natural-draft appliances (like an older gas water heater or atmospheric furnace), air sealing can create backdrafting risks by starving equipment of combustion air. Have appliances evaluated, or upgrade to direct-vent, sealed-combustion systems.
- Hazardous Materials: Older foundations may contain lead paint, while older pipe wrap or perimeter boards may contain asbestos. Never disturb unknown insulation or paint coatings without professional testing.
- Pest and Termite Inspections: Ensure sill plates and studs are free from carpenter ant or termite activity. Maintain a 2- to 3-inch visual inspection strip at the top of the foundation wall where required by local pest control codes.
Proper Sequencing for Basement Insulation Projects
Executing basement insulation in the correct order prevents trapped moisture and performance failures.

- Water Management & Drainage: Correct all exterior gutters, exterior grading, and internal sump pump systems.
- Verify Wall Dryness (Plastic Sheet Test): Tape a 24x24-inch square of clear polyethylene plastic to the bare concrete wall for 48 hours. If moisture droplets form under the plastic, the wall is experiencing active vapor drive that must dry out before installing moisture-sensitive materials.
- Air-Seal & Insulate Rim Joists: Apply closed-cell spray foam or cut-and-cobble rigid foam to the entire perimeter band joist and mudsill.
- Install Continuous Wall Insulation: Apply closed-cell spray foam or continuous rigid foam boards directly to the concrete wall from the mudsill down to the slab. Tape all seams with code-approved acrylic flashing tape.
- Frame Interior Stud Walls: Frame a 2x4 wood or steel stud wall directly in front of the continuous foam layer, leaving a small gap (approx. 1/2 inch) to prevent thermal bridging.
- Add Cavity Insulation (Optional): If higher R-values are required by code, add unfaced mineral wool or fiberglass batts into the stud cavities.
- Install Code-Approved Thermal Barrier: Hang 1/2-inch gypsum drywall over the framing, keeping the drywall 1/2 inch off the concrete floor to prevent moisture wicking.
For a deeper dive into sequencing protocols, consult the comprehensive guide on Basement Insulation Explained: Materials, R-Values, and Installation Order.
Building Codes, Climate Zones, and Cost-Effective Retrofits
Building energy codes establish the baseline insulation levels needed to control condensation and manage heat loss.
All foam plastic insulations (both rigid boards and spray foam) are combustible materials that must be separated from interior living spaces. The International Residential Code (IRC) requires foam insulation to be covered by an approved thermal barrier—most commonly 1/2-inch gypsum wallboard—or an approved intumescent ignition barrier in mechanical or storage areas. For broader details on code-mandated R-values and building science, check out our insulation education resources.
Climate Zone R-Value Mandates and IECC Standards
The International Energy Conservation Code (IECC) and IRC Table N1102.1.2 dictate basement wall insulation levels based on regional Climate Zones:
- Climate Zone 3: Requires minimum R-5 continuous insulation (ci) on interior/exterior walls or R-13 cavity insulation.
- Climate Zone 4 (including Virginia / Zone 4A): Requires minimum R-10 continuous insulation or R-13 cavity insulation, or a hybrid assembly (such as R-5 continuous foam + R-13 cavity batts).
- Climate Zones 5 through 8: Cold northern regions mandate a minimum of R-15 continuous insulation or R-19 cavity insulation (or R-13 cavity + R-5 continuous).
In colder zones, balancing continuous foam with cavity fill controls the dew-point temperature within the wall. If you use a hybrid wall assembly, the interior surface of the foam board must stay warm enough during winter to prevent indoor humidity from condensing inside the stud cavity.
Budget Strategies for Basement Insulation
A full basement retrofit on a 1,000-square-foot basement typically costs between $1,500 and $4,000 for materials if completed DIY, with professional installations ranging higher depending on site complexity and framing. The investment delivers a typical payback within 3 to 8 years in heating-dominated climates.
If budget constraints prevent a complete top-to-bottom basement renovation, prioritize improvements in phases:
- Phase 1 — Rim Joists and Air Leaks: Spend your initial budget sealing and insulating the rim joists with closed-cell spray foam and sealing large plumbing/electrical penetrations. This delivers the highest thermal return per dollar spent.
- Phase 2 — Above-Grade Wall Section: Insulate the above-grade concrete down to at least two feet below the exterior soil line, which addresses the highest conductive heat loss zones.
- Phase 3 — Full Wall Coverage & Studs: Complete the lower wall insulation and install interior framed finishes when additional funds become available.
- Utility Rebates: Always explore local electric and gas utility rebates, which frequently offset the cost of air sealing and foundation insulation upgrades.
Frequently Asked Questions
Which part of the basement should be insulated and sealed first?
Always air-seal and insulate the rim joist (band joist) and mudsill first. The rim joist sits above the ground line and is constructed of dimensional lumber butted against cold masonry. It experiences severe convective air leakage and heat loss. Sealing this perimeter with closed-cell spray foam provides immediate draft reduction, warms the floor above, and yields the fastest return on investment.
Is an interior polyethylene vapor barrier required over basement wall insulation?
No. In modern building science, interior polyethylene (plastic sheeting) vapor barriers should never be installed over interior basement wall insulation. Polyethylene traps moisture that naturally migrates inward through concrete foundation walls, creating an environment ripe for mold and wood rot inside the stud cavity. Instead, use semi-permeable continuous rigid foam, closed-cell spray foam, or smart vapor retarders that allow assemblies to dry toward the interior.
Can fiberglass batts be placed directly against bare concrete foundation walls?
No, never install fiberglass batts directly against bare concrete. Concrete foundation walls continually absorb and wick moisture from the surrounding earth via capillary action. Fiberglass batts lack moisture resistance and will absorb dampness, lose their insulating loft, and trap moisture against framing lumber, leading to mold growth and musty odors. A continuous moisture-tolerant thermal break (such as closed-cell spray foam or rigid foam board) must always be installed against the concrete first.
Conclusion
Insulating your basement is one of the most reliable ways to reduce energy costs, eliminate cold floors, and control basement humidity. By moving your home's thermal boundary down to the foundation walls and sealing leak-prone rim joists, you protect framing from moisture while keeping conditioned air inside your living spaces.
Whether upgrading an unfinished basement or prepping for a complete living space remodel, proper air sealing, moisture management, and code-compliant materials ensure lasting results.
Our team provides upfront pricing and guidance on available utility rebates across Virginia. If you are ready to stabilize your home's comfort from the ground up, schedule a consultation for professional insulation services in Roanoke, VA with the specialists at Sweet Home Spray Foam.