
A Homeowner's Guide to Choosing Basement Rim Joist Insulation
Choose the Right Basement Rim Joist Insulation First
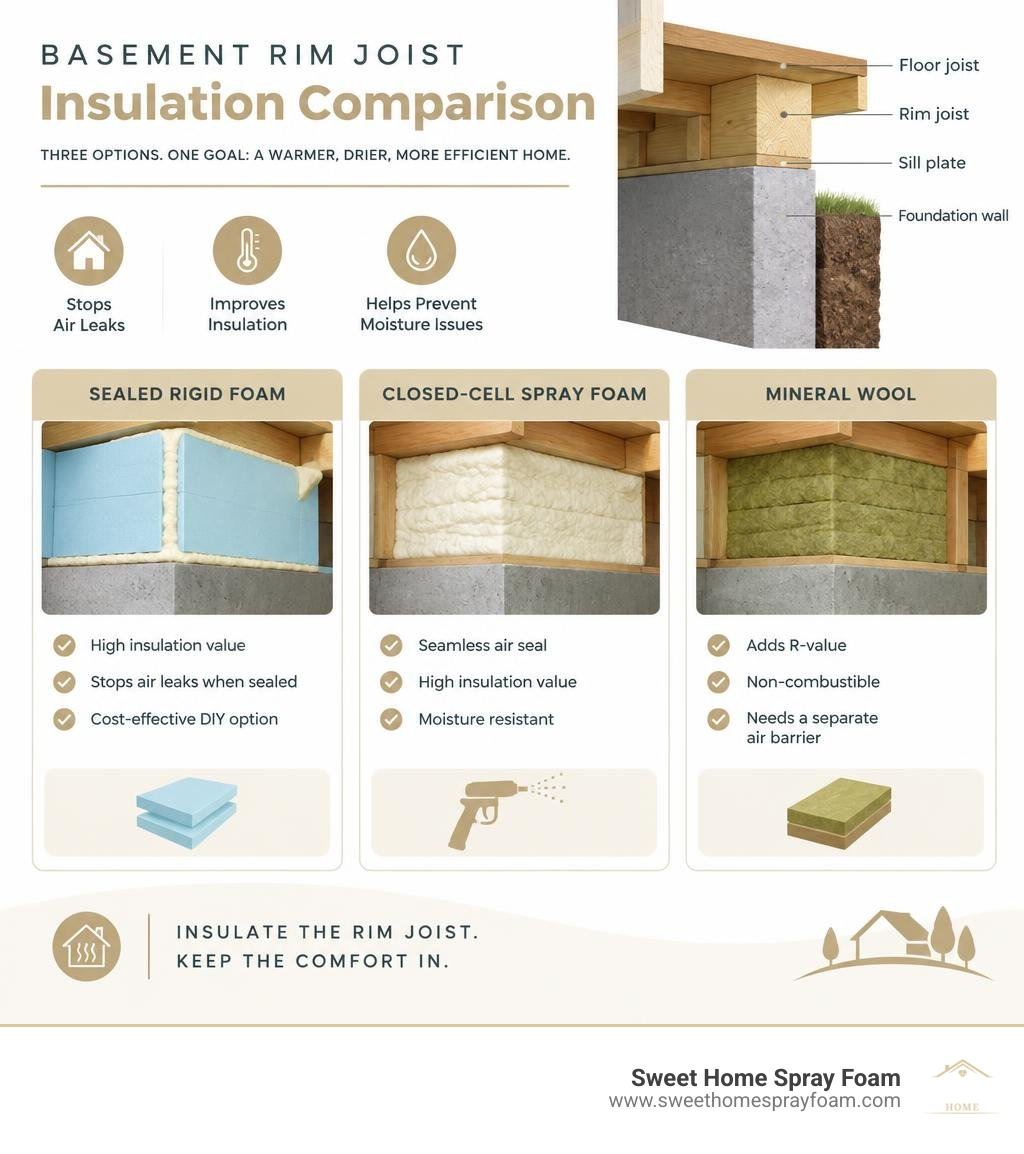
For effective basement rim joist insulation, choose an option that both insulates and stops air leaks. For most homes, that means either closed-cell spray foam or rigid foam board sealed around every edge with expanding foam. Mineral wool can add R-value, but it needs a separate air barrier to control drafts and moisture.
A smart starting point is:
- Inspect for water, mold, pests, and structural issues first.
- Air-seal the sill plate, cracks, and utility penetrations.
- Use sealed rigid foam for a lower-cost DIY approach, or closed-cell spray foam for a seamless professional air seal.
- Confirm fire-barrier and termite-inspection requirements with your local building department.
The rim joist is the wood band at the top of the foundation where floor joists meet the exterior wall. It is often only about R-2 when bare. Because it has many seams, it can leak cold outdoor air while also losing heat through the wood. Building-science guidance commonly links this overlooked band area to a significant share of heat loss in unfinished basements.
For Virginia homeowners dealing with cold floors, basement drafts, and high heating bills, sealing this area can be one of the most practical early upgrades. Avoid relying on fiberglass batts alone: they do not stop moving air, and humid indoor air can reach the cold wood behind them, raising condensation and mold risk.
Understanding Basement Rim Joist Insulation and Thermal Loss
The perimeter where your house meets its foundation is a prime spot for energy loss. The rim joist (also called the band joist) sits directly on top of the wooden sill plate, which rests upon the concrete or masonry foundation wall. Because this framing system sits above the exterior ground line, it is directly exposed to outdoor temperatures, wind, and humidity.
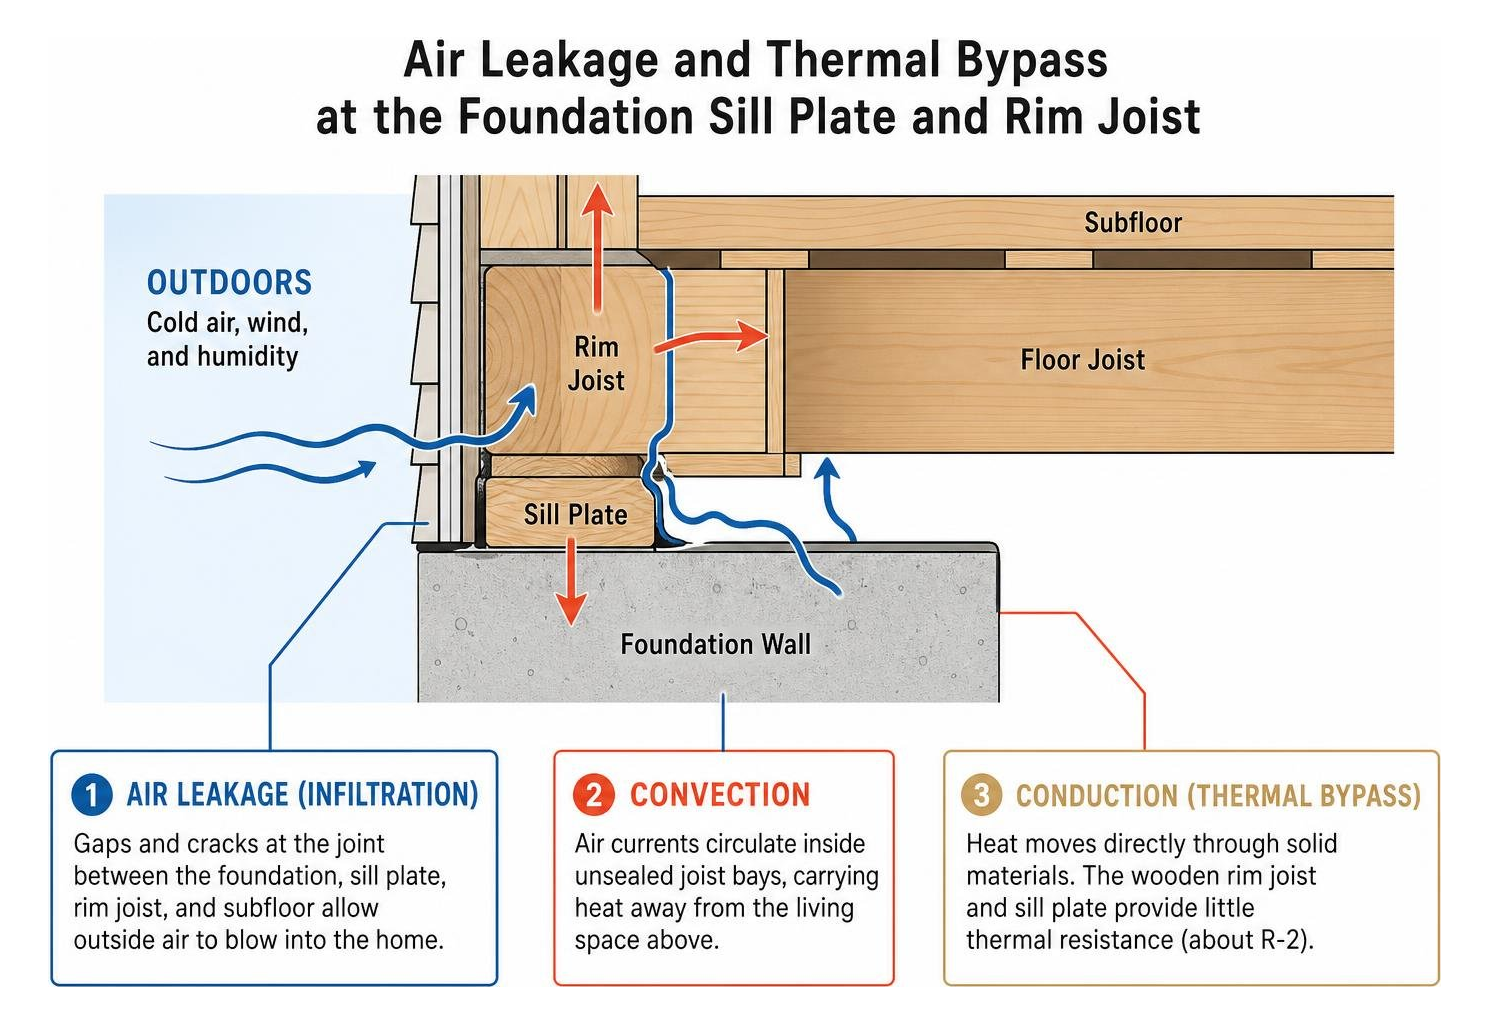
Heat escapes this junction through three distinct mechanisms:
- Conduction: Heat moves directly through solid materials. A standard 1.5-inch thick wooden rim joist provides a mere R-2 thermal resistance, functioning like a thin wooden window against freezing winter air.
- Convection: Air currents circulate inside unsealed joist bays, carrying heat away from your living space above.
- Air Leakage (Infiltration): Microscopic cracks between the concrete foundation, sill plate, rim board, and subfloor allow outside air to blow straight into the home.
As noted in this engineering guide on sealing rim joists, unsealed framing seams allow continuous air exchange, which robs your HVAC system of conditioned air and introduces outdoor pollutants into your basement.
What Is a Rim Joist and the Stack Effect?
To understand why this small strip of wood creates such major comfort problems, we have to look at the stack effect. Your home acts like a natural chimney. During the winter heating season, warm indoor air becomes buoyant and rises toward the attic, eventually escaping through ceiling penetrations and roof vents.
As that warm air exits the top of the house, it creates a negative pressure zone (a vacuum effect) in the lower levels. This vacuum pulls cold, dense outdoor air inward through every available crack along your foundation perimeter, sill plates, and rim joist bays.
Building science reports commonly attribute a fifth to a third of an unfinished basement's total heat loss to the rim band alone. When cold air enters here, it chills the subfloor directly above it, resulting in the classic "freezing winter floors" symptom that many homeowners experience on the first floor.
Why Fiberglass Batts Fail at the Rim Band
For decades, builders stuffed leftover yellow or pink fiberglass batts into rim joist cavities. Unfortunately, building science has proven this practice does far more harm than good.
Fiberglass is an air-permeable material designed to trap stagnant air within its fibers. It does not stop moving air. When placed against an unsealed rim joist:
- It Acts as an Air Filter: Cold air blows straight through the batt, leaving telltale black dust strips on the fibers as dirt is filtered out of the incoming air stream.
- Condensation and Mold Develop: Warm, moisture-laden indoor air drifts through the porous fiberglass and hits the freezing, uninsulated rim joist wood (which sits below the dew point). The moisture condenses into liquid water against the wood. Because fiberglass holds this moisture against the framing, it creates ideal conditions for wood rot and mold growth.
- Rodent Nesting: Fluffy fiberglass batts provide an inviting nesting habitat for mice, insects, and other pests seeking warmth near the foundation perimeter.
Removing old fiberglass batts and replacing them with an air-impermeable insulation system is one of the most effective basement upgrades you can make.
Comparing the Best Materials for Rim Joist Performance
When evaluating rim joist upgrades, your chosen material must provide continuous thermal resistance and prevent humid indoor air from reaching the cold rim board.
| Insulation Material | Typical R-Value per Inch | Air Sealing Capability | Vapor Retarder Properties | Best Application |
|---|---|---|---|---|
| Closed-Cell Spray Foam | R-6.0 to R-7.0 | Superior (Monolithic seal) | Yes (Class II vapor retarder at 1.5"+) | Professional, irregular framing, ultimate durability |
| Extruded Polystyrene (XPS) | R-5.0 | High (When edges are sealed) | Moderate (Semi-impermeable) | DIY cut-and-cobble, moisture resistance |
| Polyisocyanurate (Polyiso) | R-6.0 to R-6.5 | High (When edges are sealed) | High (Foil-faced acts as Class I vapor barrier) | High R-value per inch, dry basement environments |
| Expanded Polystyrene (EPS) | R-3.8 to R-4.2 | High (When edges are sealed) | Vapor-permeable (Allows some drying) | Budget DIY, drying potential in historic homes |
| Mineral Wool (Rockwool) | R-4.0 to R-4.3 | None (Requires separate air barrier) | Fully breathable (Vapor open) | Fire protection overlay, non-combustible barrier |
To explore broader building envelope strategies, check out our guide on attic and crawl space insulation, as well as detailed air sealing and insulation methods across various assemblies.
Selecting the Right Basement Rim Joist Insulation Material
- Extruded Polystyrene (XPS): The dense blue or pink board is a popular DIY choice. With R-5 per inch and good water resistance, it withstands basement moisture without deteriorating.
- Polyisocyanurate (Polyiso): Foil-faced polyiso delivers the highest R-value per inch (up to R-6.5). However, it performs best when protected from bulk water leaks.
- Expanded Polystyrene (EPS): Unfaced EPS provides roughly R-4 per inch. It is more vapor-permeable than XPS, allowing some seasonal drying toward the interior.
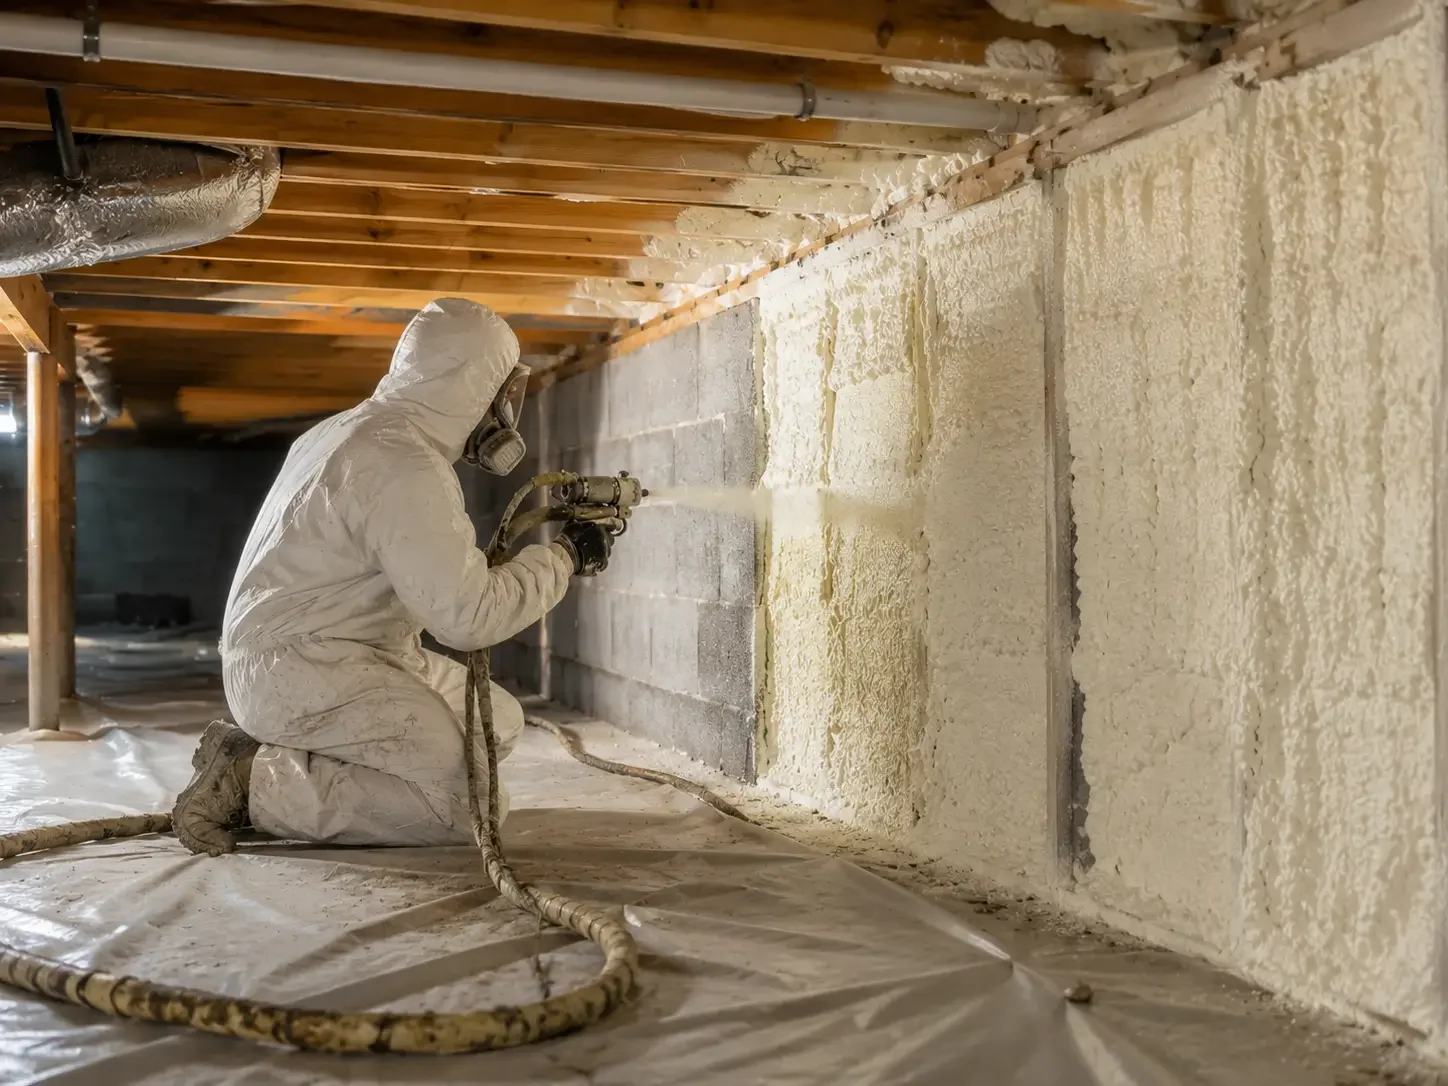
- Closed-Cell Spray Foam: The gold standard for building performance. It expands into every crack, seals framing imperfections, adheres directly to the wood substrate, and serves as an airtight thermal envelope in a single step. We frequently pair this approach with wall spray foam insulation to completely enclose the basement space.
- Mineral Wool: Naturally fire-resistant and water-repellent, mineral wool batts can be placed over rigid foam panels to add thermal resistance and enhance fire safety.
Closed-Cell Spray Foam vs. Rigid Foam Board
Homeowners often weigh the costs and benefits of professional closed-cell spray foam versus DIY rigid foam board installations.
- Material and Labor Costs: DIY rigid foam board costs about $0.60 to $0.90 per square foot for 2-inch polyiso, plus several cans of expanding foam sealant at $8 to $12 each. Professional closed-cell spray foam typically runs $1.50 to $3.00 per board foot applied. A DIY two-component spray foam kit costs roughly $320 to $360 for a 200-board-foot yield.
- Application Efficiency: Rigid board requires measuring, scoring, trimming, and caulking every single joist bay individually. Closed-cell spray foam applies quickly and expands to fill complex irregularities, knot holes, and gaps without tedious hand measurements.
- Air Seal Quality: Rigid board relies entirely on the quality of the perimeter foam bead. If a seam is missed, air leaks persist. Closed-cell spray foam creates a single monolithic seal across the subfloor, rim board, and sill plate.
How to Properly Seal and Insulate Rim Joists Step-by-Step
Whether you choose a DIY foam-board method or hire a professional crew, following a methodical sequence ensures long-lasting thermal and moisture protection.
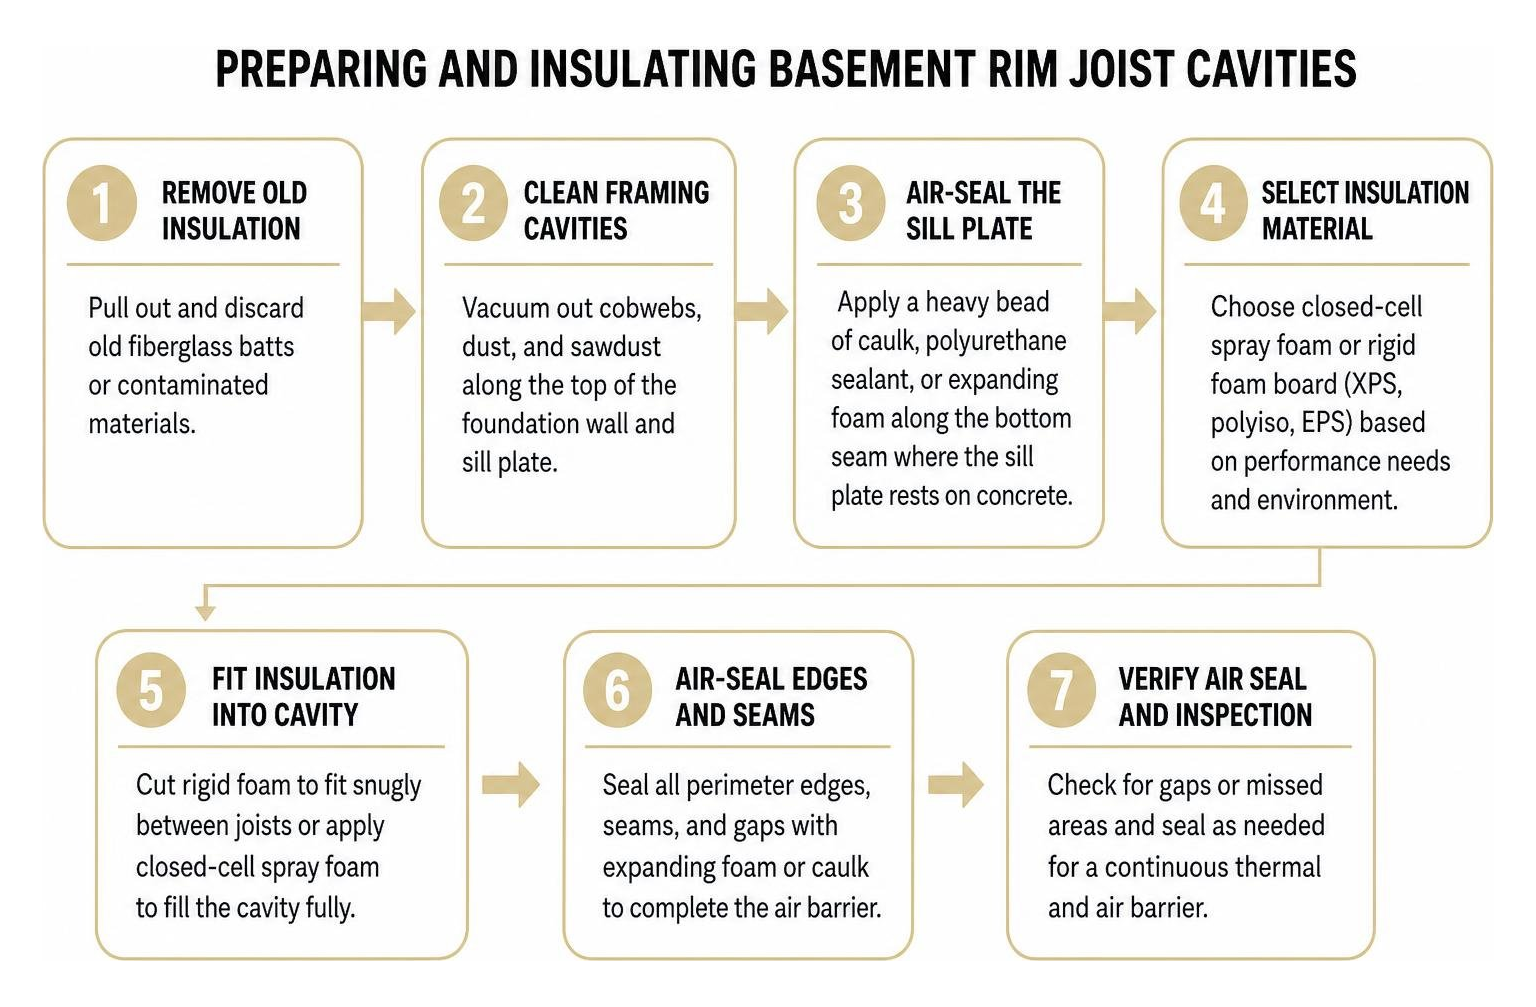
Before beginning, review this comprehensive insulating your rim joists guide and follow these foundational prep steps:
- Remove Old Insulation: Pull out and discard old fiberglass batts or contaminated materials.
- Clean Framing Cavities: Vacuum out cobwebs, dust, and sawdust along the top of the foundation wall and sill plate. Foam adhesives require clean wood surfaces to bond properly.
- Air-Seal the Sill Plate: Apply a heavy bead of acoustic caulk, polyurethane sealant, or expanding foam along the bottom seam where the wooden sill plate rests on the concrete foundation.
The Cut-and-Cobble Method for Basement Rim Joist Insulation
The "cut-and-cobble" technique uses rigid foam boards cut to fit each joist bay, with expanding foam sealing the perimeter perimeter gaps.
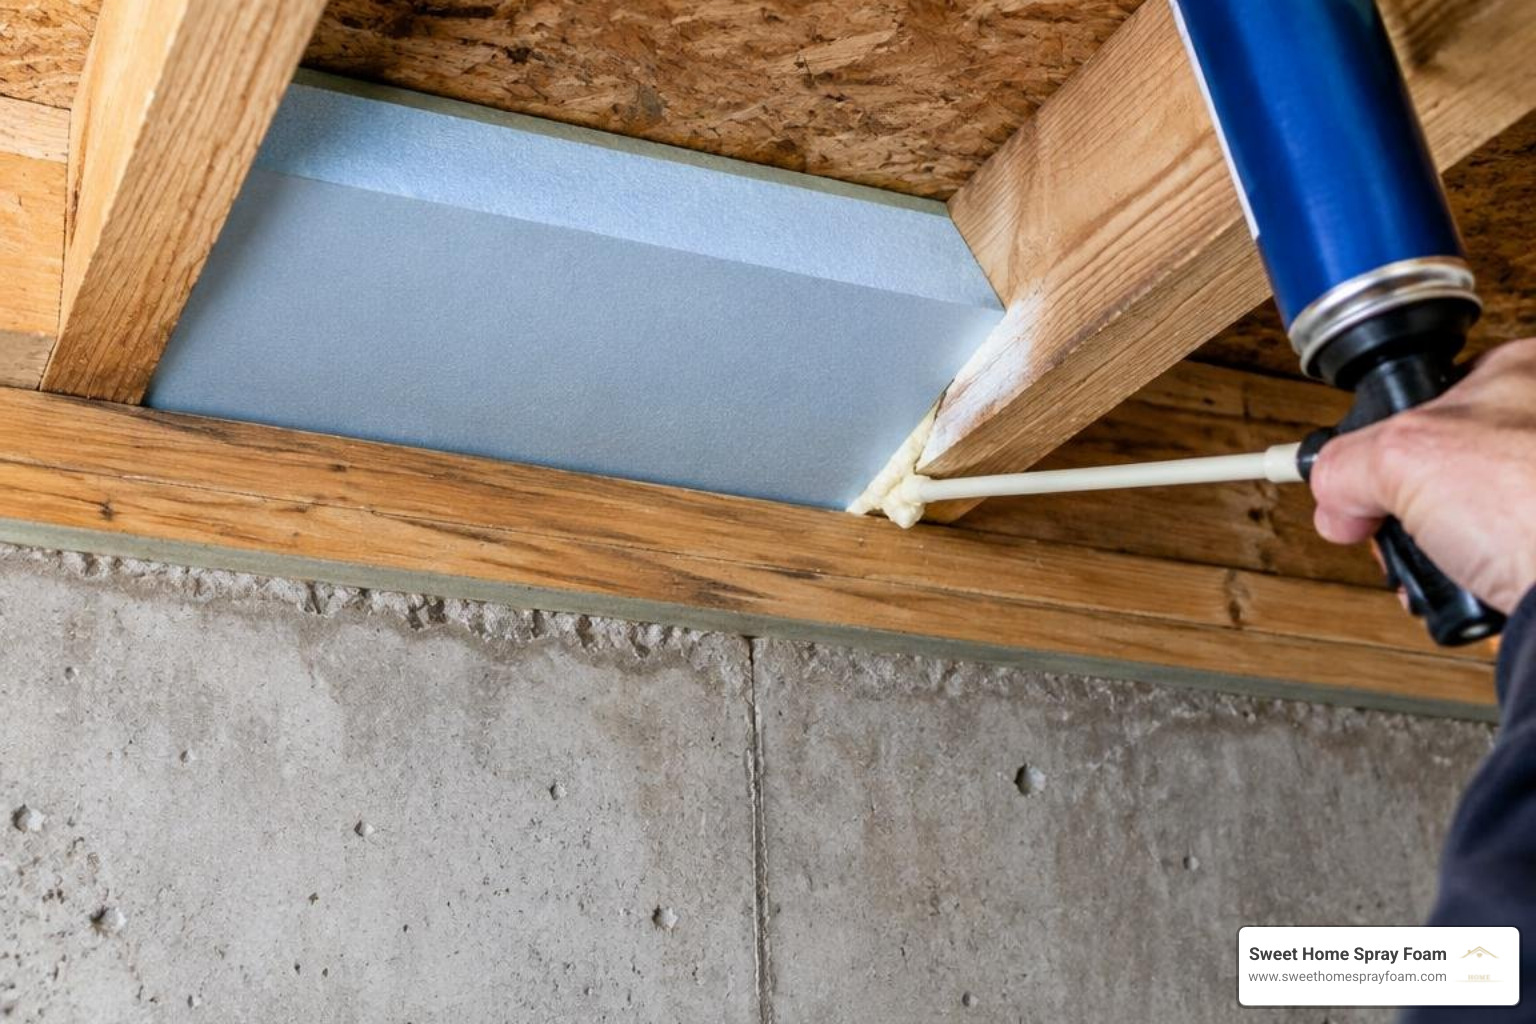
- Step 1: Measure the Joist Bay: Measure the height and width of each joist opening. Do not assume all bays are identical, as floor framing often varies slightly.
- Step 2: Cut the Foam Board: Cut 2-inch XPS or polyiso foam board roughly 1/4 to 1/2 inch smaller than the cavity dimensions using a utility knife, handsaw, or reciprocating saw.
- Step 3: Bevel the Edges: Cut a slight 45-degree bevel along the front outer edges of the foam panel. This bevel creates an angled valley that makes it easier to direct expanding canned foam into the gap.
- Step 4: Position and Fasten: Press the foam insert into the bay directly against the rim joist. If the board fits loosely, use a temporary screw or a dab of foam-compatible adhesive (like Loctite PL300) to keep it stable.
- Step 5: Apply Perimeter Expanding Foam: Using a pro-grade foam gun or canned expanding foam, inject a continuous bead into the 1/4-inch to 1/2-inch perimeter gap between the foam board and the surrounding framing. Ensure there are no skipped spots.
- Step 6: Trim and Inspect: Allow the expanding foam to fully cure, then inspect the bay with a bright work light to verify that the seal is completely airtight.
Navigating Obstructions, Wiring, and Mechanical Penetrations
Basement rim bands are often cluttered with outdoor hose bibs, electrical cables, HVAC line sets, dryer vents, and gas piping.
- Wiring and Small Conduits: Notch the rigid foam board around the wire, push the panel into place, and use expanding spray foam to seal completely around the cable.
- Plumbing and Gas Pipes: Ensure pipes are securely strapped. For large pipes, cut the foam board into two pieces to sandwich the pipe, then seal all adjoining seams with expanding foam.
- Gaps Larger Than 1/4 Inch: For larger exterior penetrations, insert pest-proof backing such as stainless steel mesh or copper wool before applying expanding foam to prevent rodents from chewing their way inside.
- HVAC Ducts: When rigid ductwork blocks access to a rim joist bay, rigid board installation becomes very difficult. In these tight clearance areas, professional spray foam application offers a distinct advantage because the spray wand can reach around blind corners.
Code Requirements, Moisture Control, and Climate Zones
Insulation work must align with building physics and local building codes to ensure home safety and durability.
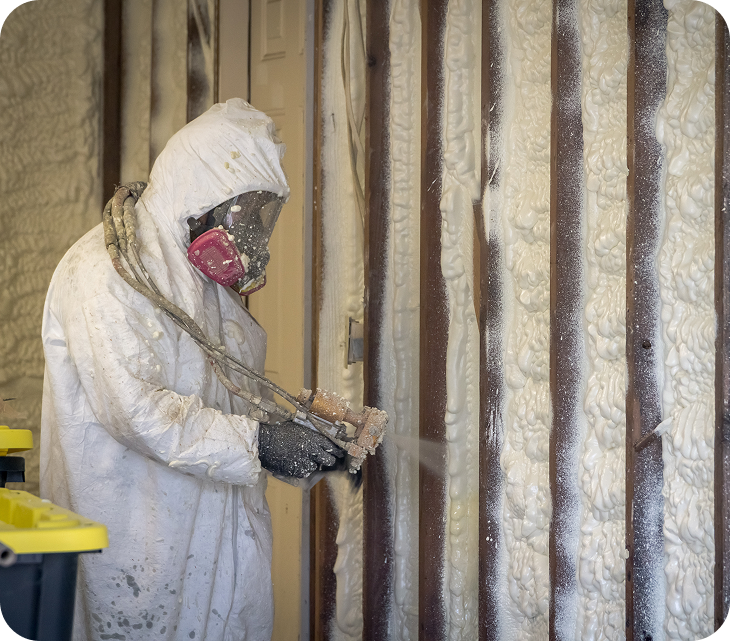
To explore regional weatherization guidelines, review the Walls and Rim Joists technical overview.
Building Codes, Ignition Barriers, and Termite Inspection Gaps
- Thermal and Ignition Barriers: The International Residential Code (IRC) generally requires exposed foam plastics to be covered by an approved thermal barrier—most commonly 1/2-inch gypsum drywall—to prevent rapid ignition during a fire. However, some special foam formulations or specific non-habitable crawlspace applications may permit approved intumescent coatings or ignition barriers. Always check local municipal codes before starting your project. Our insulation education resources provide additional details on managing building code compliance.
- Termite Inspection Gaps: In regions with subterranean termite activity, local codes often require leaving a 2- to 3-inch bare inspection gap between the top of the foundation wall and the bottom of the insulation. This allows pest inspectors to spot termite mud tubes before infestations reach structural framing.
Rim Joist vs. Basement Ceiling: Where to Insulate
A frequent dilemma for homeowners is whether to insulate the basement ceiling (under the subfloor) or the rim joists and foundation walls.
Insulating the basement ceiling cuts the basement off from the rest of the thermal envelope. If your basement contains a furnace, water heater, or ductwork, insulating the ceiling forces those appliances to operate in an unconditioned, colder space, increasing standby energy losses. Furthermore, unsealed rim joists above a basement ceiling can still pull cold drafts beneath your subfloor.
By insulating the rim joists and foundation walls instead, you bring the basement inside the conditioned building envelope. This keeps the space warmer, protects plumbing pipes from freezing, and improves energy efficiency throughout the entire home. We apply this same envelope principle when completing crawl space spray foam insulation and new construction spray foam insulation projects.
Frequently Asked Questions About Rim Joist Insulation
What R-value is recommended for basement rim joist insulation?
In Climate Zones 4 and 5 (which cover Virginia and much of the Mid-Atlantic), energy codes generally call for R-10 to R-15 continuous insulation at the rim joist band, while colder northern zones (Zones 6–7) often recommend R-15 to R-20. Achieving this typically requires a minimum of 2 inches of closed-cell spray foam (R-13 to R-14) or 2 to 3 inches of rigid foam board.
Can I leave foam insulation exposed without drywall?
Under standard IRC building codes, exposed foam plastics thicker than standard trim profiles must be separated from conditioned living spaces by a 15-minute thermal barrier, such as 1/2-inch drywall. In unfinished utility basements, code enforcement varies; some jurisdictions permit exposed foil-faced polyiso or specific spray foams rated under fire testing standards, while others require an ignition barrier. Always verify with your local building official.
Does sealing the rim joist help reduce basement radon?
Yes. While rim joist air sealing is not a direct replacement for an active radon mitigation system, it significantly reduces the basement's negative pressure (the stack effect vacuum). By slowing the rate at which indoor air pulls soil gases through foundation cracks and slab joints, rim joist sealing helps lower overall radon infiltration.
Conclusion
Your basement rim joists represent one of the highest-return opportunities for home energy savings. Leaving this perimeter band uninsulated creates an open pathway for winter drafts, cold floors, moisture accumulation, and unnecessary heating costs. Upgrading from porous fiberglass to an airtight system—whether via careful DIY cut-and-cobble rigid foam or seamless closed-cell spray foam—permanently improves indoor comfort and structural durability.
If you are ready to upgrade your home's thermal boundary, our team at Sweet Home Spray Foam is here to help. We provide upfront pricing, pressure-free assessments, and expert guidance on local energy rebates across Virginia. Contact us today to schedule your assessment for professional spray foam insulation in Roanoke, VA, Richmond, Lynchburg, and surrounding areas.