
Plan a Safe, Energy-Smart Attic Floor Installation
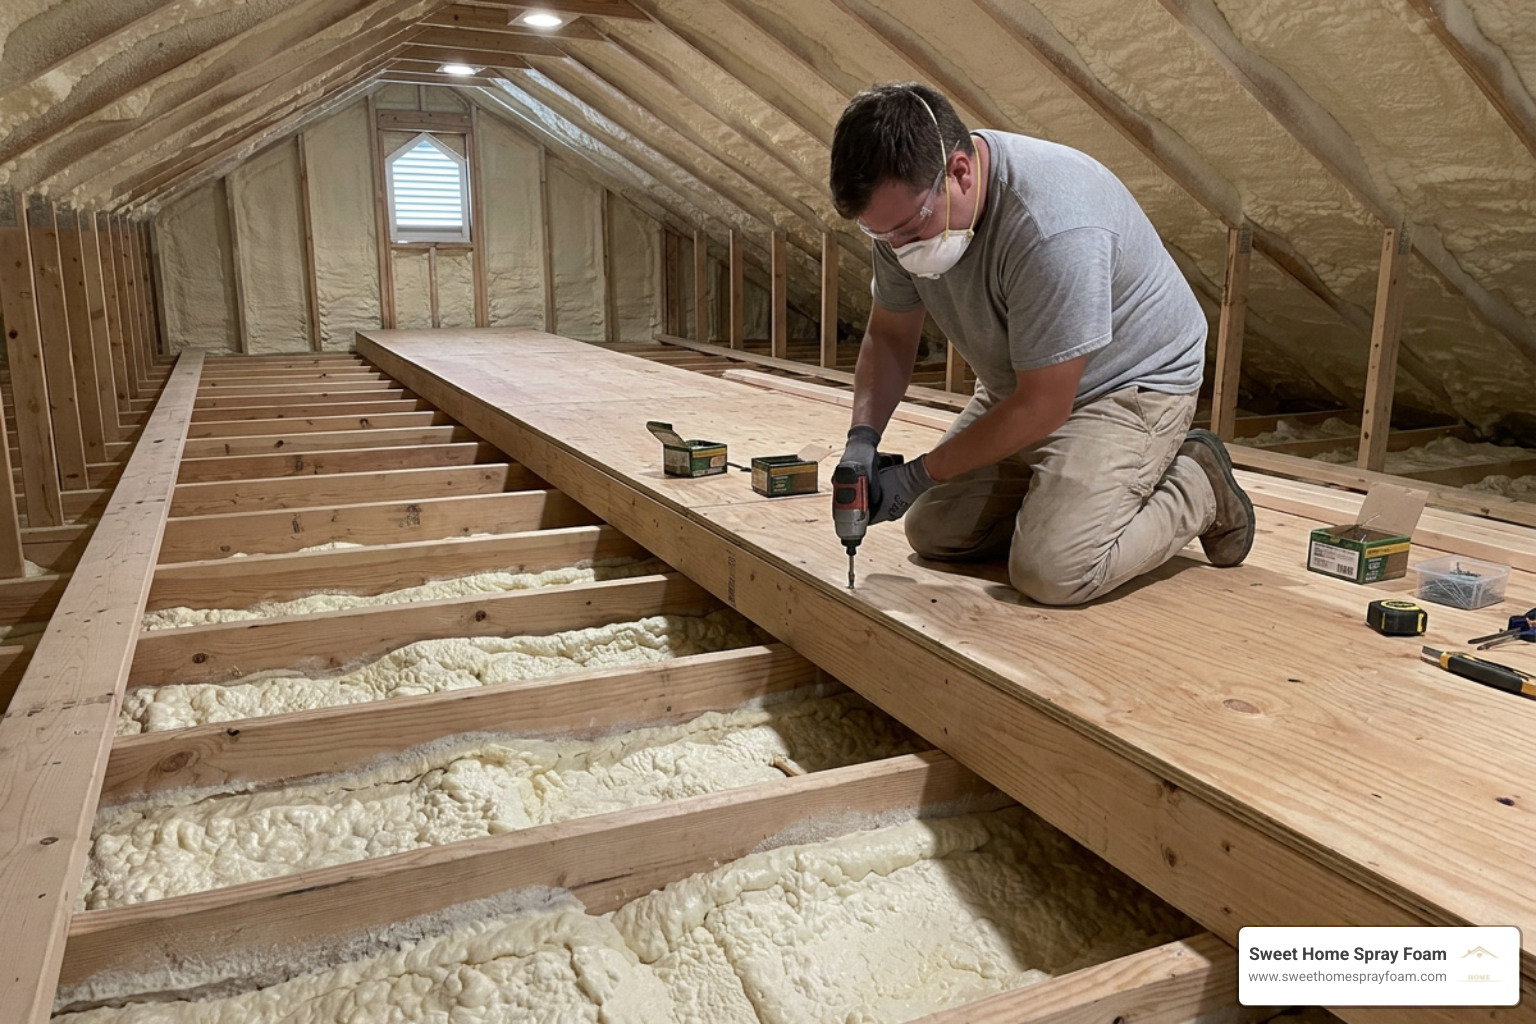
A safe attic floor installation starts with three checks: confirm the joists can carry storage weight, keep insulation from being crushed, and protect attic airflow. Then build a raised platform or catwalk, lay sturdy decking across the framing, and fasten it with proper wood screws.
For most storage-only projects:
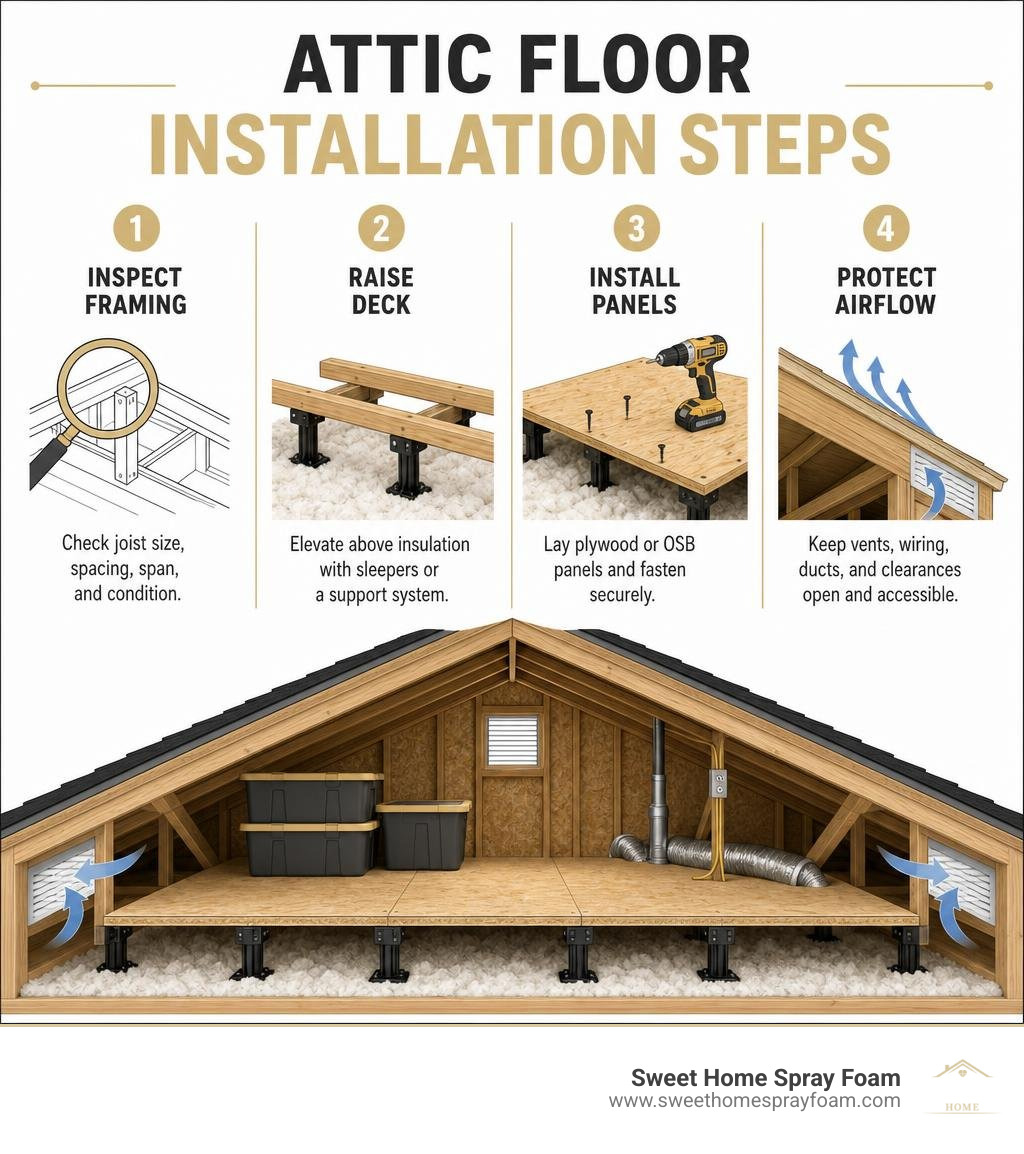
- Inspect joist size, spacing, span, and condition before buying materials.
- Raise the deck above insulation with sleepers or a purpose-built support system.
- Use 23/32-inch (commonly called 3/4-inch) plywood or OSB, or modular panels for small access hatches.
- Keep soffit vents, wiring, ducts, junction boxes, and recessed-light clearances accessible.
- Store lightweight, temperature-tolerant items in sealed plastic bins.
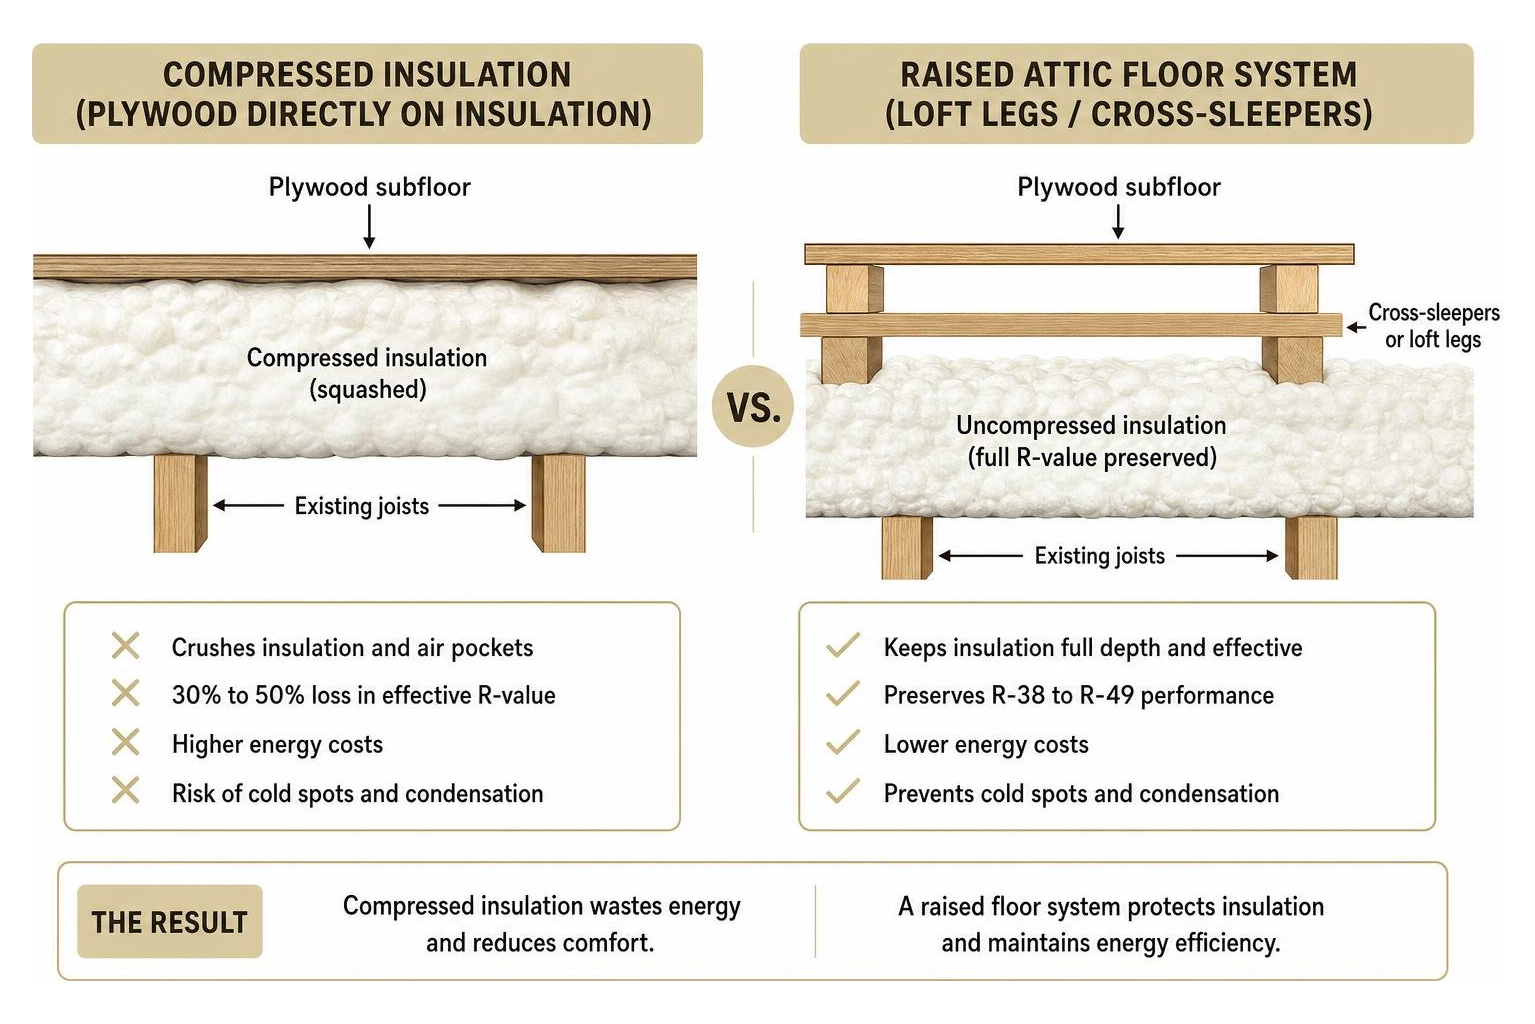
Do not assume exposed ceiling joists were designed as a floor. Many residential attic joists support the ceiling below, not a storage load. And laying panels directly over insulation can compress it enough to reduce its R-value by roughly 30% to 50%, which can work against efforts to lower drafts and energy bills.
This guide explains how to add practical storage without trading away structural safety or attic insulation performance.
Assessing Structural Framing and Load Capacity for Attic Flooring
Before buying subfloor boards or modular panels, evaluate what is beneath your feet. In residential construction, attic framing falls into two categories: ceiling joists designed only to hold up drywall and insulation, or floor joists engineered to bear active weight.
To plan safely, understand the difference between dead load and live load:
- Dead Load: The permanent weight of the building materials themselves (framing, drywall ceiling underneath, insulation, and the new flooring). Most ceiling joists are sized for a dead load of only 10 pounds per square foot (PSF).
- Live Load: The temporary, movable weight added to the space, including your storage totes, holiday boxes, and your own body weight while walking around. A functional attic storage platform requires a minimum of 20 PSF live load capacity, while a properly framed, heavy-duty floor can support 30 to 40 PSF.
When reviewing your framing, check joist dimensions, the unsupported span between load-bearing walls, and center-to-center spacing (typically 16 inches or 24 inches on center). A thorough structural integrity assessment ensures you don't overload your ceiling framing, split rafters, or crack the drywall below.

Joist Sizing, Spacing, and Weight Limits
Under standard International Residential Code (IRC) span tables, 2x4 framing is almost never rated for usable floor storage loads. If your attic floor consists of 2x4 bottom chords of roof trusses or shallow 2x4 ceiling joists, adding heavy flooring and storage bins will cause significant deflection, sagging, and cracked plaster below.
A standard 2x6 framing system spaced 16 inches on center can typically support light storage (10 to 20 PSF live load) across modest spans up to roughly 10 feet. For wider spans or deeper storage zones:
- Spans exceeding 10 feet on 2x6 lumber generally require sistering (fastening identical lumber directly alongside existing joists) to double their bending strength.
- 2x8 or larger joists provide the structural rigidity needed for moderate-to-heavy storage (30 to 40 PSF).
- 24-inch on-center spacing requires thicker decking (at least 23/32-inch) to prevent noticeable floor sag between joists.
When to Hire a Structural Engineer
Not every attic is a candidate for DIY flooring without professional evaluation. You should consult a licensed structural engineer or qualified contractor if:
- You observe existing ceiling sagging, cracked drywall, or water-damaged joists.
- Your home uses engineered roof trusses, and you plan to cut, notch, or bear substantial weight on bottom chords (trusses are engineered systems and must never be cut or altered without engineered drawings).
- You plan to convert the attic into a finished, habitable living area, which mandates a minimum 30 to 40 PSF live load rating, code-compliant ceiling heights (typically 7 to 7.5 feet over at least 70 square feet), and designated egress pathways.
- Your local building department requires building permits for structural alterations and electrical expansions.
Selecting the Best Decking Material: Plywood vs. OSB vs. Modular Panels
Choosing the right subfloor material determines the durability, moisture handling, and ease of your attic floor installation. Attic environments experience extreme temperature swings and humidity shifts across seasons, making material resilience vital.
| Material | Thickness | Est. Cost (4x8 Sheet / Kit) | Moisture Resistance | Handling Ease in Tight Hatches |
|---|---|---|---|---|
| CDX Plywood (T&G) | 23/32" (3/4") | $45 – $65 | High (dries quickly without swelling) | Moderate (heavy, requires ripping or large opening) |
| OSB (Oriented Strand Board) | 23/32" or 1/2" | $28 – $40 | Moderate (edge swelling if damp) | Moderate (dense and heavy) |
| Modular Plastic Panels (e.g., Attic Dek) | Pre-molded grid | $175 – $250 (per multipack) | Impervious to moisture and rot | Exceptional (fits through standard hatches) |
Plywood vs. OSB Performance
For wood decking, 23/32-inch tongue-and-groove (T&G) CDX plywood is the benchmark standard. Plywood's cross-laminated veneer structure offers exceptional shear strength, minimal mid-span flex, and superior resistance to seasonal moisture cycles compared to standard particle boards.
Oriented Strand Board (OSB) is a budget-friendly alternative that costs roughly 20% to 30% less than CDX plywood. While OSB provides solid load distribution in bone-dry attics, its edges are susceptible to swelling if exposed to high humidity or roof leaks. If using OSB, stick to minimum 23/32-inch thickness for 16-inch or 24-inch joist spans to eliminate spongy walking surfaces.
Modular Interlocking Decking Panels
If your home has a compact 22x30-inch access hatch, hauling full 4x8-foot wood sheets up an attic ladder is difficult and unsafe. Prefabricated modular panels—such as high-density polycarbonate/ABS plastic grids—solve this problem:
- Available in standardized sizes like 16x16 inches and 24x16 inches designed to fit direct joist intervals.
- Each panel supports up to 250 pounds of concentrated point load.
- Features built-in screw holes, ventilation louvers, and cable-pass notches.
- Installs rapidly without noisy table saws or messy dust inside the house.
Preserving Insulation and Airflow with Raised Subfloor Systems
The most frequent mistake in attic storage projects is crushing existing thermal insulation. Modern energy standards require attics in our Virginia climate zones to carry R-38 to R-49 insulation depth (roughly 10 to 14+ inches of blown fiberglass or cellulose). Because 2x6 ceiling joists are only 5.5 inches deep, the insulation extends well above the tops of the framing.
Laying plywood directly over fluffy batt or loose-fill insulation squashes air pockets, triggering a 30% to 50% loss in effective R-value. This thermal compromise spikes heating and cooling costs and can create cold spots that lead to winter ceiling condensation. Reviewing insulation education resources highlights how essential steady thermal boundaries are for whole-home comfort.
Preventing Insulation Compression with Loft Legs and Sleepers
To protect your thermal envelope while gaining sturdy storage, build a raised subfloor system using one of two proven methods:
- Cross-Sleepers (Timber Battens): Fasten 2x4 or 2x6 dimensional lumber perpendicular across the tops of existing joists at 16-inch centers. This creates a secondary elevated grid that allows deep, uncompressed insulation to sit undisturbed below the deck.
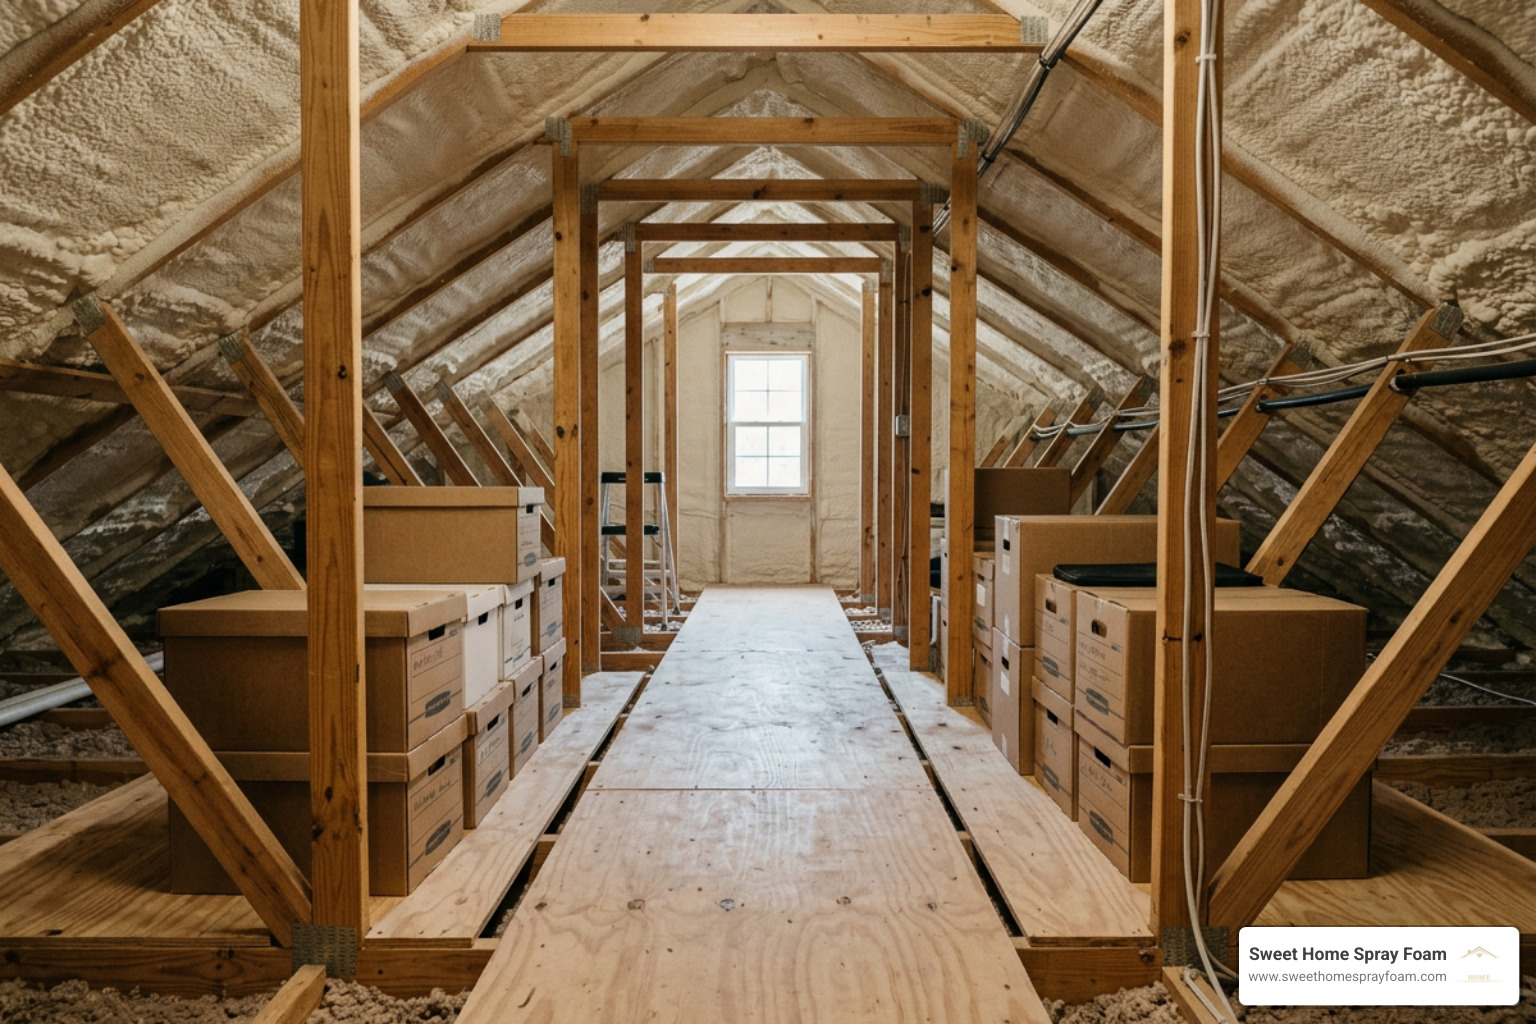
- Loft Legs (Elevated Stanchions): Screw engineered recycled-plastic stilts directly into the center of the ceiling joists, then fasten your subfloor panels across the top platform of the legs. This elevates the floor platform 6 to 12 inches above joists, leaving open space for airflow and full batt depth.
For comprehensive technical insights on maintaining thermal efficiency, consult this guide to preserving attic insulation R-value.
Upgrading Thermal Barriers and Air Sealing
Before screwing down a single floor board, address hidden air leaks across your attic floor. Gaps around plumbing vents, electrical wire penetrations, top plates, and chimneys allow conditioned air to escape into the attic.
Sealing these penetrations with expanding foam creates an airtight barrier beneath your storage deck. For maximum energy efficiency and headroom, many homeowners pair storage projects with attic spray foam insulation applied along the roof deck rafters. This brings the entire attic space inside the home's conditioned thermal envelope, eliminating temperature extremes and protecting stored belongings.
Step-by-Step Attic Floor Installation Process
Follow these practical steps to build a safe, sturdy, and code-compliant attic storage deck.
Preparing Your Space for Attic Floor Installation
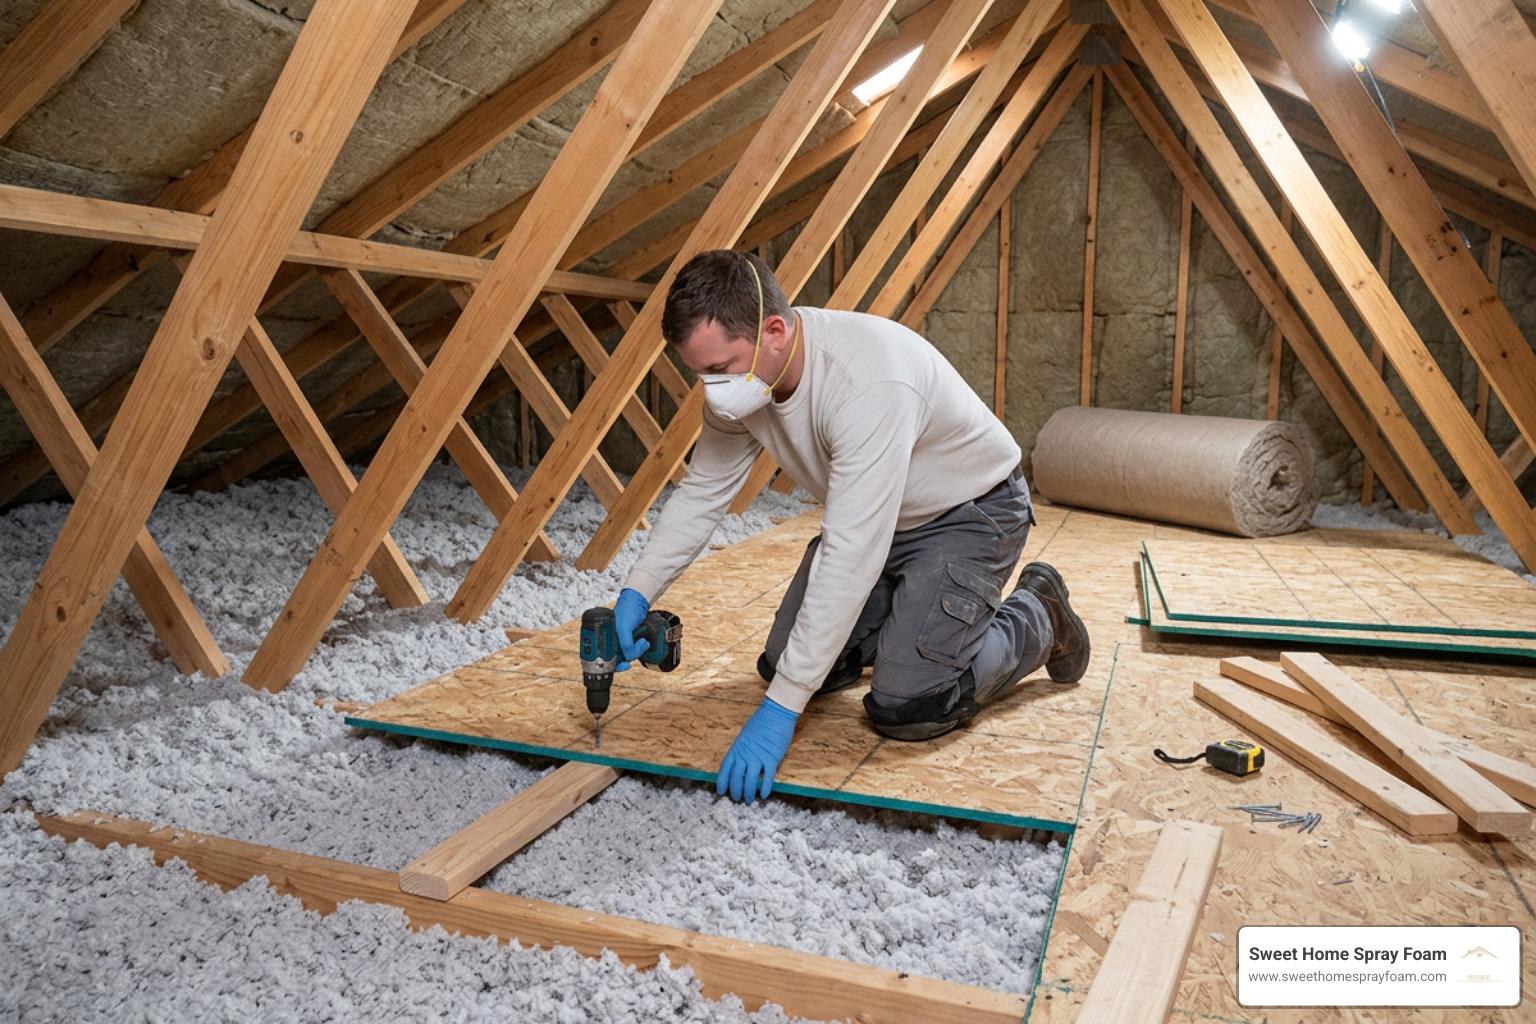
Attics are hot, dusty environments with concealed trip hazards. Prepare your work area properly:
- Safety Equipment: Wear a well-fitted N95 or HEPA respirator, safety glasses, heavy work gloves, and durable knee pads.
- Temporary Footing: Never step directly on drywall or between joists. Lay two 2x10-inch "crawl boards" spanning at least three joists each to serve as your temporary walking station.
- Work Area Prep: Bring portable LED work lights and keep extension cords taped down. Frame out a sturdy 2x4 curb around the perimeter of your access hatch to keep loose insulation from falling down the hatchway.
Navigating Wiring, Ducts, and Recessed Lighting
Attic floor joists frequently carry MEP (mechanical, electrical, plumbing) services:
- Electrical Cables: Never rest floor decking directly on top of NM (Romex) electrical cables running over joists. Either gently reroute wiring through holes bored through the center third of joists, build raised sleepers over them, or use modular panels with integrated wire notches.
- Junction Boxes: Never bury an electrical junction box under solid flooring. Junction boxes must remain permanently accessible per National Electrical Code (NEC). Cut an access panel in your subfloor directly above any junction boxes.
- Recessed Can Lights: Maintain a minimum 3-inch clearance around non-IC-rated recessed light fixtures to prevent heat buildup and fire hazards.
- HVAC Ducts: Maintain at least 18 inches of clearance around flexible duct runs to ensure unrestricted airflow.
Securing Decking and Staggering Panel Seams
When you are ready to secure the decking:
- Perpendicular Layout: Lay panels with their long edges perpendicular to the ceiling joists or cross-sleepers. This maximizes structural strength across multiple spans.
- Stagger Seams: Offset end joints by at least half a panel (4 feet for full sheets) in a classic brickwork pattern. Never align four panel corners at a single intersection.
- Expansion Gaps: Leave a 1/8-inch expansion gap between adjacent panel edges and a 1/4-inch perimeter gap along exterior walls to allow for natural seasonal wood expansion.
- Fastening Pattern: Use 3-inch coarse-thread exterior wood screws or dedicated multi-purpose construction screws. Fasten screws every 8 inches along panel edges and every 12 inches along intermediate joists. Pre-drill near panel edges to prevent wood splitting.
Critical Mistakes to Avoid and Attic Storage Best Practices
Even experienced DIYers can make subtle mistakes that compromise home safety, structural framing, or energy bills.
Common Installation Pitfalls
- Using Drywall Screws: Drywall screws are brittle and lack shear strength. Under foot traffic, their heads can shear off, causing decking to loosen and squeak. Always use hardened structural wood screws.
- Hammering Nails: Driving large framing nails with a hammer sends severe shockwaves through the joists, cracking ceiling drywall, popping screw heads, and damaging light fixtures below. Use a cordless drill or impact driver.
- Blocking Eave/Soffit Ventilation: Do not run flooring or push insulation completely into attic eaves. This blocks incoming airflow from soffit vents, trapping moisture and superheated air. Install rigid rafter baffles to keep airflow paths clear from soffit to ridge vents.
- Overloading Central Zones: Distribute storage loads outward along designated walkways instead of stacking heavy boxes in one central spot.
Safe Storage vs. Items to Never Store in an Attic
Unconditioned attics experience temperature extremes from sub-freezing winters to summer peaks exceeding 130°F. Pack items appropriately:
- Safe to Store: Plastic storage bins containing holiday decorations, artificial trees, camping gear, metal cookware, luggage, and ceramic housewares.
- Never Store in an Unconditioned Attic: Family photo albums, delicate heirlooms, candle wax, vinyl records, VHS tapes, electronics, musical instruments, fine artwork, leather goods, or flammable chemicals.
Attic Flooring Costs and Budgeting
Attic flooring costs vary depending on the square footage, framing conditions, and whether you do the work yourself or hire a professional contractor.
| Project Scope (400 sq. ft. area) | Material Costs (DIY) | Labor Costs (Turnkey) | Total Estimated Investment |
|---|---|---|---|
| Standard OSB Decking (Direct to Joists) | $480 – $720 | $1,600 – $2,400 ($4 – $6/sq. ft.) | $2,080 – $3,120 |
| Raised Subfloor with Loft Legs & 23/32" OSB | $1,000 – $1,400 | $1,800 – $2,600 ($4.50 – $6.50/sq. ft.) | $2,800 – $4,000 |
| Modular Polycarbonate Panels (e.g., Attic Dek) | $1,200 – $1,800 | $800 – $1,200 (Faster install) | $2,000 – $3,000 |
Professional vs. DIY Attic Floor Installation Costs
For a standard 400-square-foot attic project, DIY material costs range from $480 to $720 for basic OSB flooring, and $1,000 to $1,400 for a complete raised subfloor system with loft legs and premium T&G decking.
Hiring a licensed contractor adds roughly $4.00 to $6.00 per square foot in professional labor. While DIY installation saves on upfront labor, a professional contractor brings the tools and experience needed to sister undersized joists, navigate electrical runs, preserve airflow pathways, and ensure full building code compliance. If you are updating other areas of your home, our attic and crawl space insulation guide covers how proper attic management fits into your overall home efficiency plan.
Frequently Asked Questions about Attic Floor Installation
Can I lay flooring directly on top of my attic insulation?
No. Laying boards directly on top of fiberglass batts or loose cellulose compresses the material, eliminating the dead-air pockets that give insulation its thermal resistance. This compression can reduce its R-value by 30% to 50% and create condensation risks. Always use raised sleepers or loft legs to elevate the deck above the full, uncompressed depth of the insulation.
What is the minimum joist size required for an attic storage floor?
At a minimum, you need 2x6 framing lumber spaced 16 inches on center across spans under 10 feet to support light storage (roughly 20 PSF live load). For wider spans, heavier storage, or 24-inch joist spacing, framing must be sistered or upgraded to 2x8 or larger dimensional lumber.
What type of screws should I use for attic flooring?
Use 2.5-inch to 3-inch coarse-thread, countersinking exterior wood screws or structural decking screws. Never use drywall screws, which are brittle and snap easily under foot traffic and dynamic weight loads.
Conclusion
Transforming an unfinished attic into clean, functional storage is one of the most cost-effective ways to reclaim usable square footage in your home. By taking the time to calculate framing load limits, elevating subfloor decking above insulation, maintaining clear ventilation paths, and using proper construction fasteners, you protect your home's structural safety while preserving energy efficiency.
If you are planning an attic upgrade and want to maximize headroom, eliminate drafts, or seal air leaks before laying down flooring, our team at Sweet Home Spray Foam is here to help. We provide expert attic insulation and air sealing solutions with clear upfront pricing throughout Richmond, Roanoke, Lynchburg, and Smith Mountain Lake. Reach out to us today to get your attic storage project started right!