
Seal Basement Drafts and Moisture at the Source
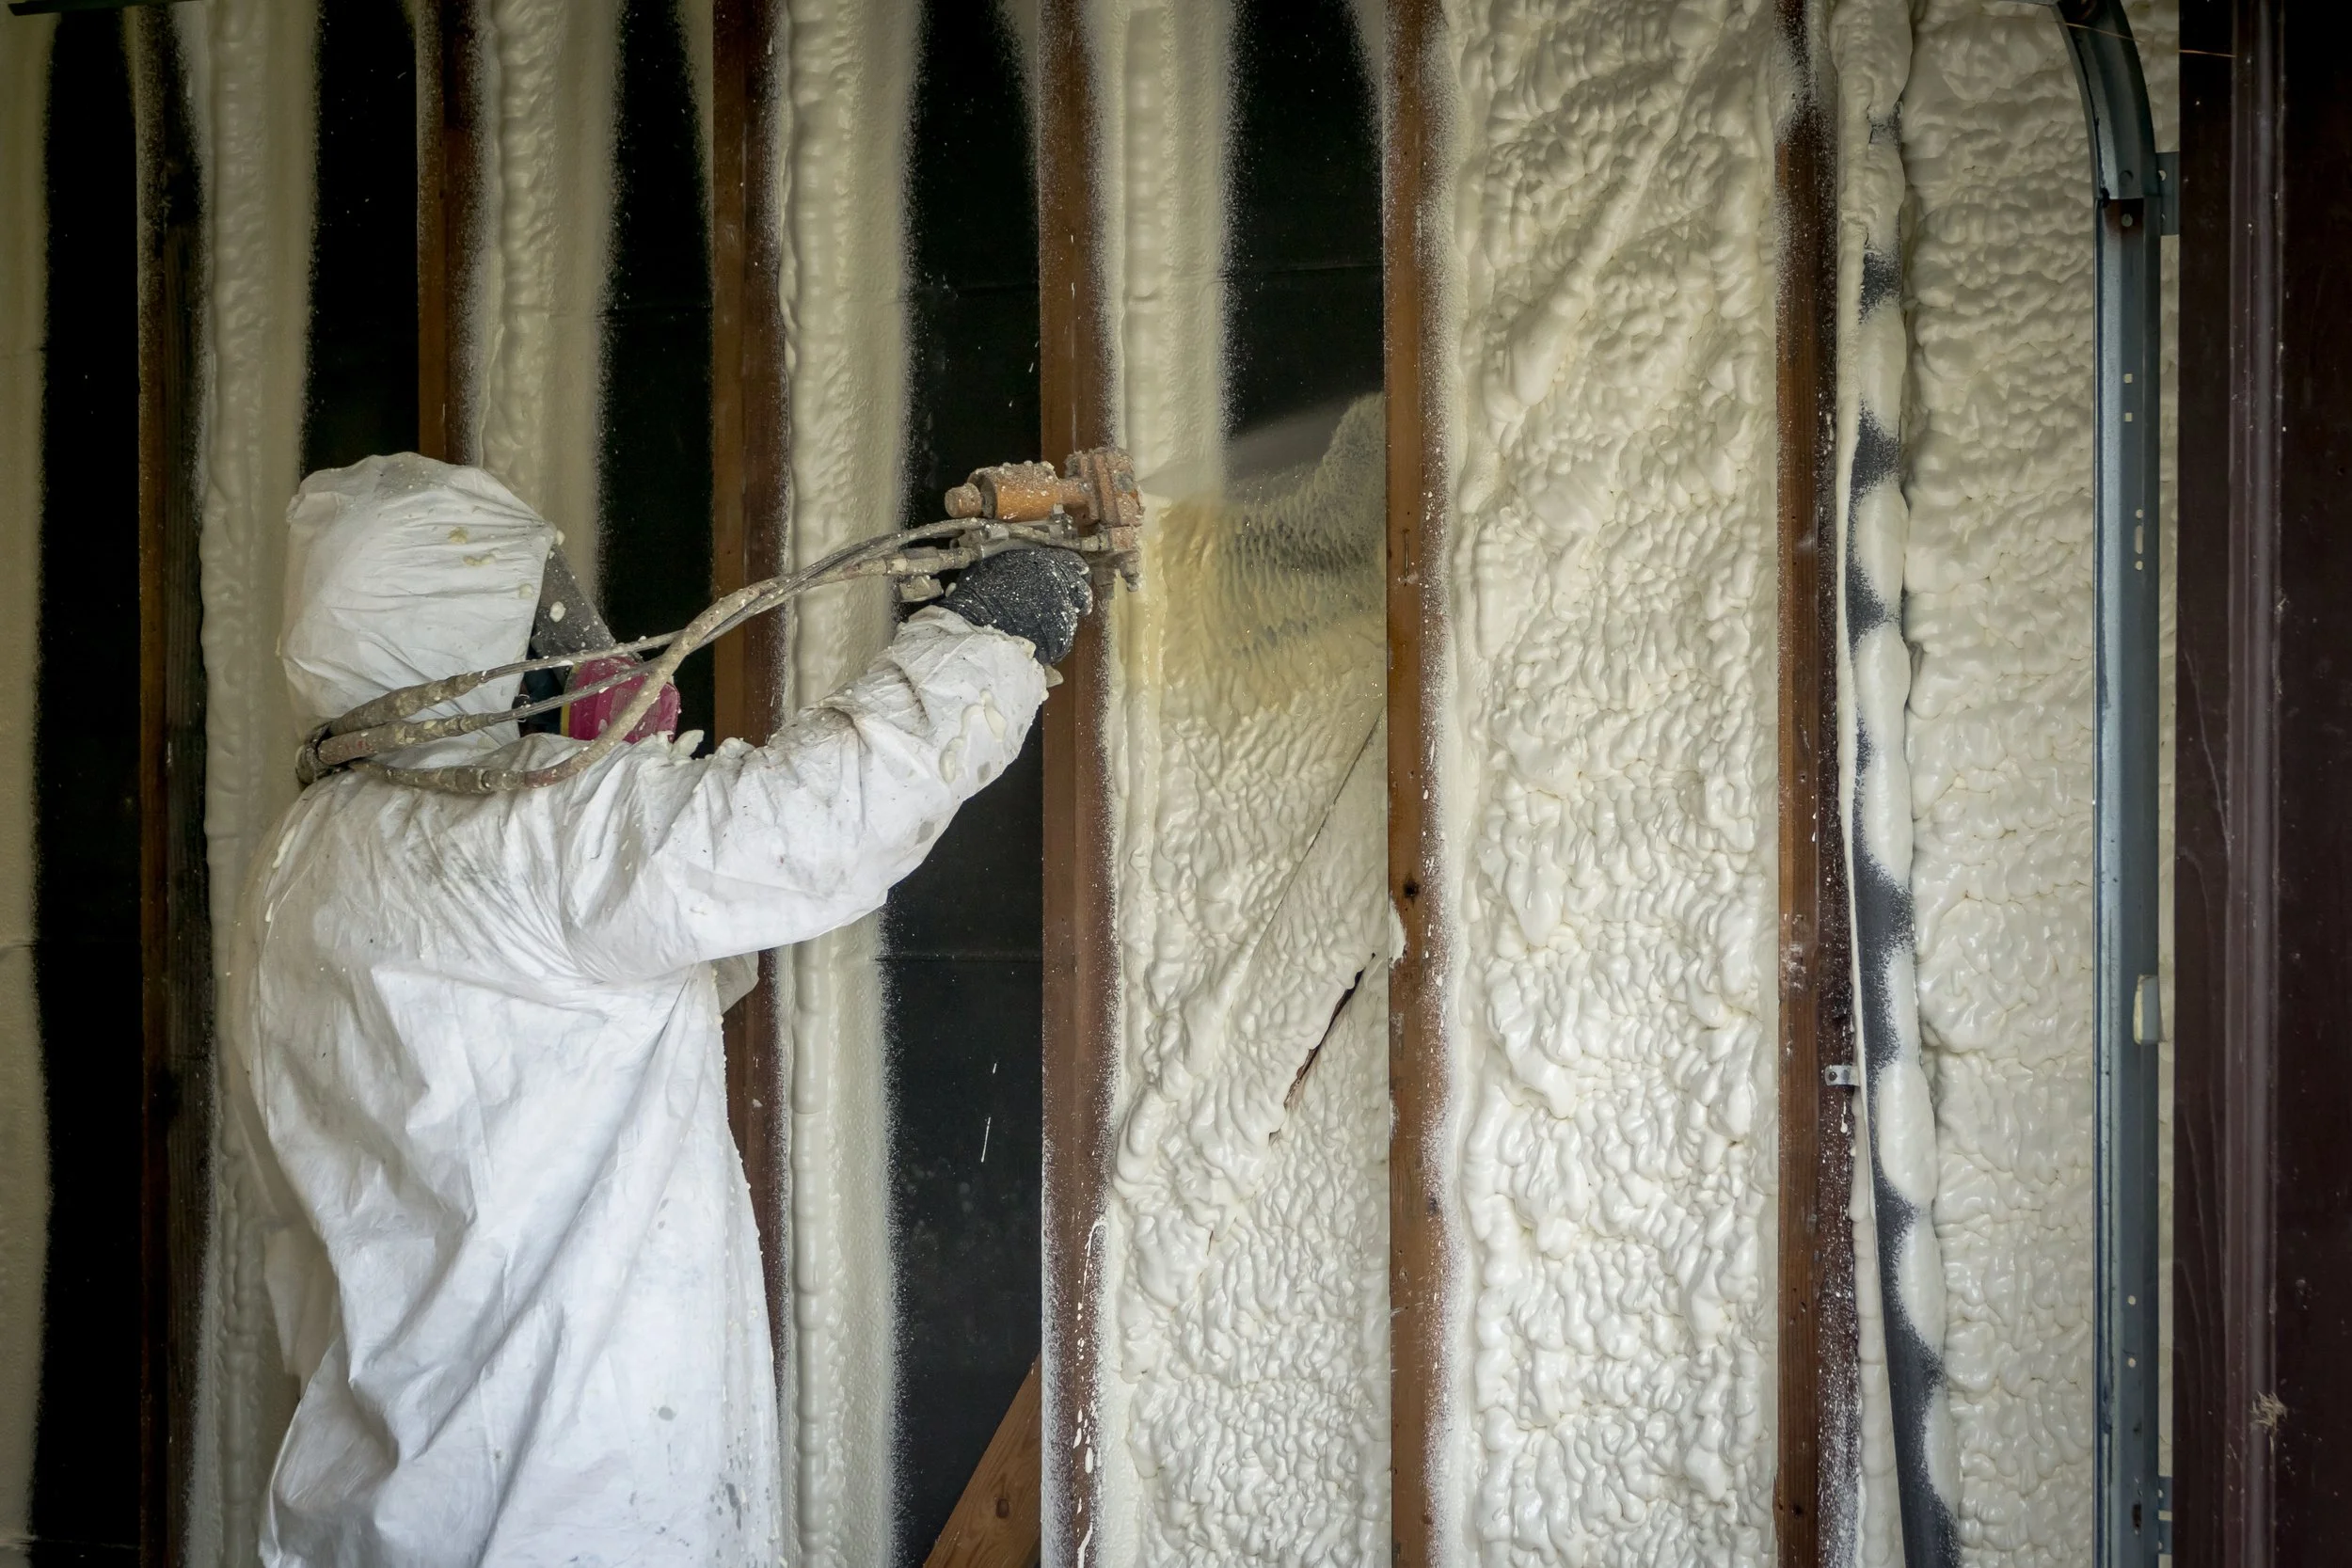
To seal basement gaps with foam, find the air leak, clean and dry the area, then apply a foam sealant rated for that gap. Focus on the foundation-to-sill connection, rim joists, and openings around pipes or windows. Let the foam expand and cure as directed, then check for missed spots.
Foam can cut drafts and help keep damp air out, which may improve comfort and lower heating and cooling costs. It is not a fix for running water or leaks caused by pressure in the soil. If water is entering your basement, address the drainage or foundation problem before sealing the gap.
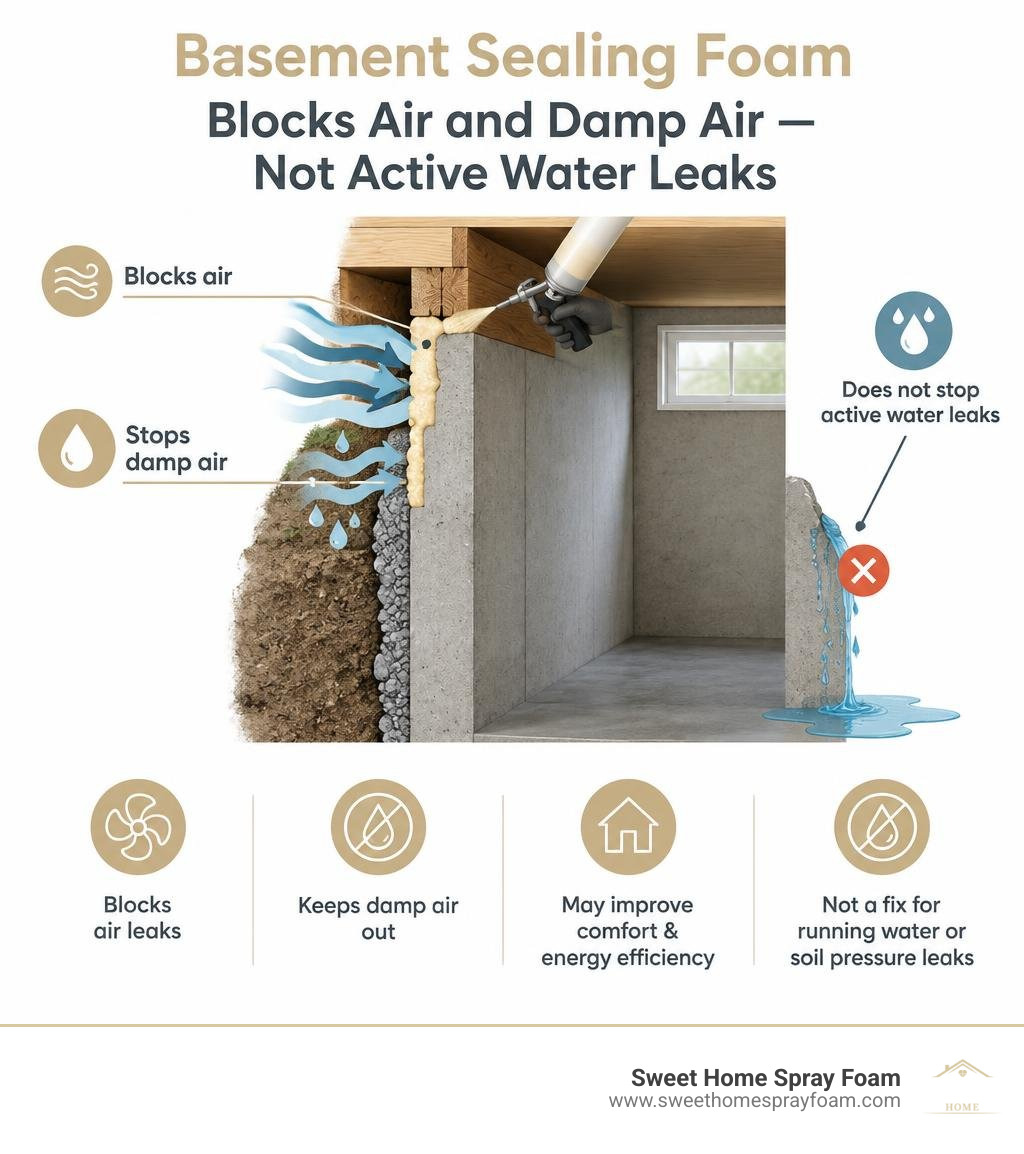
Understanding Basement Sealing Foam and How It Works
Basements are naturally prone to dampness, air infiltration, and energy loss. Because concrete foundations sit below grade, they constantly interact with soil moisture and cool ground temperatures. Traditional fiberglass batts allow humid air to flow freely through fibrous pockets, creating a breeding ground for mold and condensation against cold masonry.
Applying basement sealing foam transforms this dynamic. Foam sealants rely on closed-cell polyurethane or polyethylene chemistry to form a continuous, monolithic air barrier and vapor retarder. When dispensed into structural seams and penetrations, the material expands rapidly, filling every microscopic void, crack, and uneven contour in the substrate.
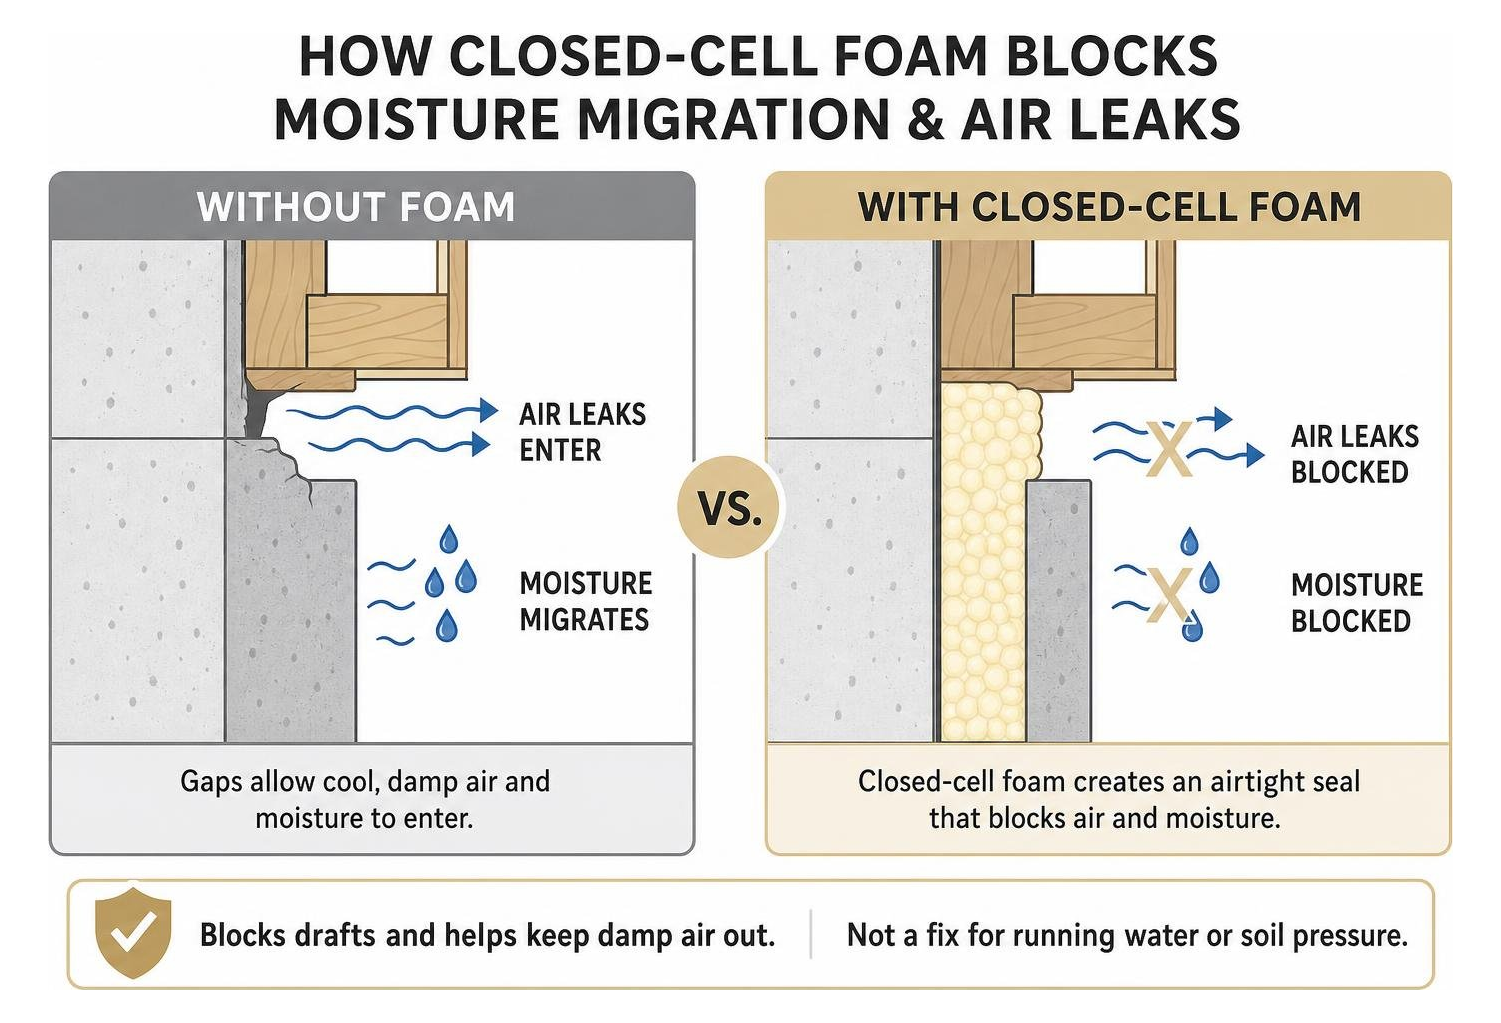
Closed-cell foams deliver exceptional thermal resistance—often reaching an R-value of R-3.7 to R-5.0 or more per inch—while stopping capillary action and vapor transmission. By locking out humid exterior air, high-performance foam prevents moisture wicking from porous concrete into structural framing lumber. For homeowners planning a comprehensive renovation, pairing localized foam sealing with comprehensive basement insulation strategies ensures the entire lower level stays dry, warm, and structurally protected throughout every season.
How Expanding Foam Blocks Air and Moisture Infiltration
Expanding polyurethane foam works at a microscopic level. It contains dense, tightly packed closed cells that trap inert blowing agents. This tight cell density creates a barrier that neither liquid moisture nor humid air can penetrate easily.
In typical homes, basement air leakage is driven by the "stack effect." As warm air rises and escapes through the attic, it creates negative pressure in the basement, pulling in cold outdoor air, ground humidity, and soil gases like radon. Products like GREAT STUFF 48 oz. Gaps and Cracks Insulating Spray Foam Sealant Kit expand upon contact with atmospheric moisture, forming an airtight, water-resistant seal that bridges openings up to 3 inches wide.
Single-component polyurethane products like Insulating Foam formulations provide a cured compression strength of 30–60 kPa and shear strength of 45–65 kPa, creating an enduring barrier against drafts and convective moisture transport.
Choosing an Expanding Foam Formulation
Selecting the right foam depends on the type of gap, expansion needs, and mechanical properties required:
- Low-Pressure Polyurethane Foams: Ideal for sealing around basement windows, doors, and smaller framing gaps. These formulations expand gently without bowing window jambs or distorting lightweight framing.
- High-Yield Polyurethane Sealants: Products like CanSeal Foam expand up to 8 gallons of cured foam from a 27-oz canister, offering high-volume coverage and water-stop characteristics around utility conduits.
- Pre-Formed Closed-Cell Polyethylene Gaskets: Options such as DuPont™ Styrofoam™ Brand Sill Seal Foam Gasket compress mechanically between new lumber and concrete foundations during construction, offering long-term water vapor resistance and air sealing along flat joints.
- Channel and Drainage Baseboard Systems: For below-grade perimeter water seepage along the cove joint, mechanical profiles paired with elastomeric urethane adhesives—such as the SealOnce DIY Basement Waterproofing System | Basement Sealing—collect seepage and direct it toward a sump pit without breaking concrete.
Primary Applications for Basement Air and Moisture Sealing
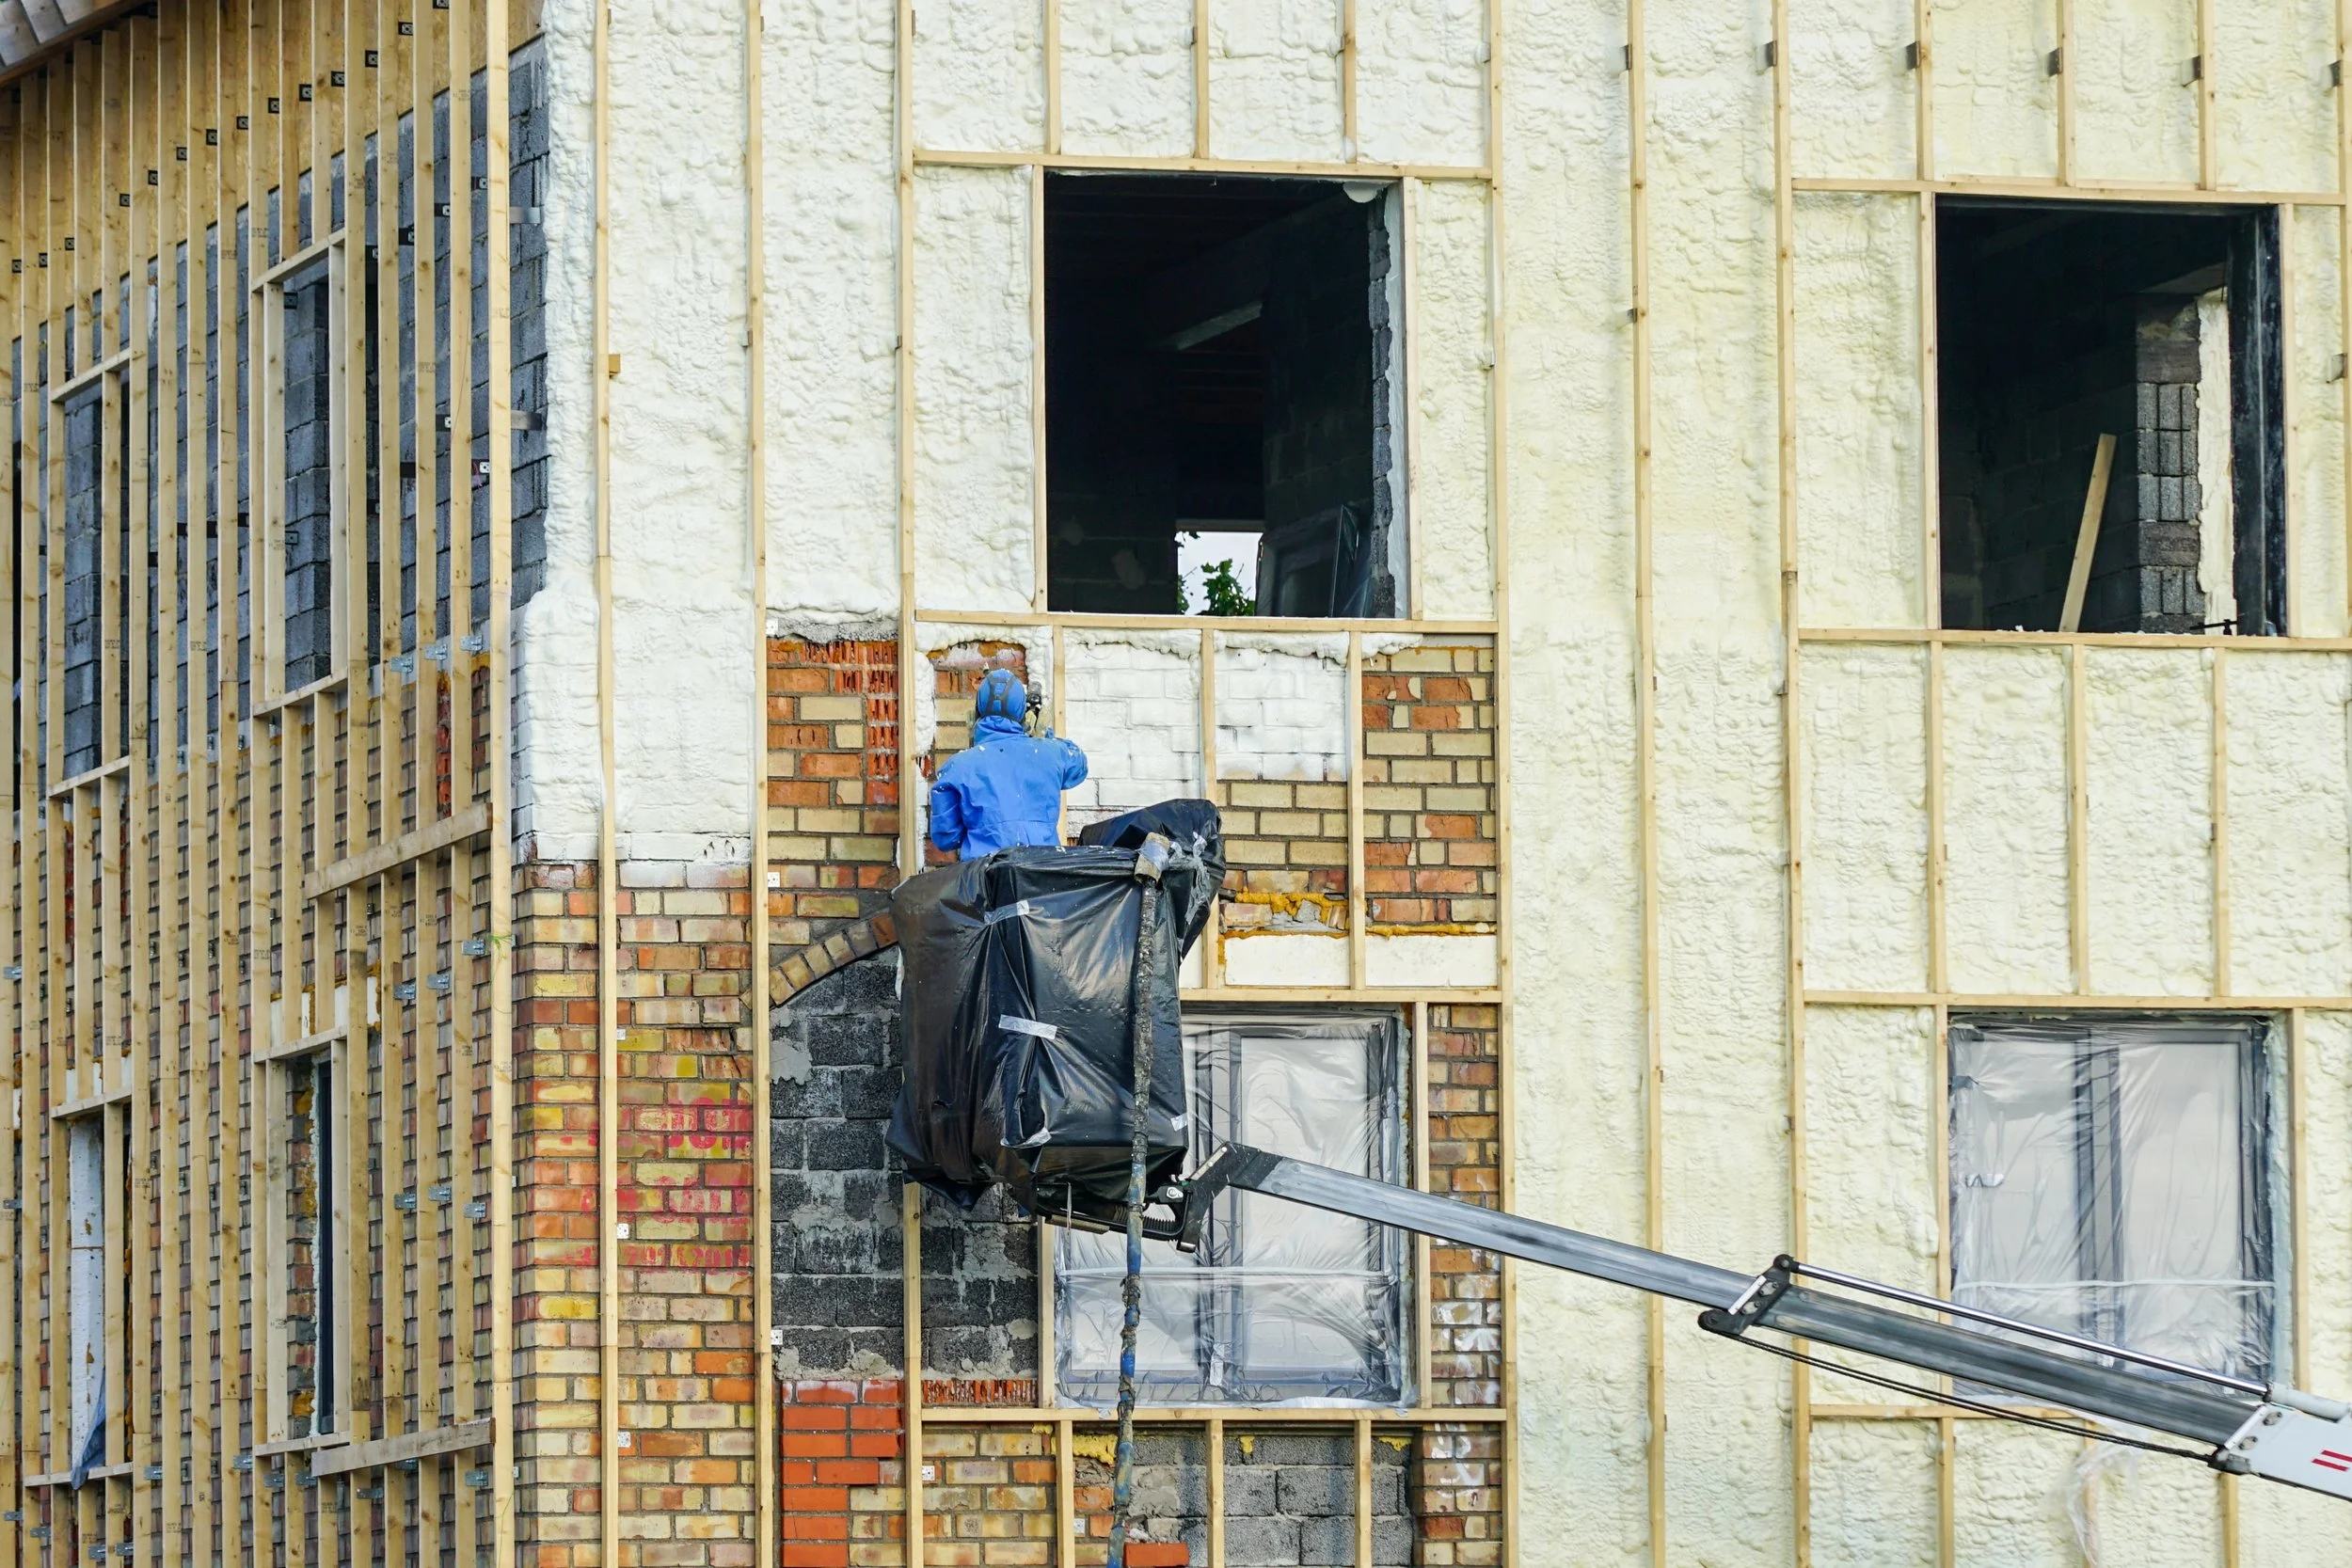
Targeting the most critical thermal bridges and leakage pathways yields the greatest improvements in comfort and air quality.
Sealing the Concrete Foundation to Sill Plate Joint
The intersection where the wooden sill plate rests on top of the concrete or masonry foundation wall is consistently one of the largest sources of air leakage in any home. Concrete surfaces are rarely completely flat; minor irregularities, aggregate protrusions, and settling create chronic gaps along the entire building perimeter.
When untreated, these gaps allow unconditioned air and ground moisture to reach floor joists, leading to rot, fungal growth, and cold floors upstairs. Applying expanding polyurethane foam along this joint bridges masonry and wood, creating an airtight, moisture-resistant barrier. We often see homeowners combine basement perimeter sealing with professional crawl space spray foam solutions to protect subfloor framing across mixed-foundation homes.
Rim Joists, Utility Penetrations, and Window Openings
Beyond the sill plate, several other basement penetrations require attention:
- Rim Joist Cavities: The rim joist perimeter represents a major thermal boundary weakness. Sealing rim joists with expanding foam prevents condensation caused by warm interior air hitting cold rim wood during winter. Discover effective basement rim joist insulation techniques to maximize rim cavity R-value.
- Plumbing and Drain Penetrations: Holes drilled for main drain lines, exterior hose bibbs, and sump discharge pipes allow air, insects, and radon to enter.
- Electrical and Gas Conduits: Meter feeds, heat pump linesets, and electrical conduits leave gaps through concrete block walls that need closed-cell foam sealing.
- Basement Windows and Hopper Vents: Older steel or vinyl basement windows leak air around their rough openings. Low-pressure expanding foam fills these voids without warping the frames.
How to Install Basement Foam Sealants: Step-by-Step
Proper surface preparation and application technique ensure expanding foam adheres securely and cures to its rated density.
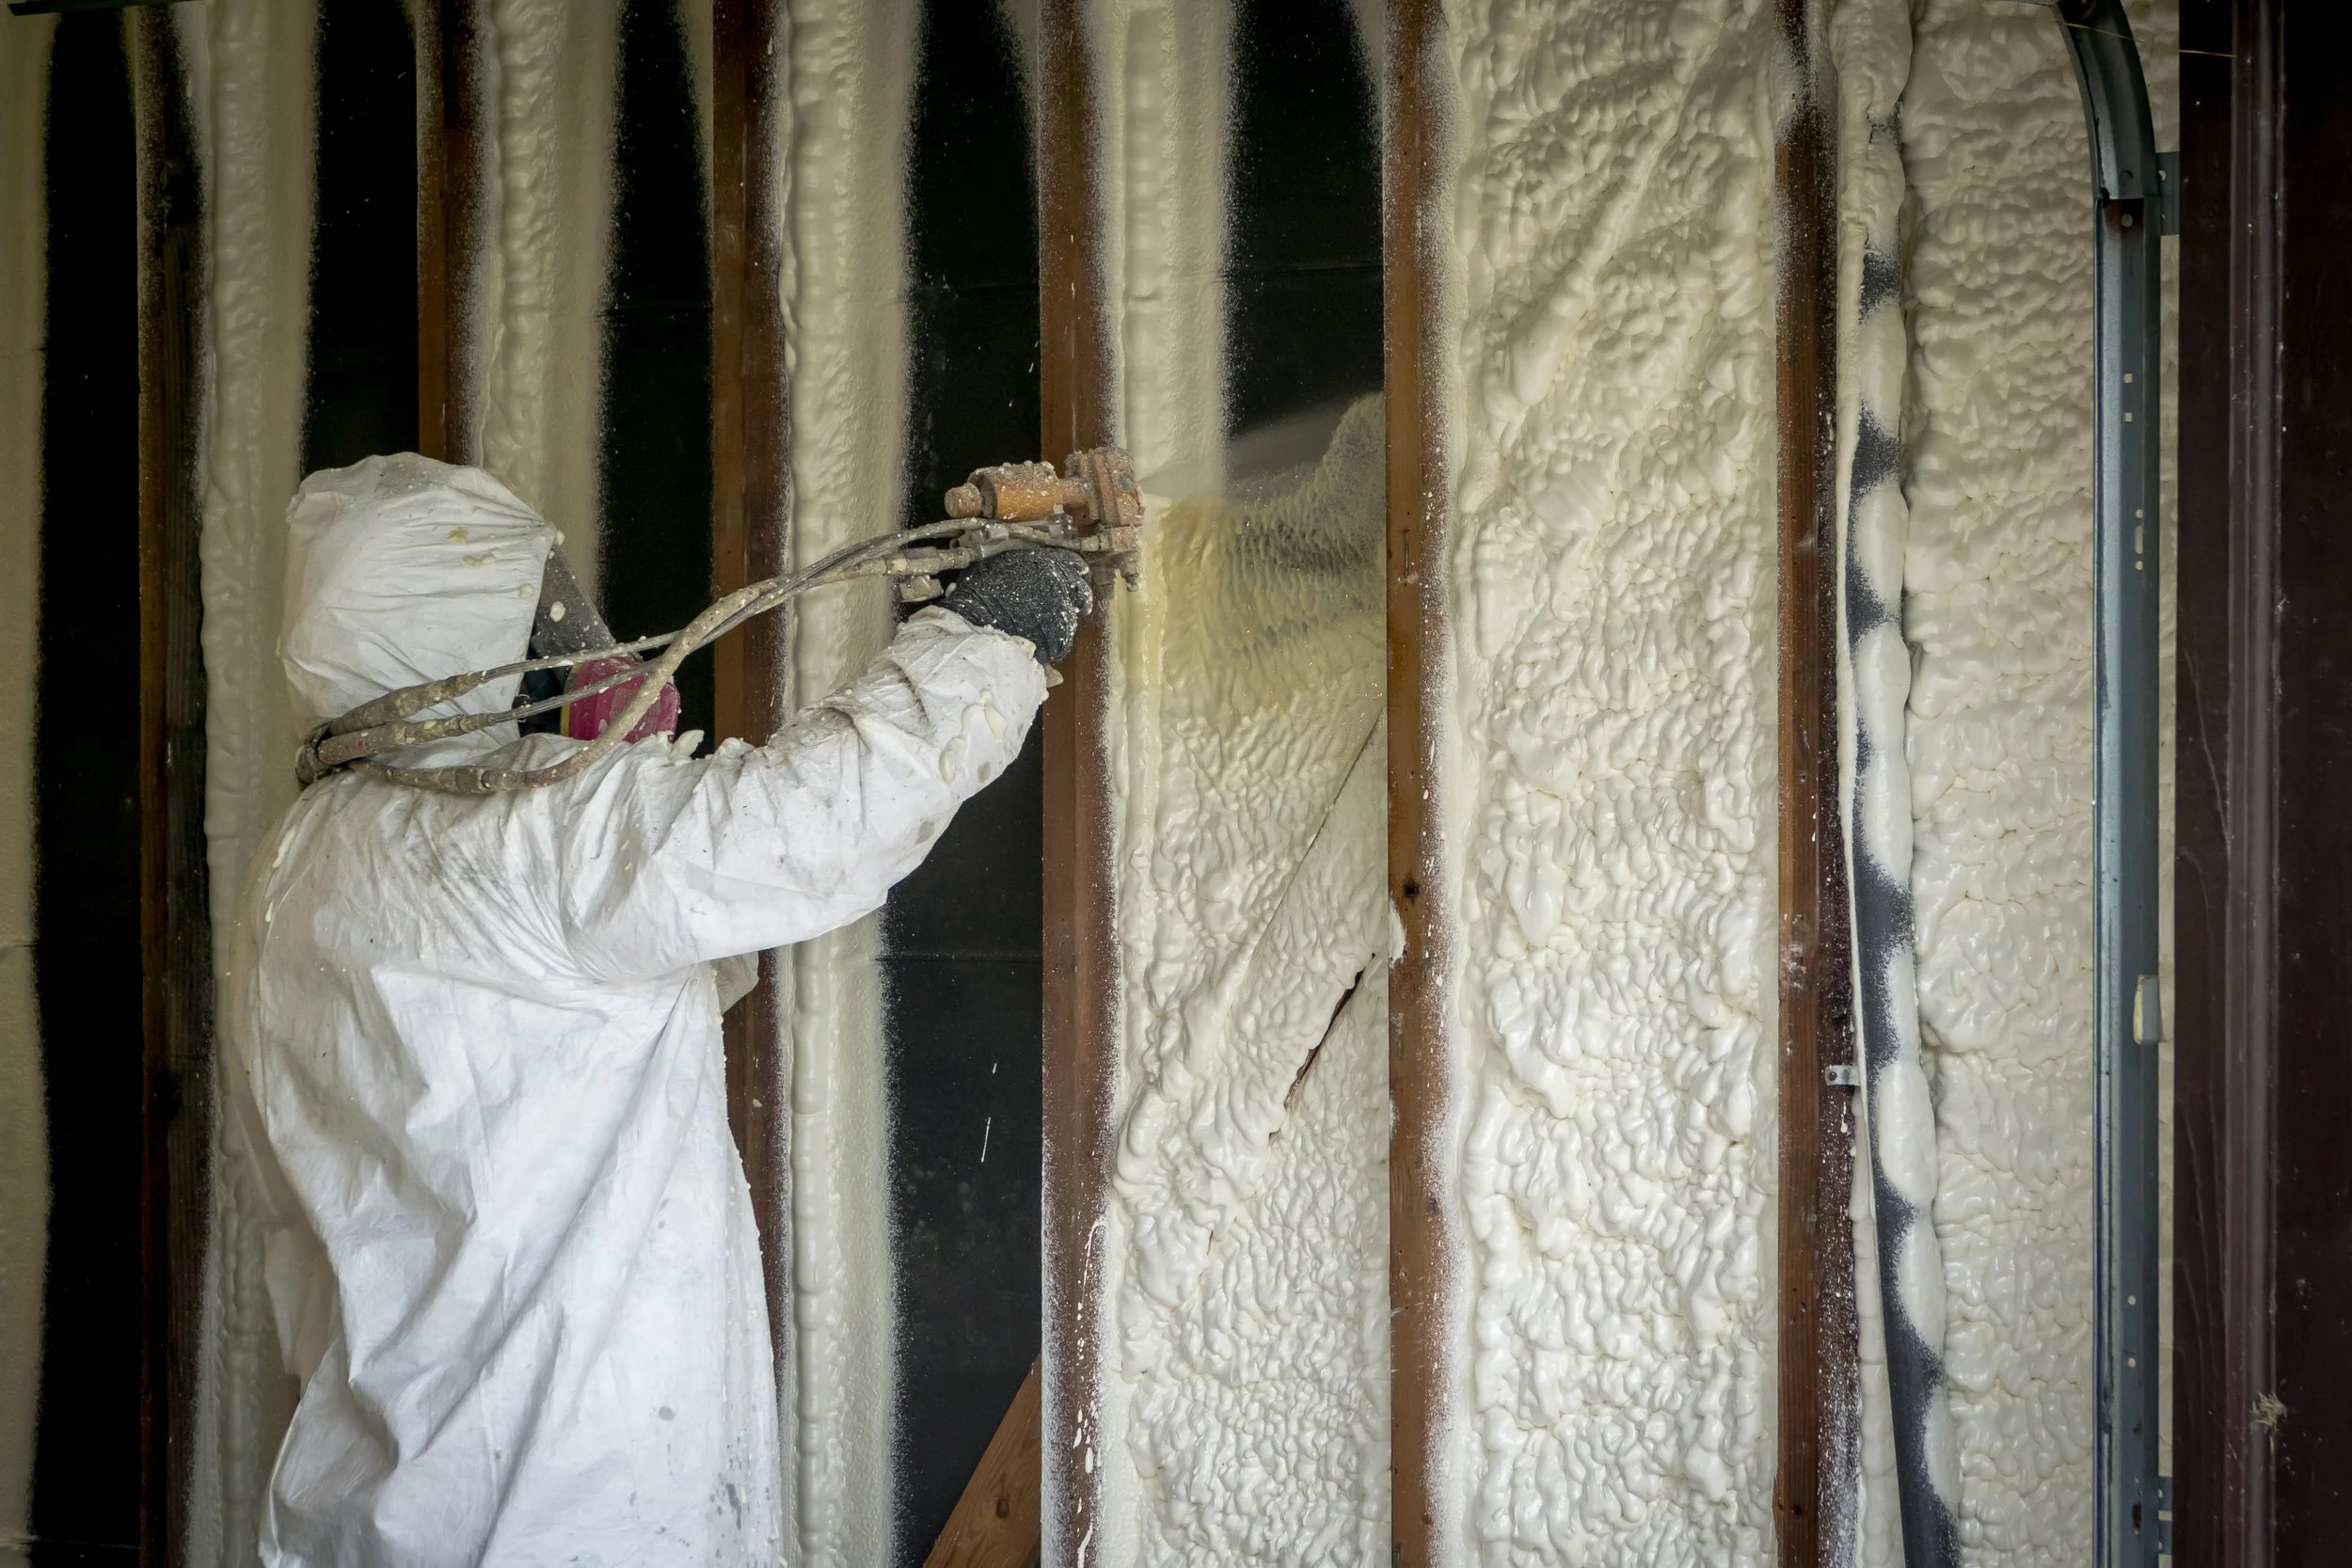
Step 1: Surface Preparation and Environmental Control
- Clean the Substrate: Remove loose mortar, concrete dust, dirt, cobwebs, and peeling paint using a stiff wire brush and vacuum. Foam requires a sound, dust-free surface to adhere properly.
- Ensure Appropriate Substrate Moisture: For standard one-component polyurethane foams, lightly mist porous masonry with water using a spray bottle. Polyurethane needs ambient and substrate moisture to cure properly; light misting speeds up tack-free times and prevents void formation in deep cavities. Avoid standing water.
- Check Ambient and Product Temperatures: Ensure the workspace and foam cans are conditioned within manufacturer recommendations—typically between 41°F and 95°F (5°C to 35°C), with the can itself conditioned around 60°F to 80°F.
- Wear Safety Gear: Wear safety glasses, chemical-resistant gloves, and work clothing. Polyurethane foam sticks tenaciously to skin and fabrics. Provide adequate cross-ventilation in tight basement spaces.
Step 2: Selecting the Right Basement Sealing Foam
Match your foam sealant to the specific application:
- For gaps under 1 inch, standard single-component expanding foams work well.
- For openings up to 3 inches around pipes or structural penetrations, choose high-expansion or fireblock-rated foams.
- For window and door rough openings, use low-pressure, low-expansion window and door foam to prevent frame deflection.
Step 3: Application, Expansion, and Curing

- Shake and Prepare the Canister: Shake the can vigorously for at least 30 seconds. Thread the can onto the dispensing gun or attach the straw applicator securely.
- Invert and Dispense: Hold the canister upside down during application. Squeeze the trigger smoothly, filling gaps only 40% to 50% full, as the foam expands up to double or triple its liquid volume.
- Apply in Controlled Layers: If sealing deep cavities greater than 1 inch, apply the foam in progressive layers. Mist lightly between layers and allow roughly 15 to 20 minutes between passes to avoid trapping uncured chemical cores.
- Allow Proper Cure Time: Foam becomes tack-free in approximately 8 minutes and can be cut or trimmed within 60 minutes. Full cure takes roughly 24 hours.
- Trim and Protect: Once cured, trim excess foam flush using a serrated utility knife. Because polyurethane breaks down under ultraviolet light, apply exterior paint, elastomeric coating, or masonry mortar over any foam exposed to sunlight near ground-level windows.
Comparing Sealing Methods: Performance, Costs, and Limitations
Choosing between sealing materials depends on the gap width, hydrostatic exposure, and whether thermal insulation is required.
| Sealing Method | Air Sealing Effectiveness | Moisture & Vapor Resistance | Thermal Performance (R-Value) | Best Application | Limitations |
|---|---|---|---|---|---|
| Closed-Cell Expanding Foam | Excellent (Hermetic air seal) | High (Impermeable vapor barrier) | High (R-3.7 to R-5.0+ per inch) | Sill plates, rim joists, pipe penetrations, gaps up to 3" | Degrades under UV; cannot withstand active hydrostatic pressure |
| Silicone / Polyurethane Caulk | Good for narrow joints | High (Liquid water barrier) | Negligible (No insulating value) | Hairline cracks, finished joints (< 1/4") | Poor gap-filling for voids > 1/2"; no thermal insulation |
| Hydraulic Cement | Poor air seal across dissimilar materials | High against pressurized liquid | Negligible | Active point leaks in masonry walls, localized holes | Inflexible; cracks with thermal movement; zero R-value |
| Polyethylene Foam Gasket | Good when fully compressed | Moderate-High (Rot resistant) | Low (Thin profile) | New construction sill plates under mechanical load | Requires physical compression; cannot retrofit existing joints |
For large wall sections with recurring moisture migration, pairing spot foam sealing with complete wall spray foam insulation options creates an airtight, insulated foundation envelope.
Evaluating Long-Term Energy Savings and Moisture Control
Sealing basement air leaks addresses the root cause of the stack effect. Unsealed basement joints pull cold, damp air into the lower level during winter and hot, humid air during summer.
By closing these gaps with closed-cell polyurethane foam, your HVAC system does not have to work as hard to condition leaky air. This cuts heating and cooling loads, keeps indoor relative humidity between 30% and 50%, and prevents cold masonry surfaces from reaching dew point temperatures where mold thrives.
Maintaining Basement Sealing Foam for Long-Term Protection
- Perform Annual Visual Checks: Inspect foundation joints, rim joists, and pipe seals every autumn before the heating season begins.
- Check for Physical or Pest Damage: Inspect exposed foam for signs of rodent tunneling or insect activity. If necessary, cover exposed foam transitions with metal flashing or cementitious coatings.
- Shield Against UV Degradation: If basement windows let direct sunlight hit cured foam, coat it with latex paint or a UV-resistant barrier to prevent the foam from turning brittle and discolored.
- Perform Quick Touch-Ups: If foundation settling creates new cracks, clean the joint, mist lightly with water, and inject a fresh bead of foam.
Frequently Asked Questions About Basement Air and Moisture Sealing
Can expanding foam be used to stop active water leaks in basements?
No. Expanding polyurethane foam sealants are designed to block air infiltration, drafts, ambient humidity, and capillary moisture wicking. They are not engineered to hold back active, pressurized water flowing through foundation walls.
If water is actively leaking or pooling on your floor, relieve the exterior hydrostatic pressure first using interior drain channels, exterior French drains, gutters, downspout extensions, or sump pump systems. Once bulk liquid water is managed, use expanding foam to air-seal the dry joint.
How long does basement foam sealant last once cured?
When protected from direct ultraviolet (UV) sunlight and physical damage, closed-cell polyurethane foam can last for decades without losing its air-sealing or insulating qualities. Because basements are mostly shielded from sunlight, indoor foam seals maintain their integrity, R-value, and moisture resistance over the life of the home.
Is expanding foam safe to use around basement windows and doors?
Yes, provided you choose a low-pressure, minimal-expansion formulation. Standard high-expansion foams exert enough outward pressure during curing to bow vinyl or aluminum window jambs, making windows difficult or impossible to operate. Low-pressure foams expand gently to fill the perimeter rough opening without distorting the frame.
Conclusion
Sealing your basement perimeter, rim joists, and foundation gaps with closed-cell foam is one of the most practical and cost-effective steps you can take to eliminate damp drafts, lower heating bills, and protect your home's structural framing. By eliminating air leakage pathways and blocking vapor transmission at the sill plate, you create a healthier, more comfortable living space from the ground up.
When you need high-performance results across larger basement walls, crawl spaces, or complex rim joist assemblies, professional equipment ensures a seamless, code-compliant thermal and moisture envelope. Contact our team to schedule an assessment with Sweet Home Spray Foam in Roanoke, VA, and let us help you achieve a dry, energy-efficient home today.