
How to Replace a Crawl Space Vent Screen
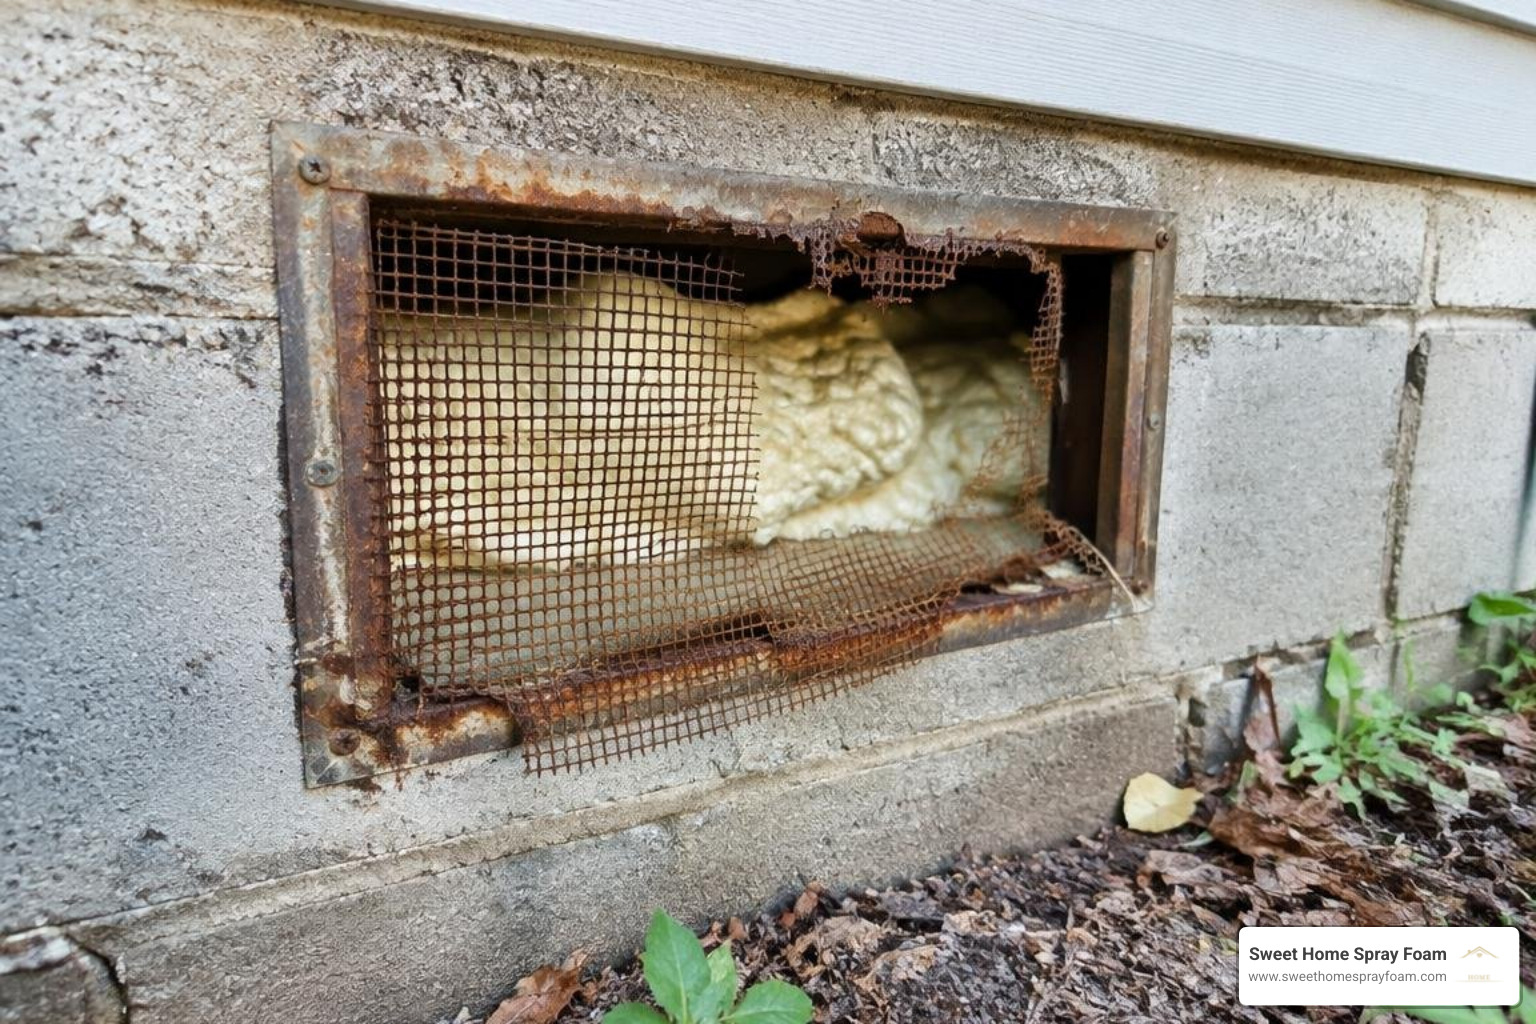
For crawl space vent screen replacement, remove the torn or rusted screen, clean the frame, and measure the opening. Cut corrosion-resistant metal mesh with about one inch of overlap on every side. Fasten it firmly to the wood or masonry around the vent, then check for gaps and make sure air can still pass through.
A sound screen helps keep pests out without blocking a vent your crawl space needs. If the vent frame is loose or damaged, repair that before attaching new mesh.
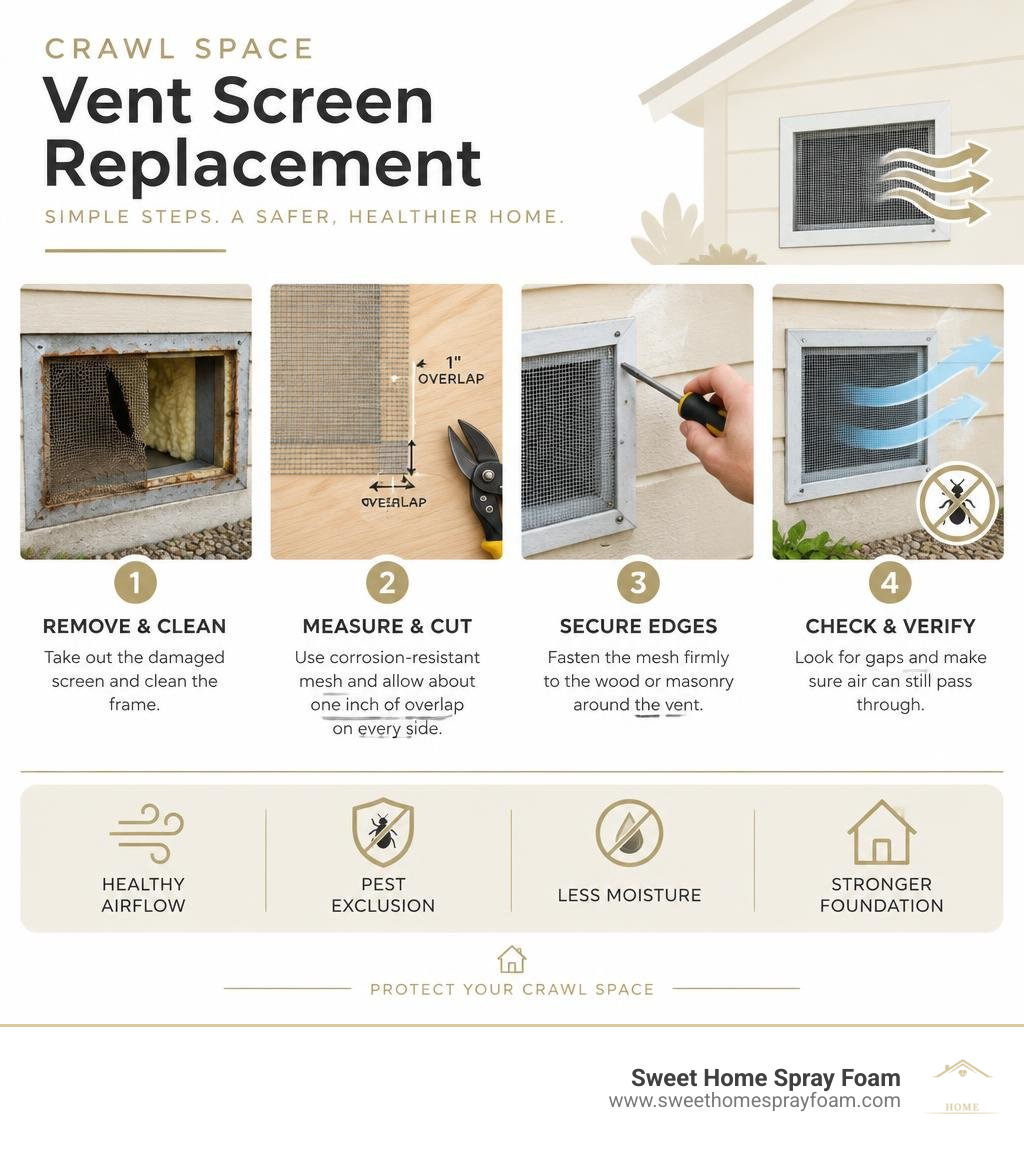
Foundation vents are designed to allow outdoor airflow under your home to prevent moisture accumulation and protect foundation integrity. However, when the protective screens degrade, these openings become wide-open entry points for pests, wind-blown debris, and outdoor dampness. Taking care of your screens protects your subfloor from wood rot and structural headaches.
Signs You Need a Foundation Vent Screen Repair
Foundation vents live close to the soil, where they face rain splashback, yard tools, humidity, and curious critters. Over time, physical wear and corrosion will destroy even sturdy materials.
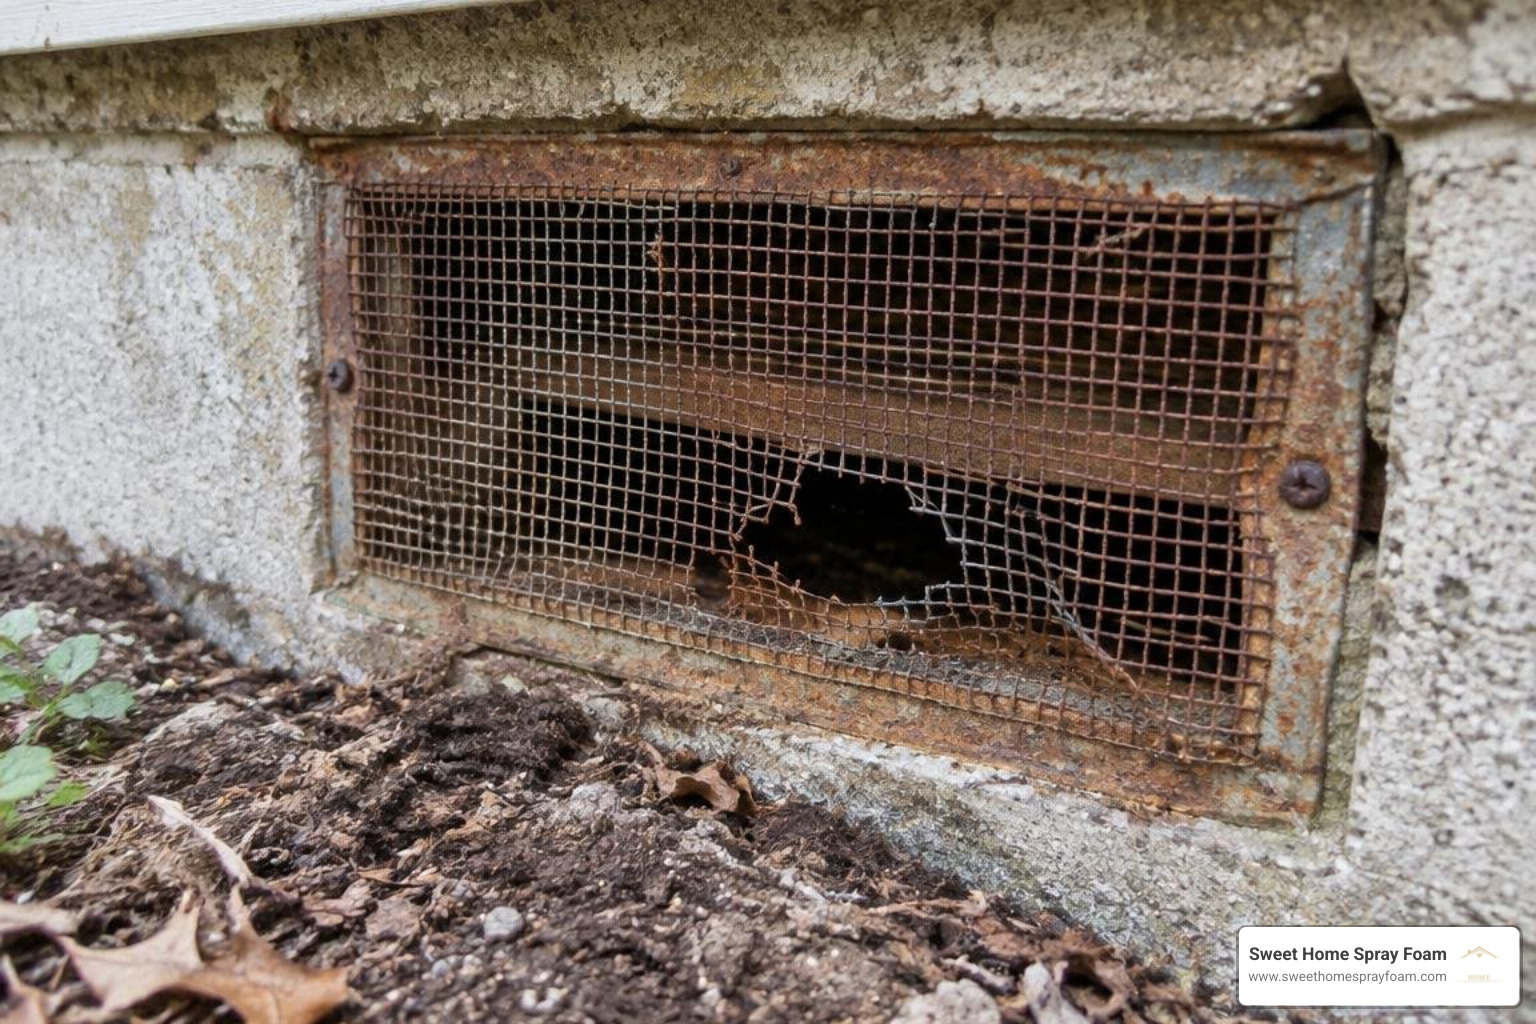
Watch for these clear signs that your foundation vent screens require immediate attention:
- Rusted and Broken Wire Mesh: High humidity near the soil corrodes thin metal over time. If your wire mesh flakes away or crumbles when touched, it can no longer keep pests out.
- Torn Hardware Cloth: Impact from weed trimmers, rocks thrown by lawnmowers, or burrowing animals often tears light-duty wire cloth.
- Rodent Burrows and Insect Nests: Dirt excavated around the vent exterior, mud dauber tubes, or wasp nests clinging to the frame indicate that critters are exploiting the opening.
- Elevated Subfloor Humidity and Musty Odors: If vent screens are completely clogged with leaves and dirt, cross-ventilation stops, trapping ground dampness under your living space.
- Loose or Rusted Frame Fasteners: When screws or concrete nails rust out, the entire vent unit pulls away from the foundation wall, leaving wide gaps along the perimeter.
- Sagging Subfloor Insulation: Damaged screens let mice and squirrels inside, where they pull down fiberglass batts to make nesting material.
If your crawl space shows widespread moisture problems, rotted subfloors, or fallen insulation alongside rusted vents, it may be time to evaluate broader crawl space repair options to restore your foundation's health.
Step-by-Step Guide to Crawl Space Vent Screen Replacement
Replacing a foundation vent screen is an approachable exterior DIY project. Doing the job right requires selecting durable, rust-resistant materials and securing them tightly against your foundation wall.
Essential Tools and Materials for Crawl Space Vent Screen Replacement
Before starting, gather the right safety gear and supplies:
- 1/4-inch galvanized hardware cloth or 1/8-inch stainless steel wire mesh
- Aviation snips (tin snips) for cutting thick metal cloth
- Heavy leather work gloves (cut wire mesh edges are extremely sharp)
- Safety glasses
- Manual heavy-duty staple gun and 3/8-inch to 1/2-inch galvanized staples (for wood frames)
- Hammer drill with a 3/16-inch masonry bit (for brick or concrete foundations)
- 1-1/4-inch Tapcon masonry screws and 1-inch stainless steel fender washers
- Wire brush and stiff scraper
- Outdoor-rated 100% silicone or polyurethane exterior caulk
Using proven pest-proof vent repair techniques will keep mice, rats, snakes, and insects out for the long haul.
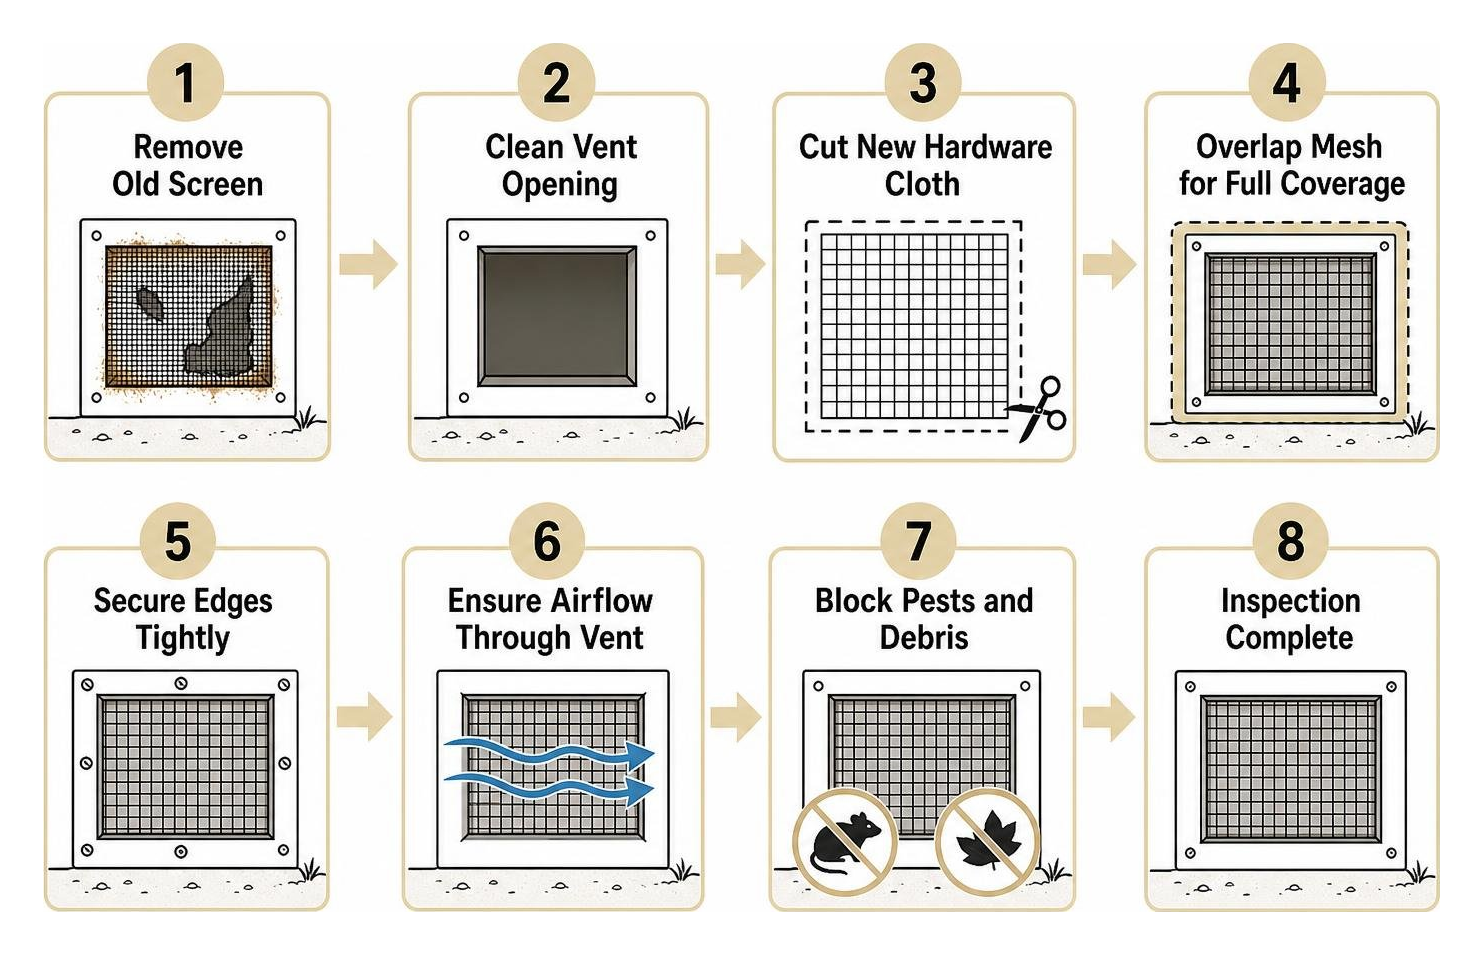
Removing Old Screens and Preparing the Frame
- Protect Yourself: Put on your leather work gloves and safety glasses. Old rusty mesh can snap and cause deep scratches.
- Strip the Old Mesh: Use a small pry bar or flathead screwdriver to pull out old rusted staples, nails, or broken screening. If you are retrofitting an existing metal louvered unit, cut out the damaged wire from behind the louvers.
- Clean the Frame Surface: Take a stiff wire brush and vigorously scrub away loose mortar, rust, flaking paint, spider webs, and dirt.
- Inspect Frame Stability: Check wood frames for structural rot and concrete block openings for crumbling mortar. If the wood is soft, replace the wooden buck before attaching new screens.
- Clear Debris: Vacuum or brush away all loose grit so adhesives and fasteners seat firmly.
Measuring, Sizing, and Cutting Heavy-Duty Mesh
Accurate sizing ensures the new mesh sits flat without gaps along the edges:
- Measure the Rough Opening: Measure the height and width of the vent opening.
- Add a 1-Inch Overlap: Add one inch to all four sides (two inches total to both height and width). For example, if your vent opening is 8 inches by 16 inches, cut your wire mesh to 10 inches by 18 inches. This extra border gives your fasteners solid purchase on the surrounding wood or masonry.
- Mark Straight Lines: Use a permanent marker to mark your cutting lines across the hardware cloth grid.
- Cut with Aviation Snips: Cut smoothly along your marked lines using aviation snips.
- Flatten Burrs and Notch Corners: Tap down sharp edge burrs with a hammer against a scrap wood block. If your vent sits inside a recessed masonry pocket, snip a small 1-inch square out of each corner so the mesh flanges fold cleanly into the recess.
Securing Screens to Wood, Masonry, and Concrete Foundations
The installation method depends directly on your foundation material:
- Attaching to Wood Framing: Position the mesh centered over the opening. Pull the screen taut and drive galvanized heavy-duty staples every 2 inches around the entire wooden perimeter. Keep the mesh under tension as you staple to prevent sagging.
- Attaching to Masonry, Brick, or Poured Concrete:
- Hold the cut mesh over the opening.
- Using a hammer drill and a 3/16-inch masonry bit, drill pilot holes through the mesh perimeter into the concrete every 4 to 5 inches.
- Thread a 1-inch stainless steel fender washer onto each Tapcon masonry screw. The wide washer clamps the wire strands tightly against the concrete without letting the screw head slip through the mesh.
- Drive the Tapcon screws snug. Avoid over-torquing, which can strip the concrete pilot hole.
- Sealing the Perimeter: Apply a continuous bead of exterior polyurethane or 100% silicone caulk along the outer cut edges of the mesh. This seals tiny micro-gaps against insects and covers sharp wire ends.
If your existing vent frames are completely crushed or rotted beyond repair, you can also install pre-assembled replacement units. Products like standard 8x16 replacement vents or durable retrofit vent covers screw directly over rough openings in concrete, brick, or vinyl skirting without requiring new mortar work.
Vent Screen Sizing, Airflow Codes, and Ember Protection
When selecting screen materials, you must balance pest resistance, airflow volume, and fire safety.
| Screen Material Type | Pest Exclusion Level | Relative Airflow (Net Free Area) | Corrosion Resistance | Wildfire Ember Protection | Best Application |
|---|---|---|---|---|---|
| 1/4-Inch Galvanized Hardware Cloth | Excellent (Rats, Mice, Snakes) | High (~70-80% open area) | Moderate (Can rust after 7-10 years) | Poor (Embers pass through) | Standard foundation vents in moderate climates |
| 1/8-Inch Stainless Steel Wire Mesh | Superior (Rats, Mice, Large Insects) | Moderate (~50-60% open area) | Maximum (Resists salt, water, chemicals) | Excellent (Stops wind-driven embers) | Coastal areas and wildfire hazard zones |
| 1/8-Inch Heavy Copper Mesh | Superior (Rats, Mice, Insects) | Moderate (~50-60% open area) | High (Naturally rustproof) | Moderate | Coastal environments needing custom aesthetics |
| Standard Fiberglass Window Screen | Poor (Chewed through in minutes) | Low to Moderate (Clogs easily with dust) | High (Does not rust) | None (Melts instantly under heat) | Windows only; never use in crawl spaces |
Residential building standards, such as those outlined in International Residential Code (IRC) Section R408.1 and detailed in building code crawl space requirements, establish precise ventilation formulas:
- The 1:150 Rule: Vented crawl spaces require at least 1 square foot of net free ventilation area for every 150 square feet of crawl space floor area. Vents must be placed within 3 feet of each exterior corner to ensure cross-flow ventilation.
- The 1:1,500 Rule with Vapor Retarder: When a continuous, code-compliant Class I vapor retarder is installed across the crawl space earth floor, the required ventilation area is reduced by 90 percent down to 1 square foot of ventilation for every 1,500 square feet of crawl space area.
- Wildfire Hardening: In areas subject to brush fires or high wind-borne ember risks, modern safety standards like wildfire vent hardening standards call for 1/8-inch or 1/16-inch corrosion-resistant metal mesh to stop burning embers from blowing under subfloors while excluding pests.
Adding fine mesh reduces total open area. For instance, a standard 8-inch by 16-inch vent opening provides 128 gross square inches, but a typical screened replacement vent provides roughly 50 to 67 square inches of Net Free Ventilation (NFV). Factor this reduction in when checking code compliance.
Repairing Vent Screens and Managing Crawl Space Moisture
Fixing your vent screens keeps out animals, but it is also important to understand how passive exterior vents affect subfloor humidity.
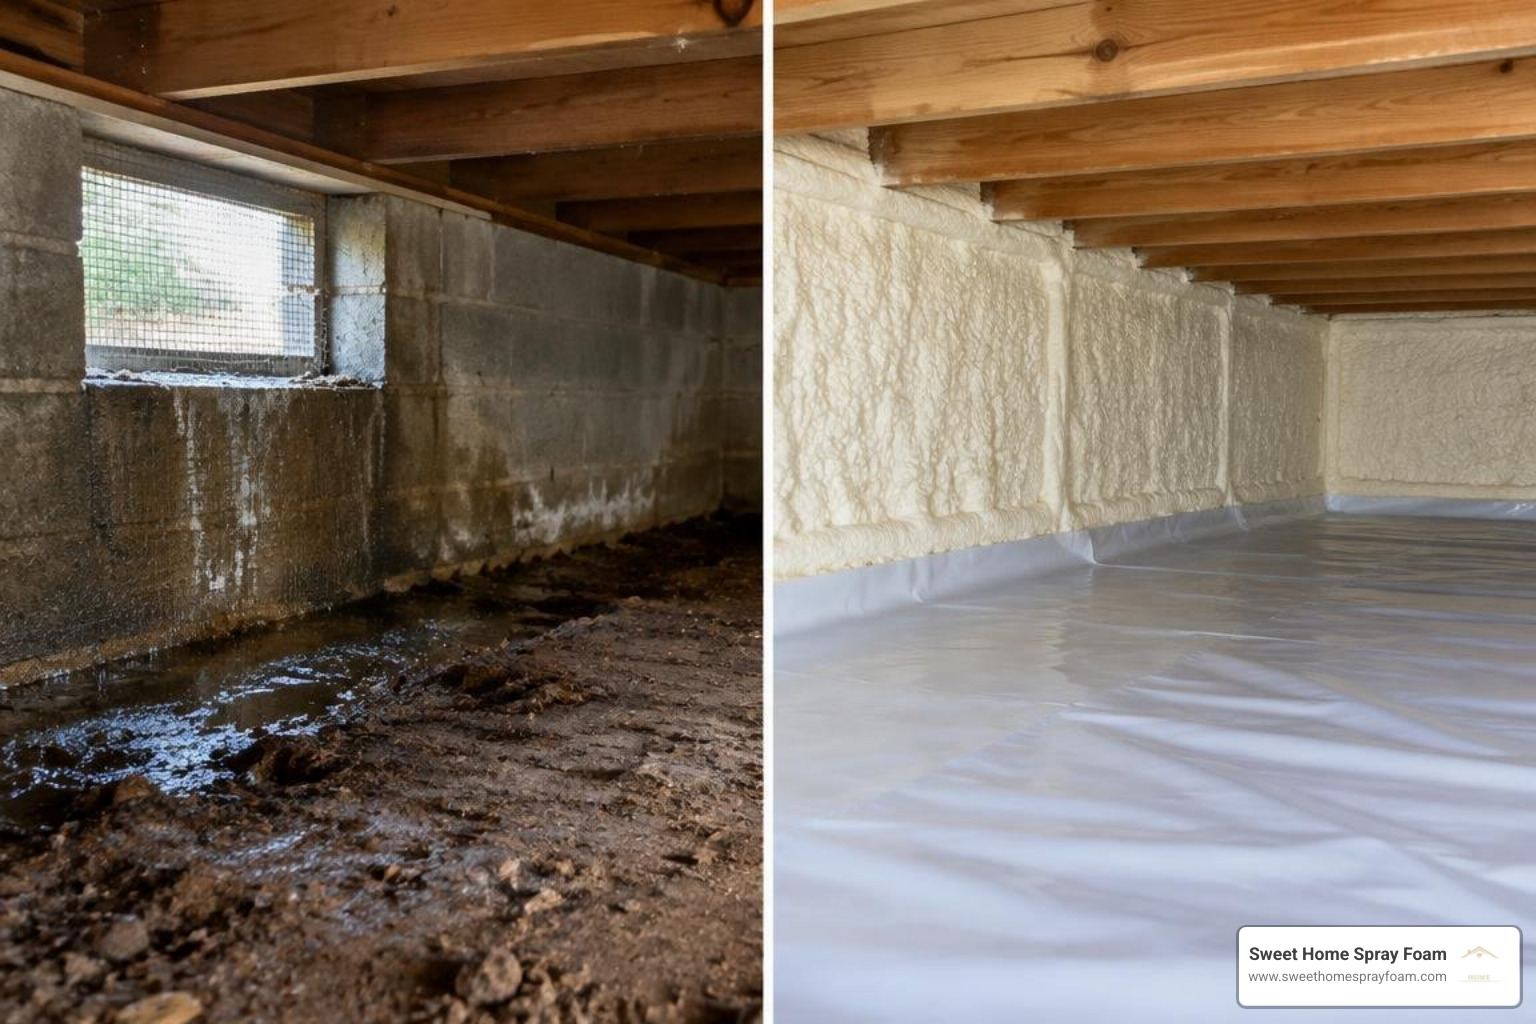
During hot, humid summer months in Virginia, outdoor air entering foundation vents often carries high relative humidity. When that warm air touches cool foundation walls and air conditioning ducts under your home, moisture condenses on wood joists. In the winter, open vents allow freezing drafts to chill plumbing pipes and make your first-floor floors uncomfortably cold.
If your crawl space suffers from persistent seasonal dampness, musty smells, or failing insulation, repairing screens may only solve part of the equation. Many homeowners choose to pair their foundation maintenance with high-performance crawl space spray foam insulation. Closed-cell spray foam applied along foundation walls seals air leaks, repels moisture, and provides structural thermal performance that traditional batt insulation cannot match.
If your under-floor fiberglass batts have already absorbed moisture, sagged, or become contaminated by pests, an old crawl space insulation replacement will clear out contaminated materials and dramatically improve indoor air quality.
Choosing Crawl Space Vent Screen Repair or Replacement
How do you decide whether to repair individual screens or pursue a full crawl space upgrade?
- When to Repair Screens: If your crawl space remains dry year-round, your subfloor wood is sound, and the only issue is mechanical damage or minor rust on a few vent covers, replacing the wire mesh with 1/4-inch or 1/8-inch hardware cloth is quick and cost-effective.
- When to Upgrade the Whole System: If you notice standing water, mold growth on floor joists, musty smells entering living areas, high indoor humidity, or winter pipe freezing, open vents are likely working against your home. Upgrading your building envelope with comprehensive attic and crawl space insulation stops unwanted air infiltration from top to bottom.
Frequently Asked Questions About Crawl Space Vent Screens
What is the recommended mesh size for foundation vents?
The industry standard for crawl space vent screens is 1/4-inch galvanized hardware cloth or 1/8-inch stainless steel wire mesh. Quarter-inch mesh offers excellent airflow while stopping mice, rats, and snakes. Eighth-inch mesh provides superior insect and ember resistance while still meeting residential ventilation codes. Mesh openings larger than 1/4 inch allow small mice to slip through, while mesh smaller than 1/8 inch can quickly clog with dust and lint.
Can regular fiberglass window screening be used for crawl space vents?
No, never use regular fiberglass or lightweight aluminum window screening for crawl space foundation vents. Rodents can chew through fiberglass screening in seconds, and wind-blown yard debris will easily puncture it. Building codes specify corrosion-resistant, rigid metal wire mesh (such as galvanized steel, stainless steel, or copper) for all foundation openings.
How does a vapor retarder impact crawl space ventilation requirements?
Under International Residential Code (IRC) R408.1, installing an approved Class I vapor retarder directly over the crawl space dirt floor drastically lowers ground evaporation. This reduces your required foundation net free ventilation ratio by 90 percent—from 1 square foot of vent area per 150 square feet of floor space down to 1 square foot of vent area per 1,500 square feet. This allows for fewer foundation penetrations while maintaining healthy moisture levels.
Conclusion
Keeping your foundation vent screens intact is a vital first line of defense against unwanted rodents, snakes, and exterior debris. By using heavy-duty 1/4-inch galvanized hardware cloth or 1/8-inch stainless steel mesh, cutting a clean one-inch overlap, and fastening tightly to your foundation, you can restore proper airflow and keep pests out.
If you are dealing with persistent moisture underneath your home, rusted-out foundation vents, or freezing subfloors across Virginia—including Richmond, Charlottesville, Lynchburg, Roanoke, and Smith Mountain Lake—our team at Sweet Home Spray Foam is here to help. We provide clear upfront pricing, fast service, and long-term insulation solutions. Contact us today through our Sweet Home Spray Foam crawl space solutions to schedule an evaluation and protect your home from the ground up!